Around the end of last year, I started having trouble with my used Eaton 5PX – I’d had it for about 5 years and it was used when I bought it off eBay. On Saturday night (about 21:33:48 UTC), the home network disappeared off the Internet. I figured my new gateway had died.
The dead UPS
Sunday morning, I returned from the remote undisclosed location to the basement #homelab. Entering the basement, it was very quiet.
On the UPS console screen, I saw this:

Not good. Inspecting the logs, I found:
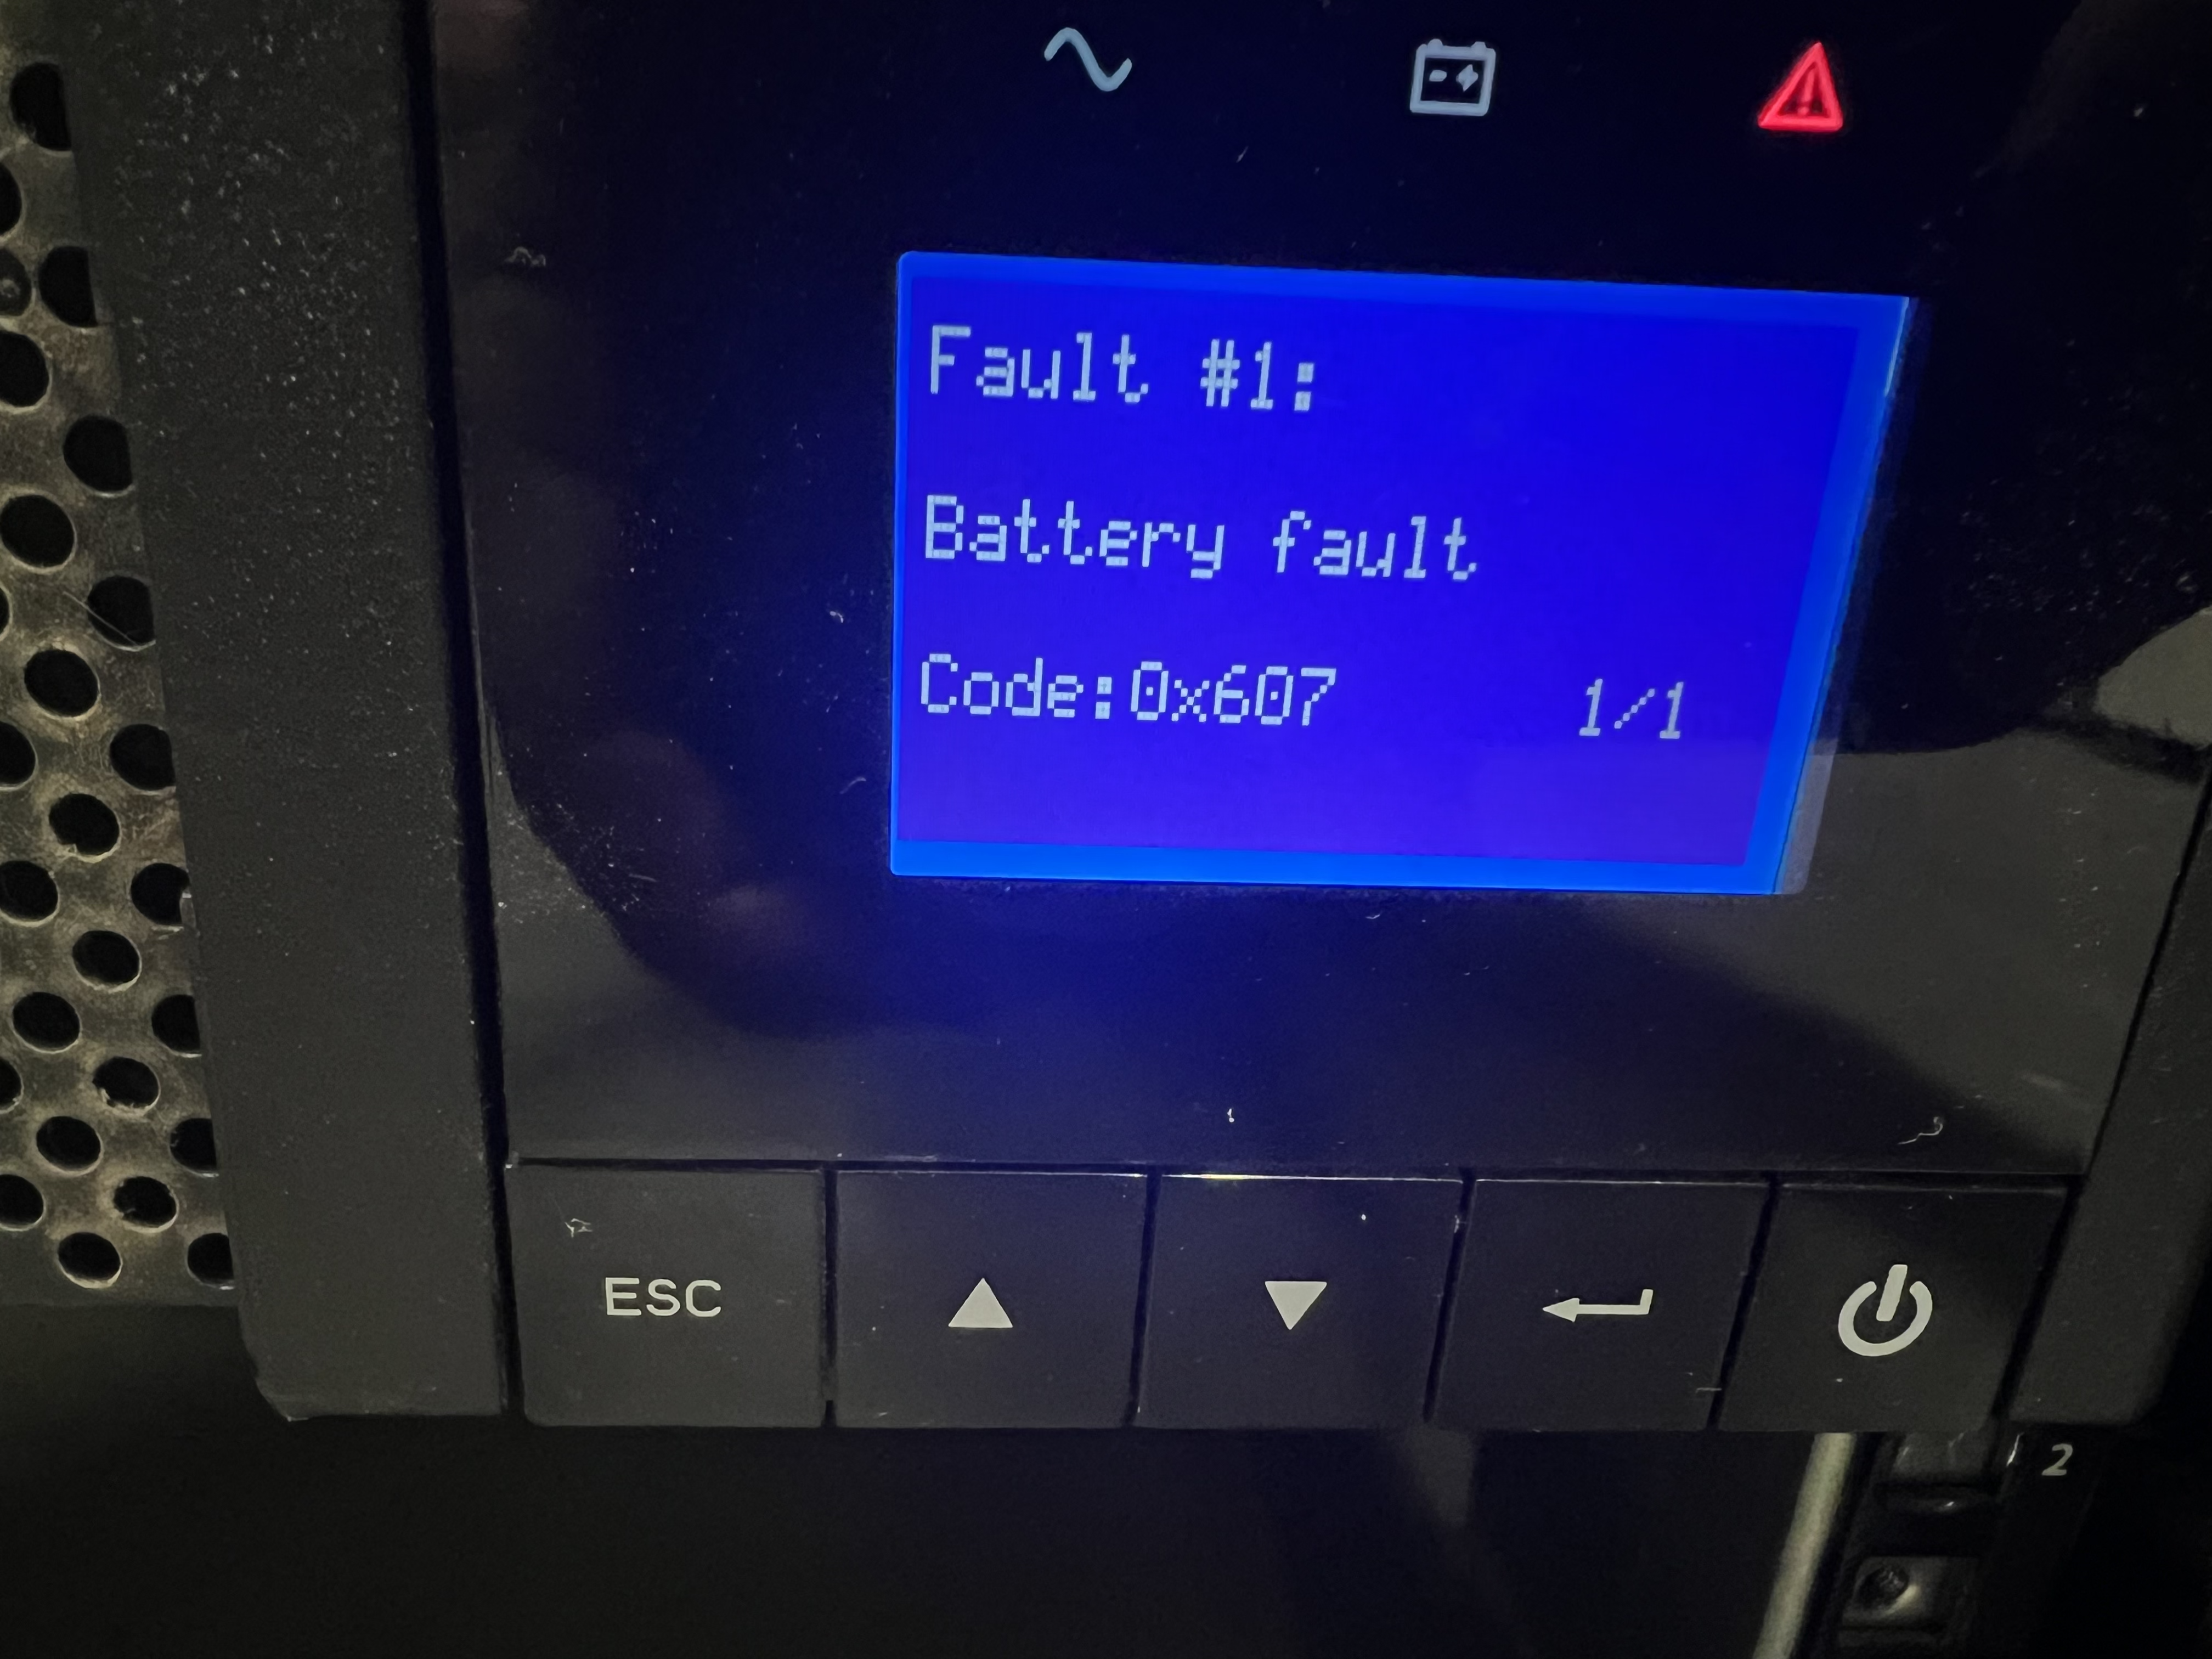
I tried clearing the fault by disconnecting the battery and power, pressing the power-on button several times, and left it there about 10-20 minutes. I tried this at least twice. The fault would not clear. I searched for the fault number etc, and did not find anything promising. One post mentioned replacing a capacitor. I gave up.
I bought another UPS.
This one was a NEW (as in never used) version of the one which had just died. It was more-or-less the same price as what I paid 5 years ago.
This dead UPS is known as ups02.
The arrival
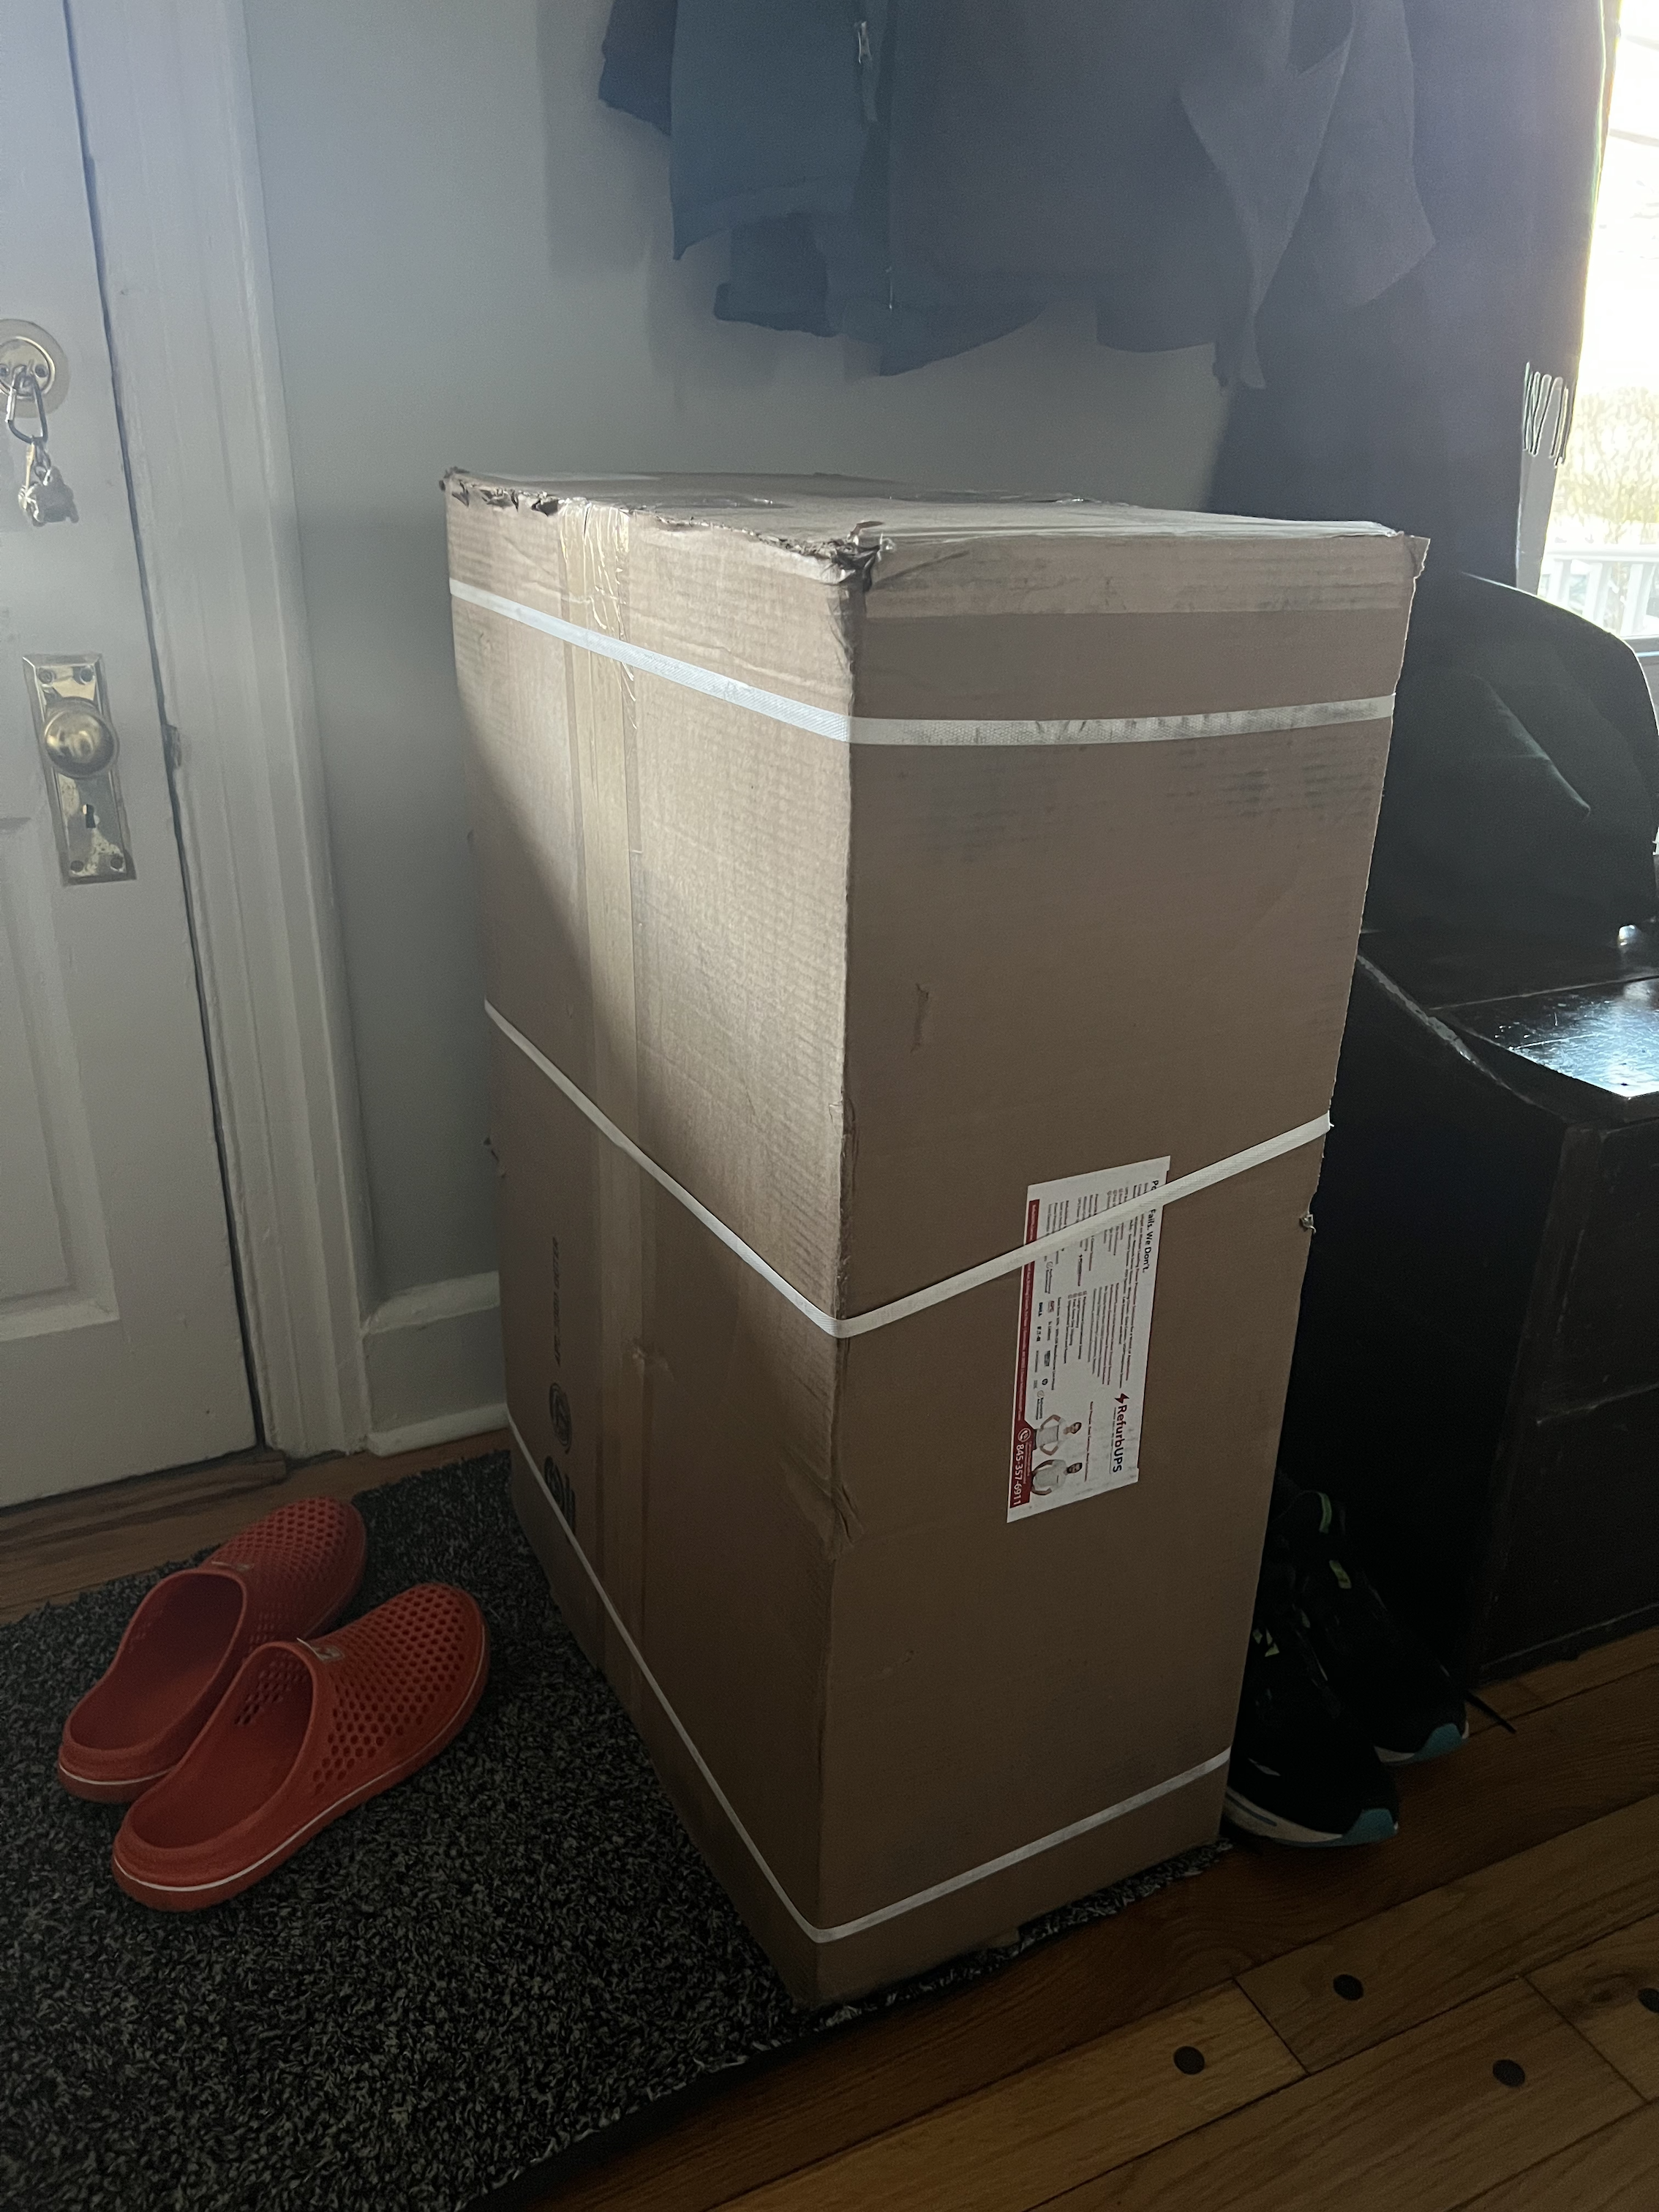
I ordered the UPS from https://www.refurbups.com via eBay on Sunday. By Tuesday 6:30pm it had arrived from just north of New York city. I was eagerly awaiting the UPS truck and watched their progress as they were in my neighborhood. I had two false starts and they headed down my street, only to turn off before getting to my place.
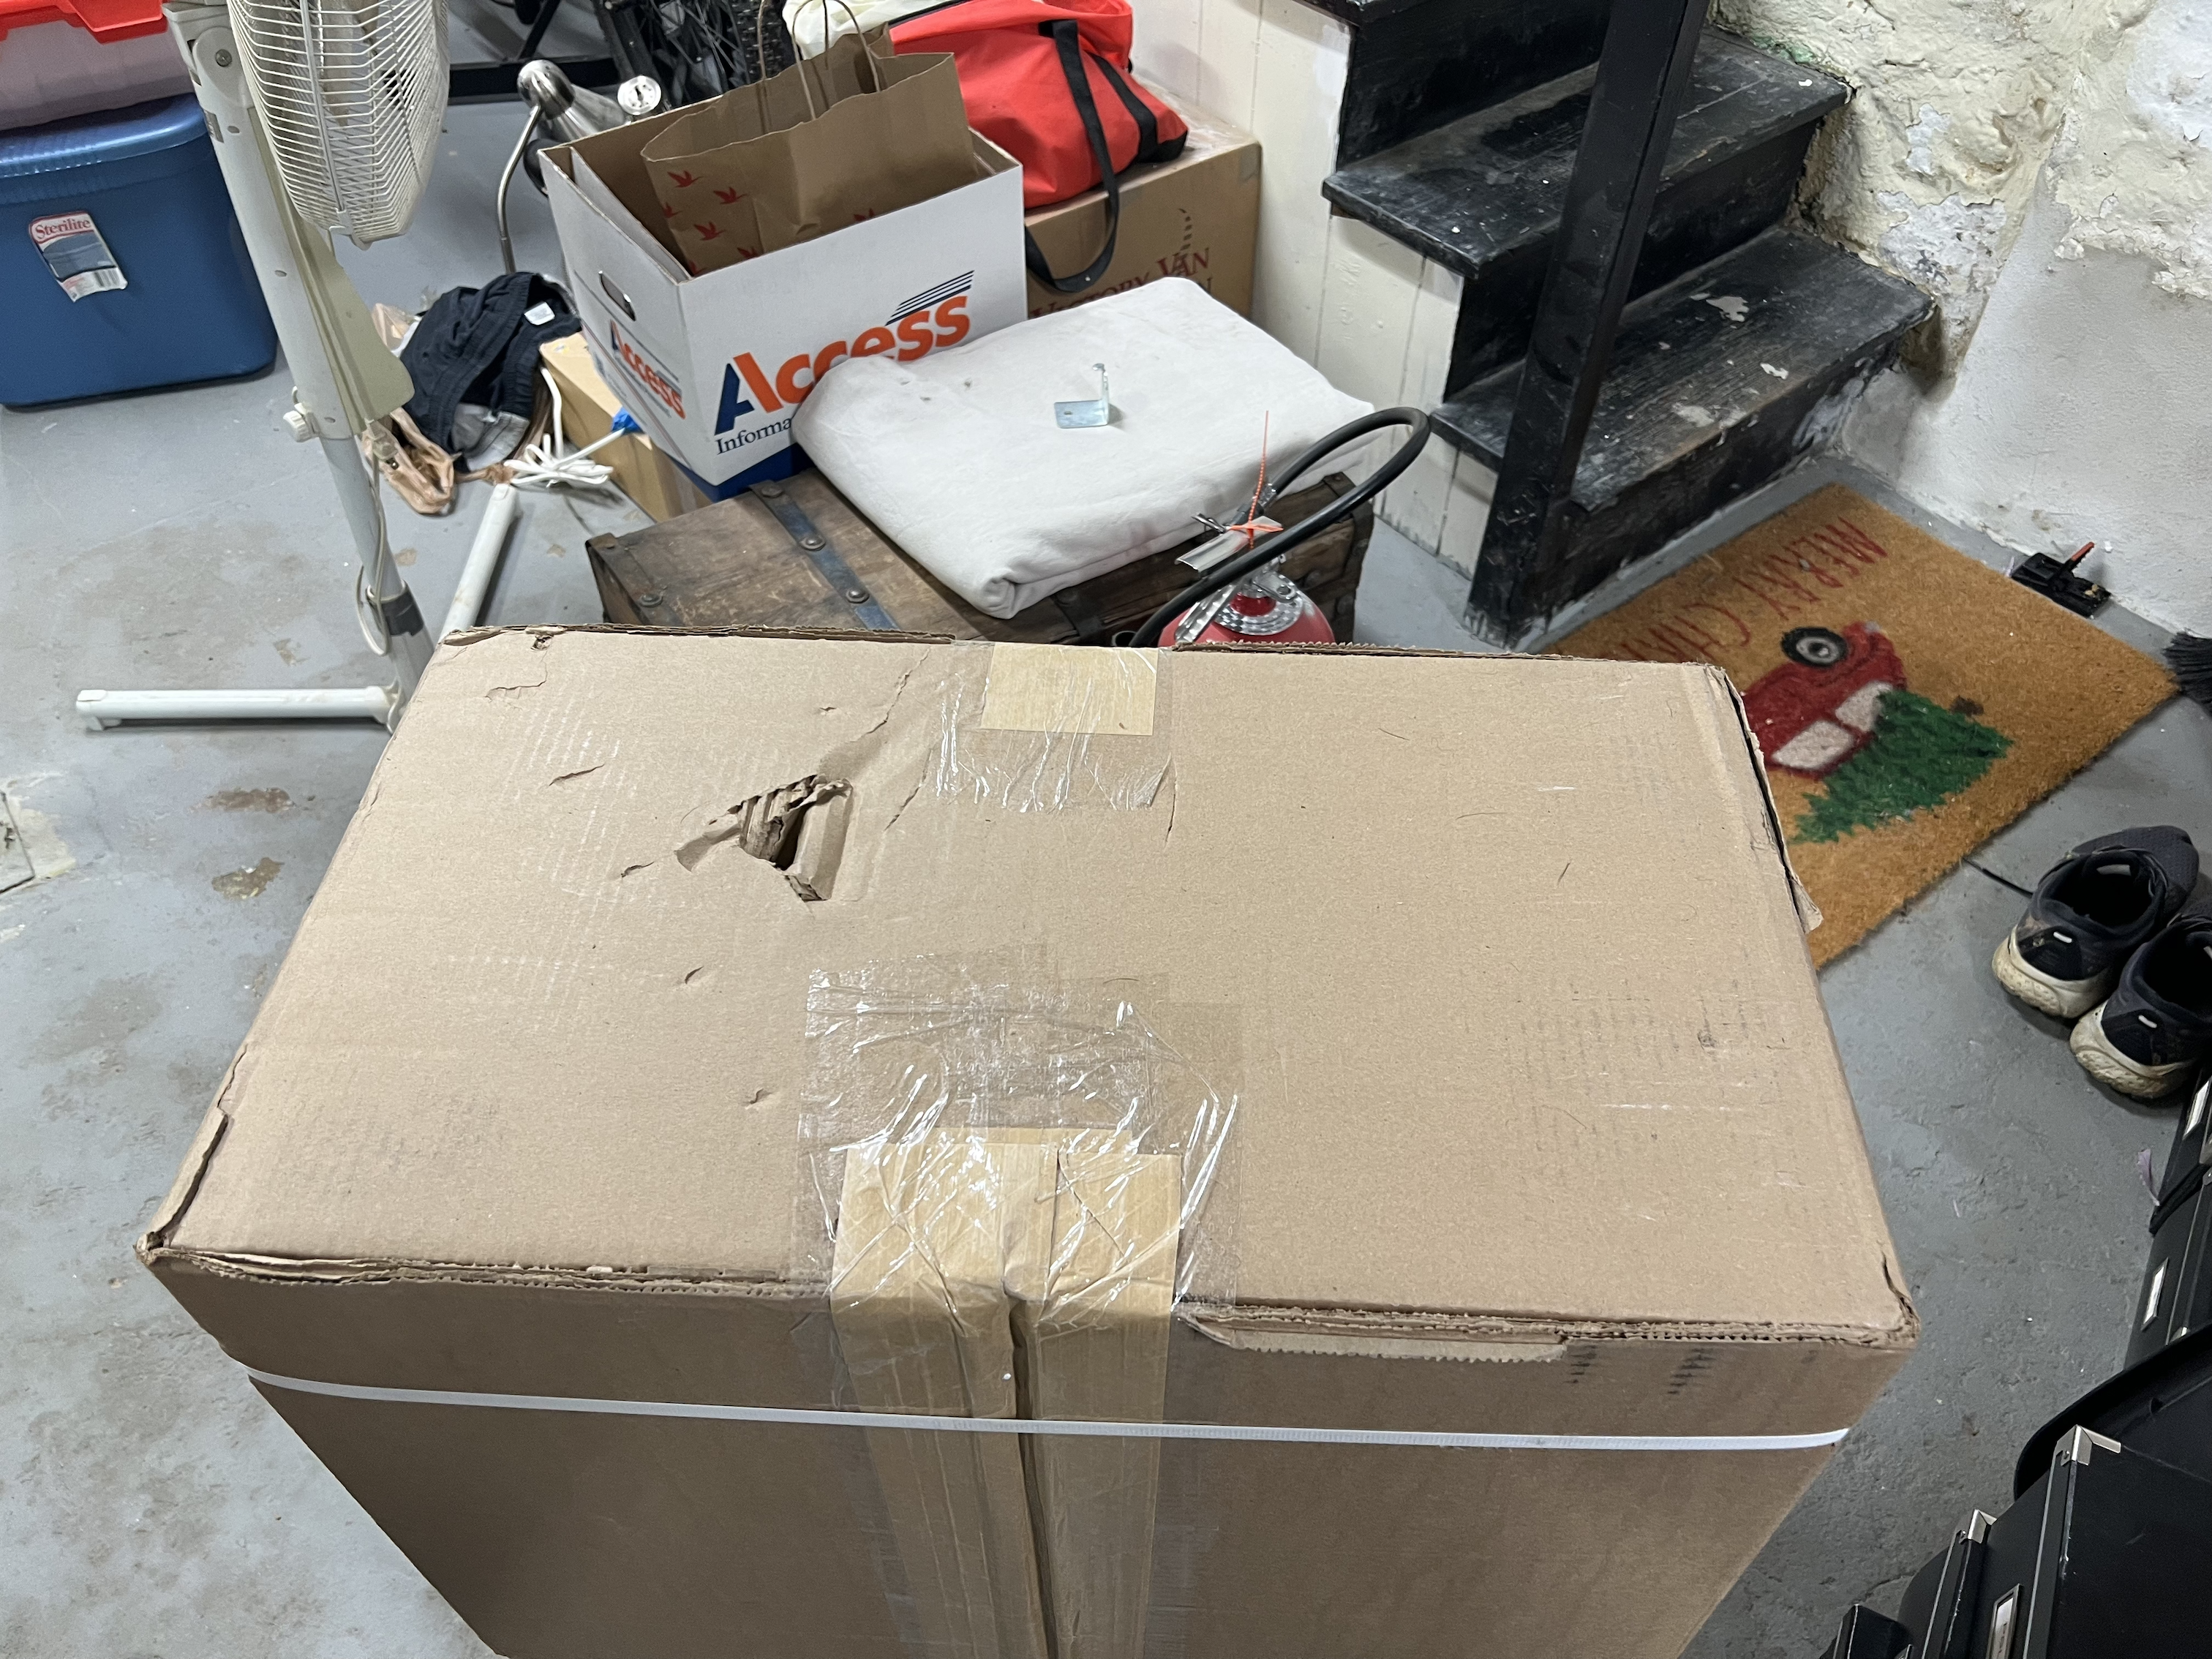
This photo is the UPS sitting by the front door. It took a lot of strength to not immediately take the unit into the basement and install it. Instead, I went out for the evening.
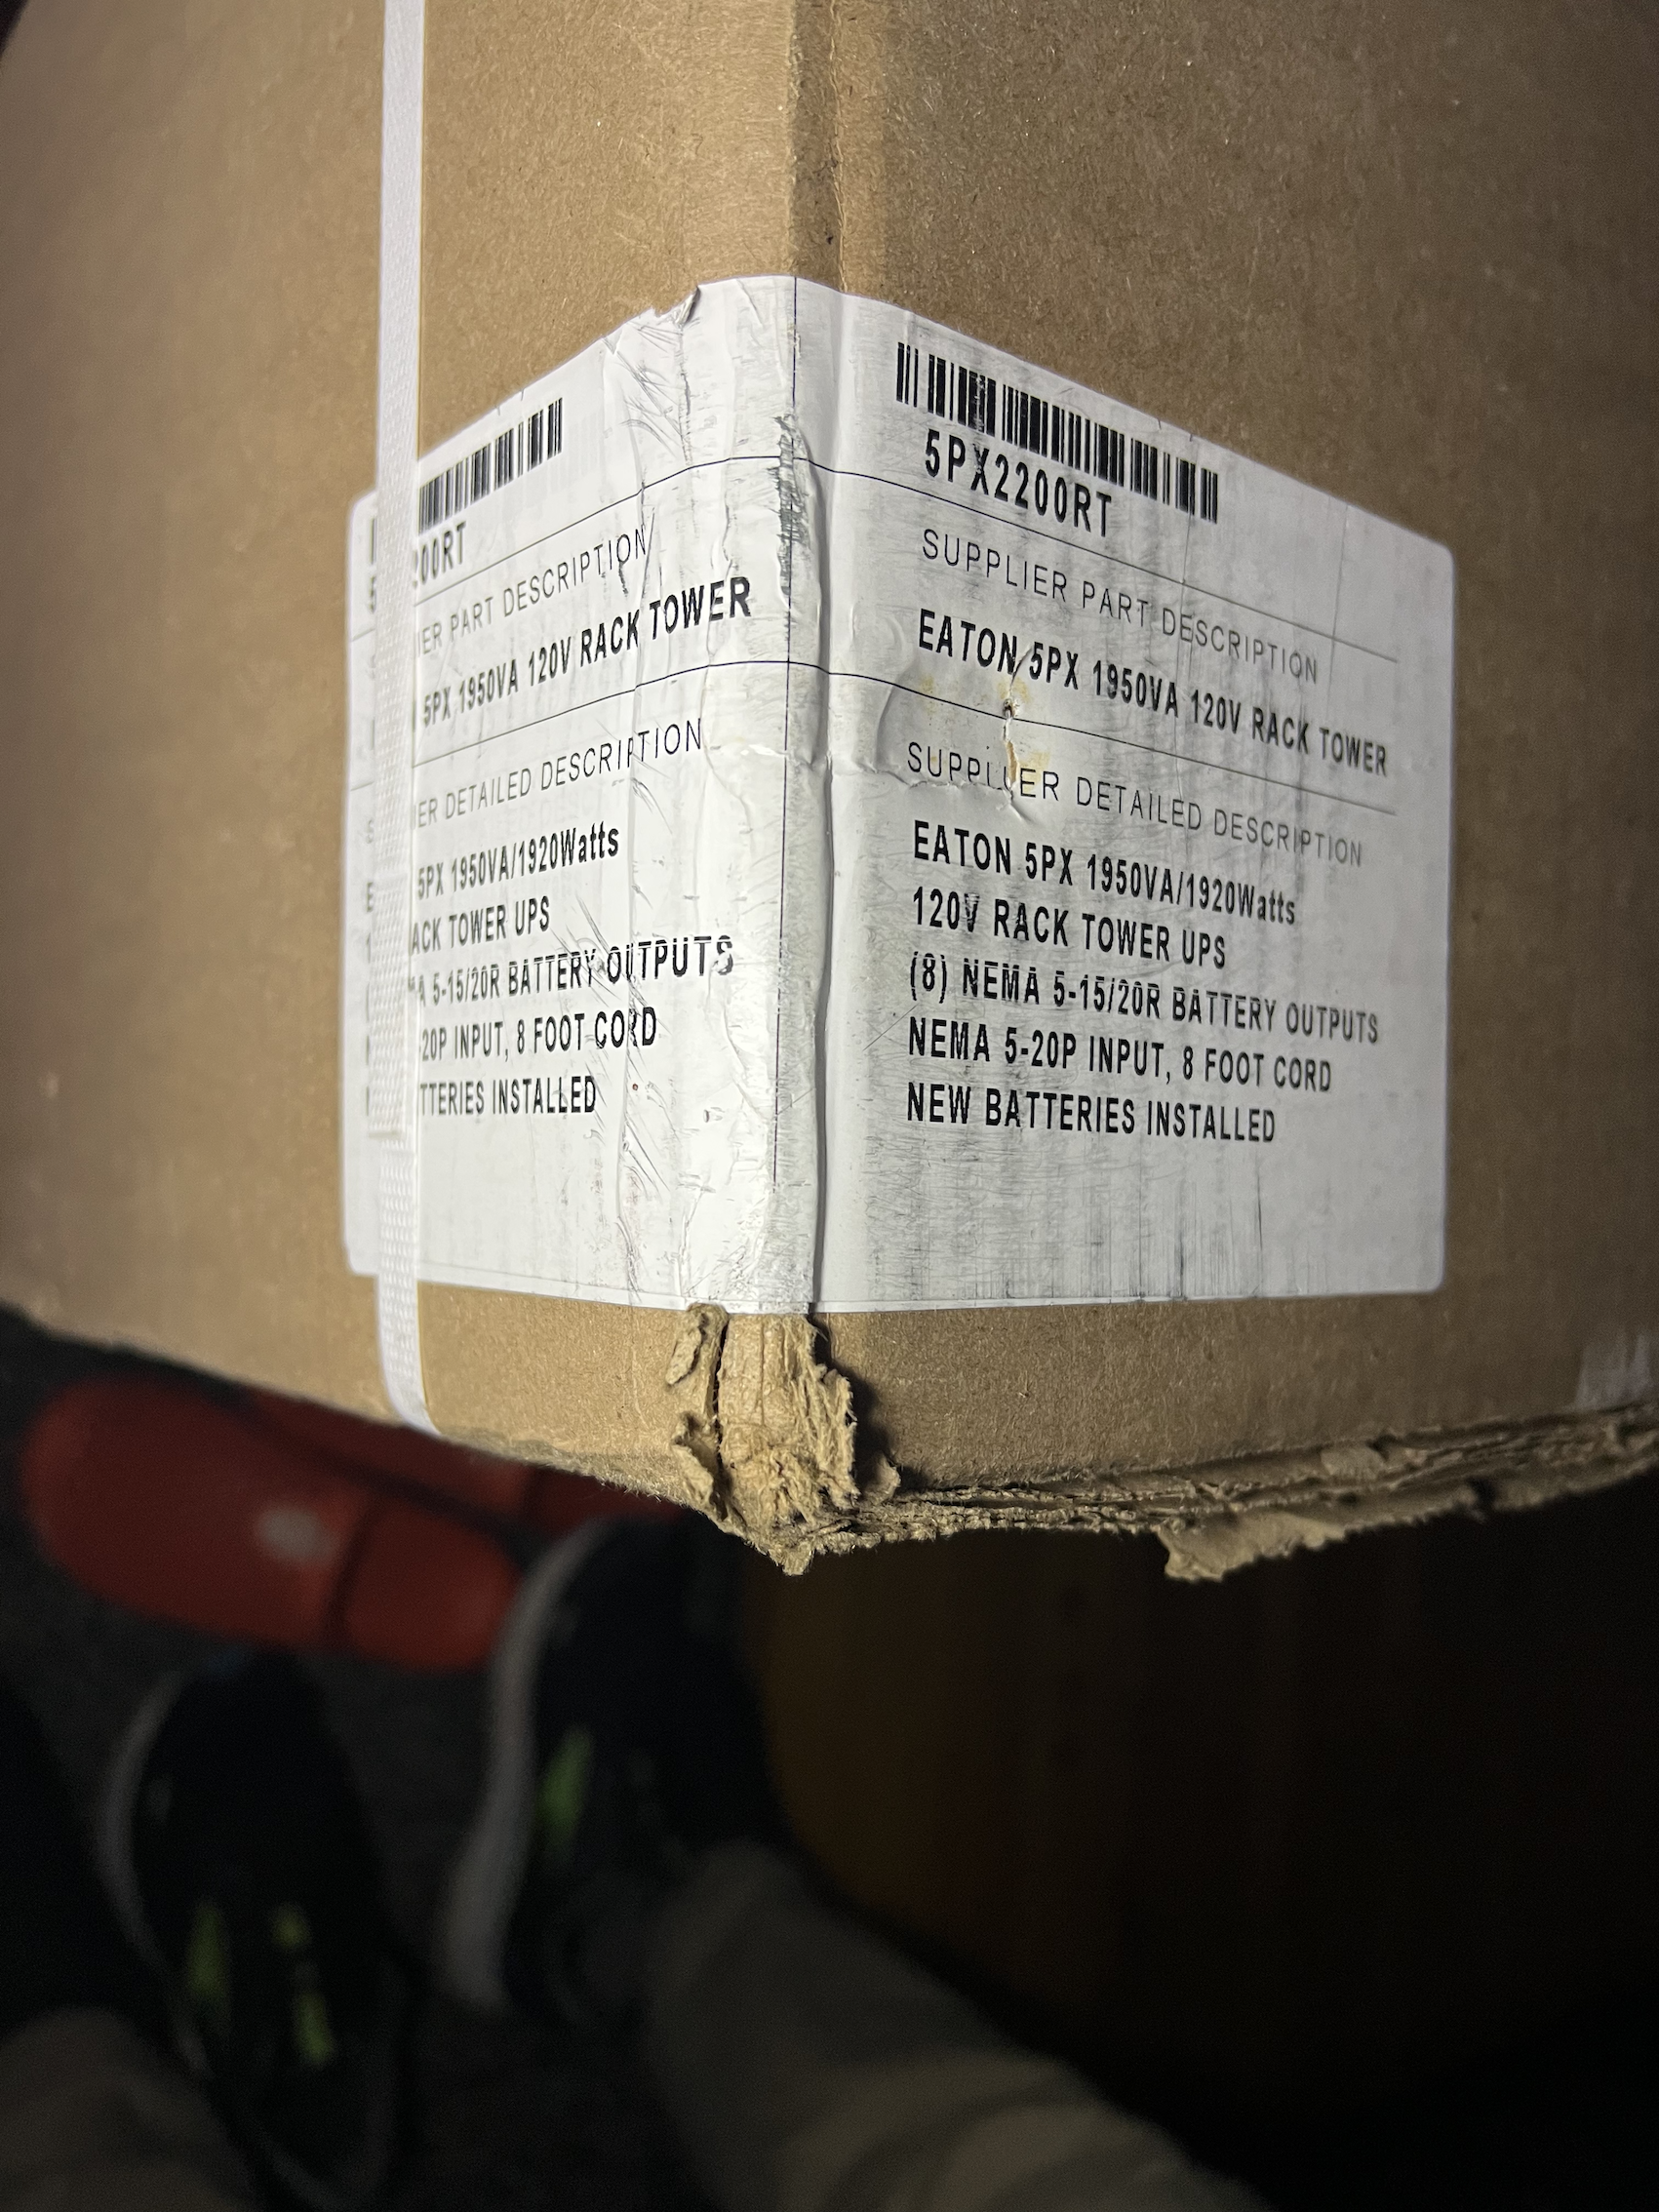
Sold by:

Model details:
Down the basement stairs
I live in a house built in 1890. The stairs aren’t great. I wasn’t going to carry it down these stairs. It was awkward enough to carry this 60-pound box from the front door, through the living room and dining room into the kitchen. As I type this, I could have taken the box outside, down the stairs at the side of the house and directly into the basement. But I didn’t.
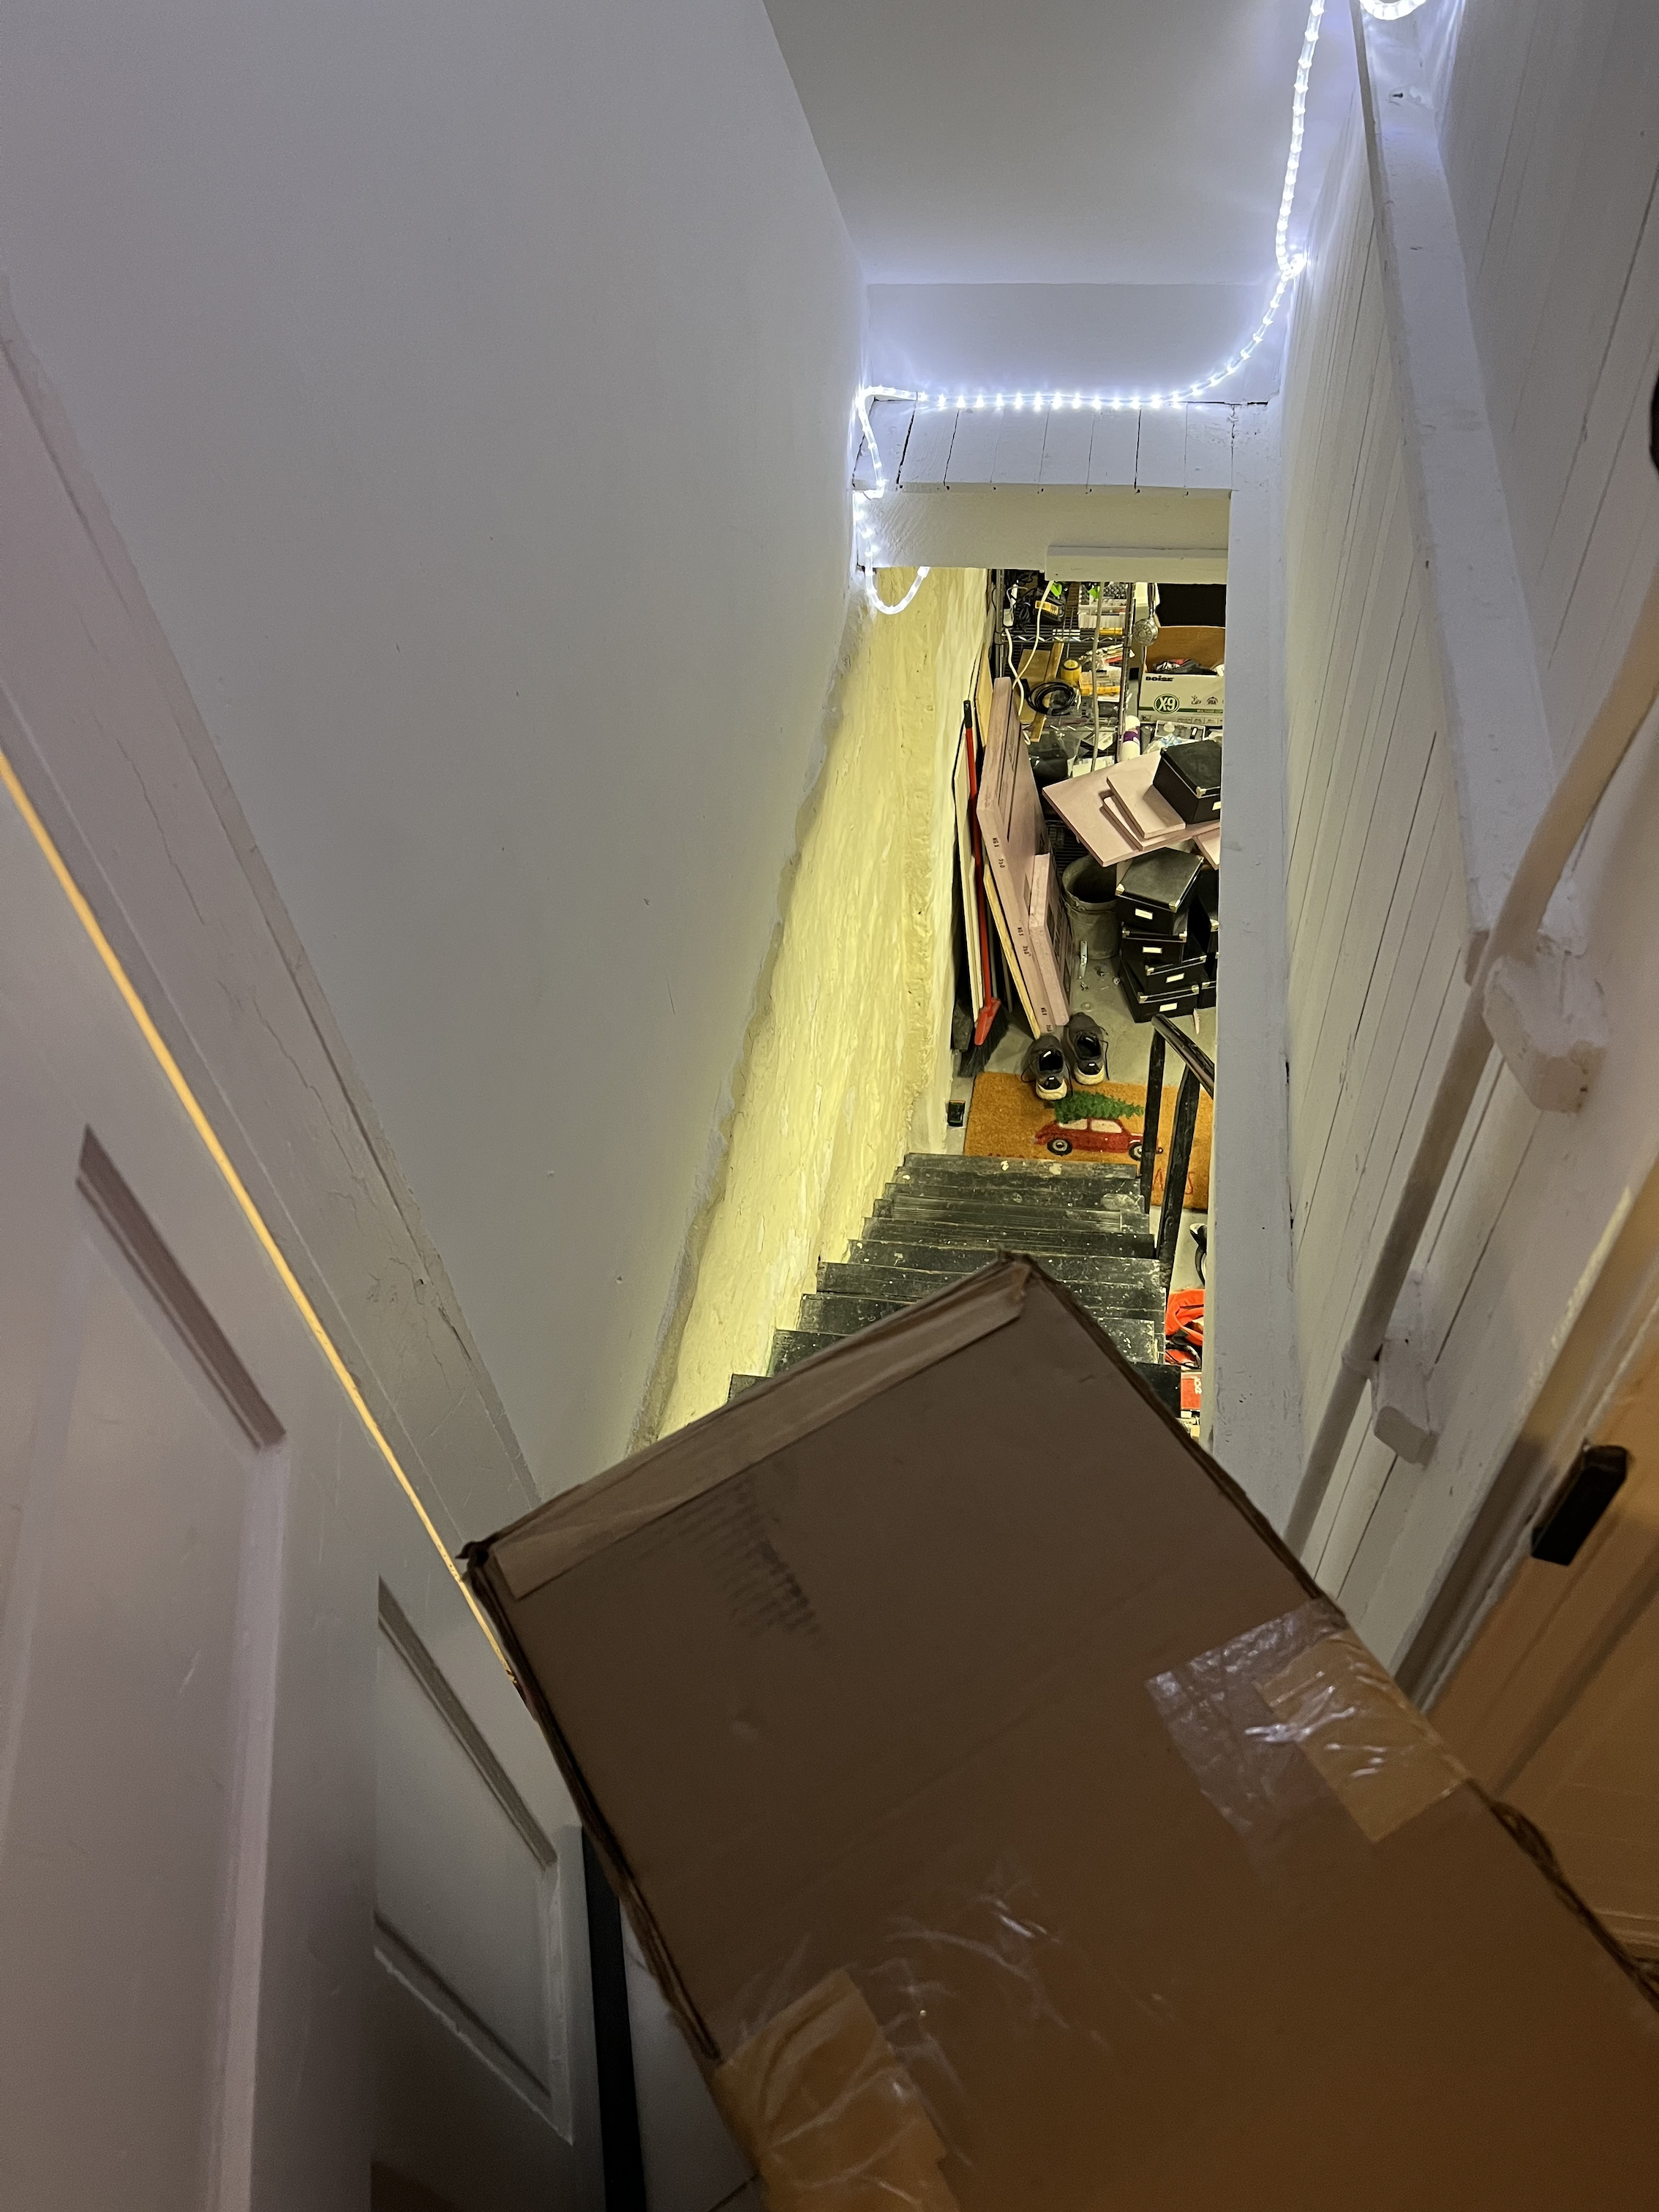
What next? I had vague memories of sliding heaving boxes down the stair. I did the same with this box. I went first, and tilted the box down the stairs. Basically, the box slipped along its long edge down the stairs while I secured it from below. This procedure took about a minute I think.
The unboxing
This is a series of photos as I unboxed the new UPS.
Inside the box … is another box. Expected.
`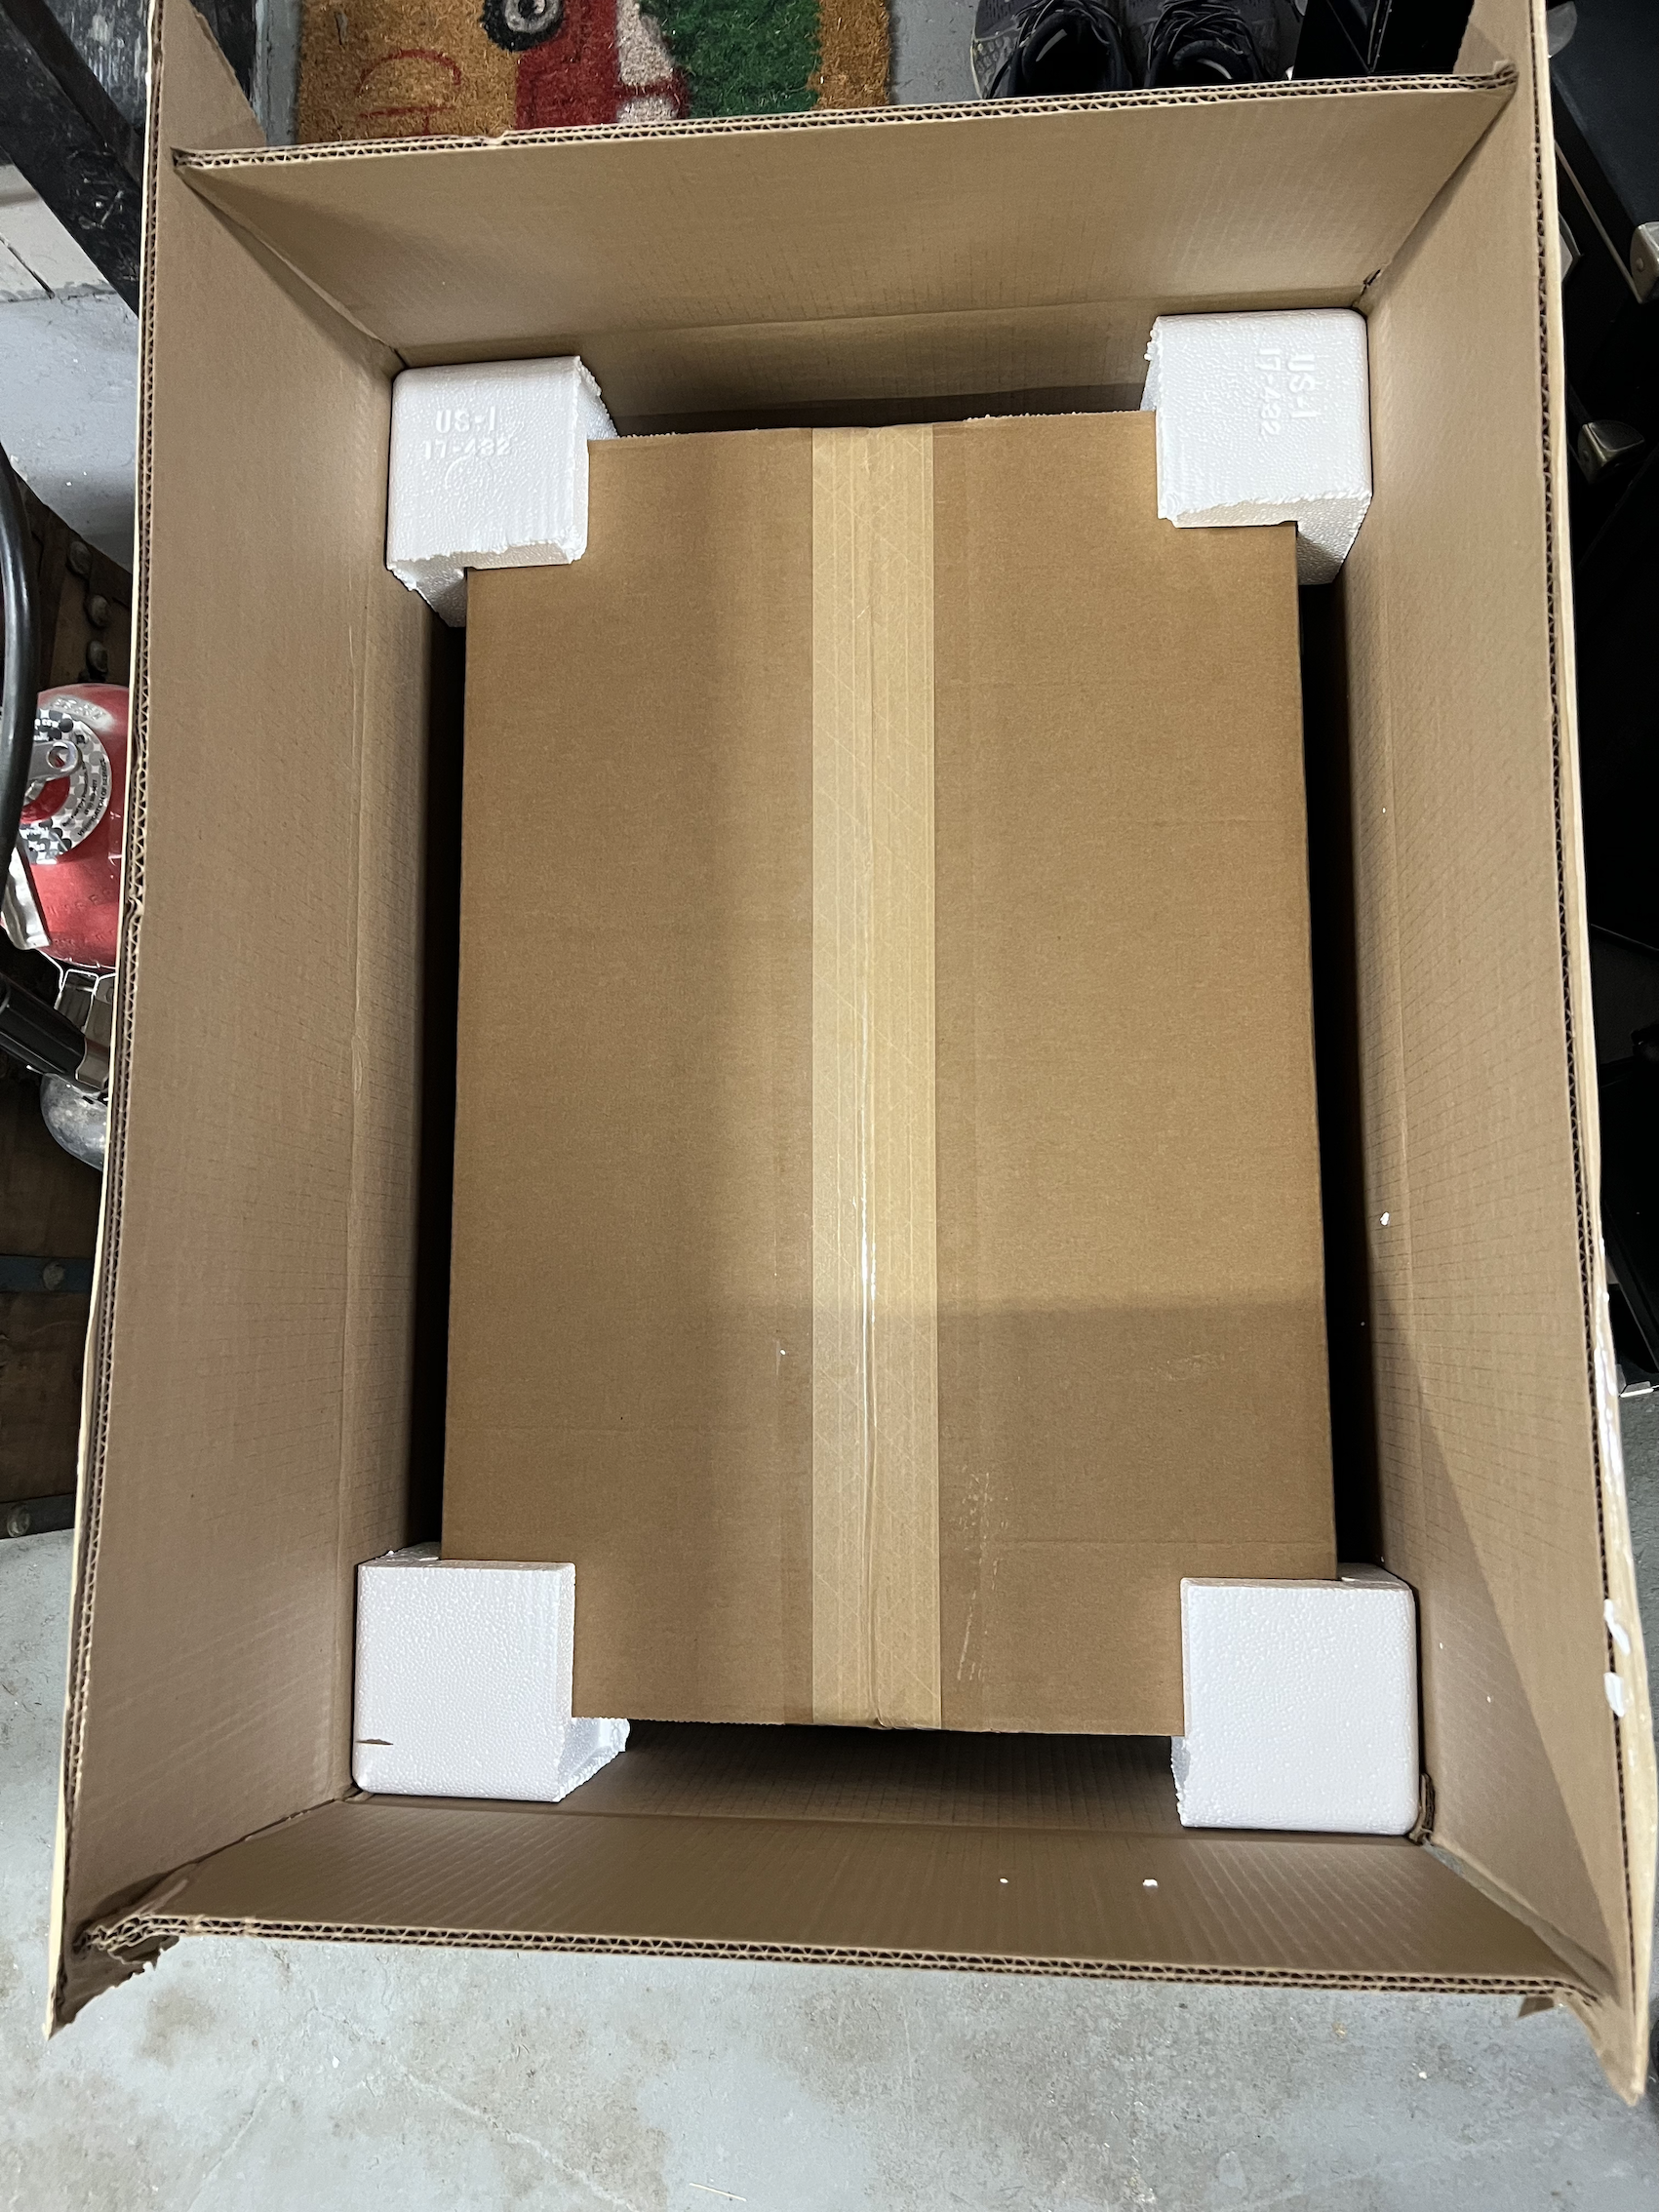
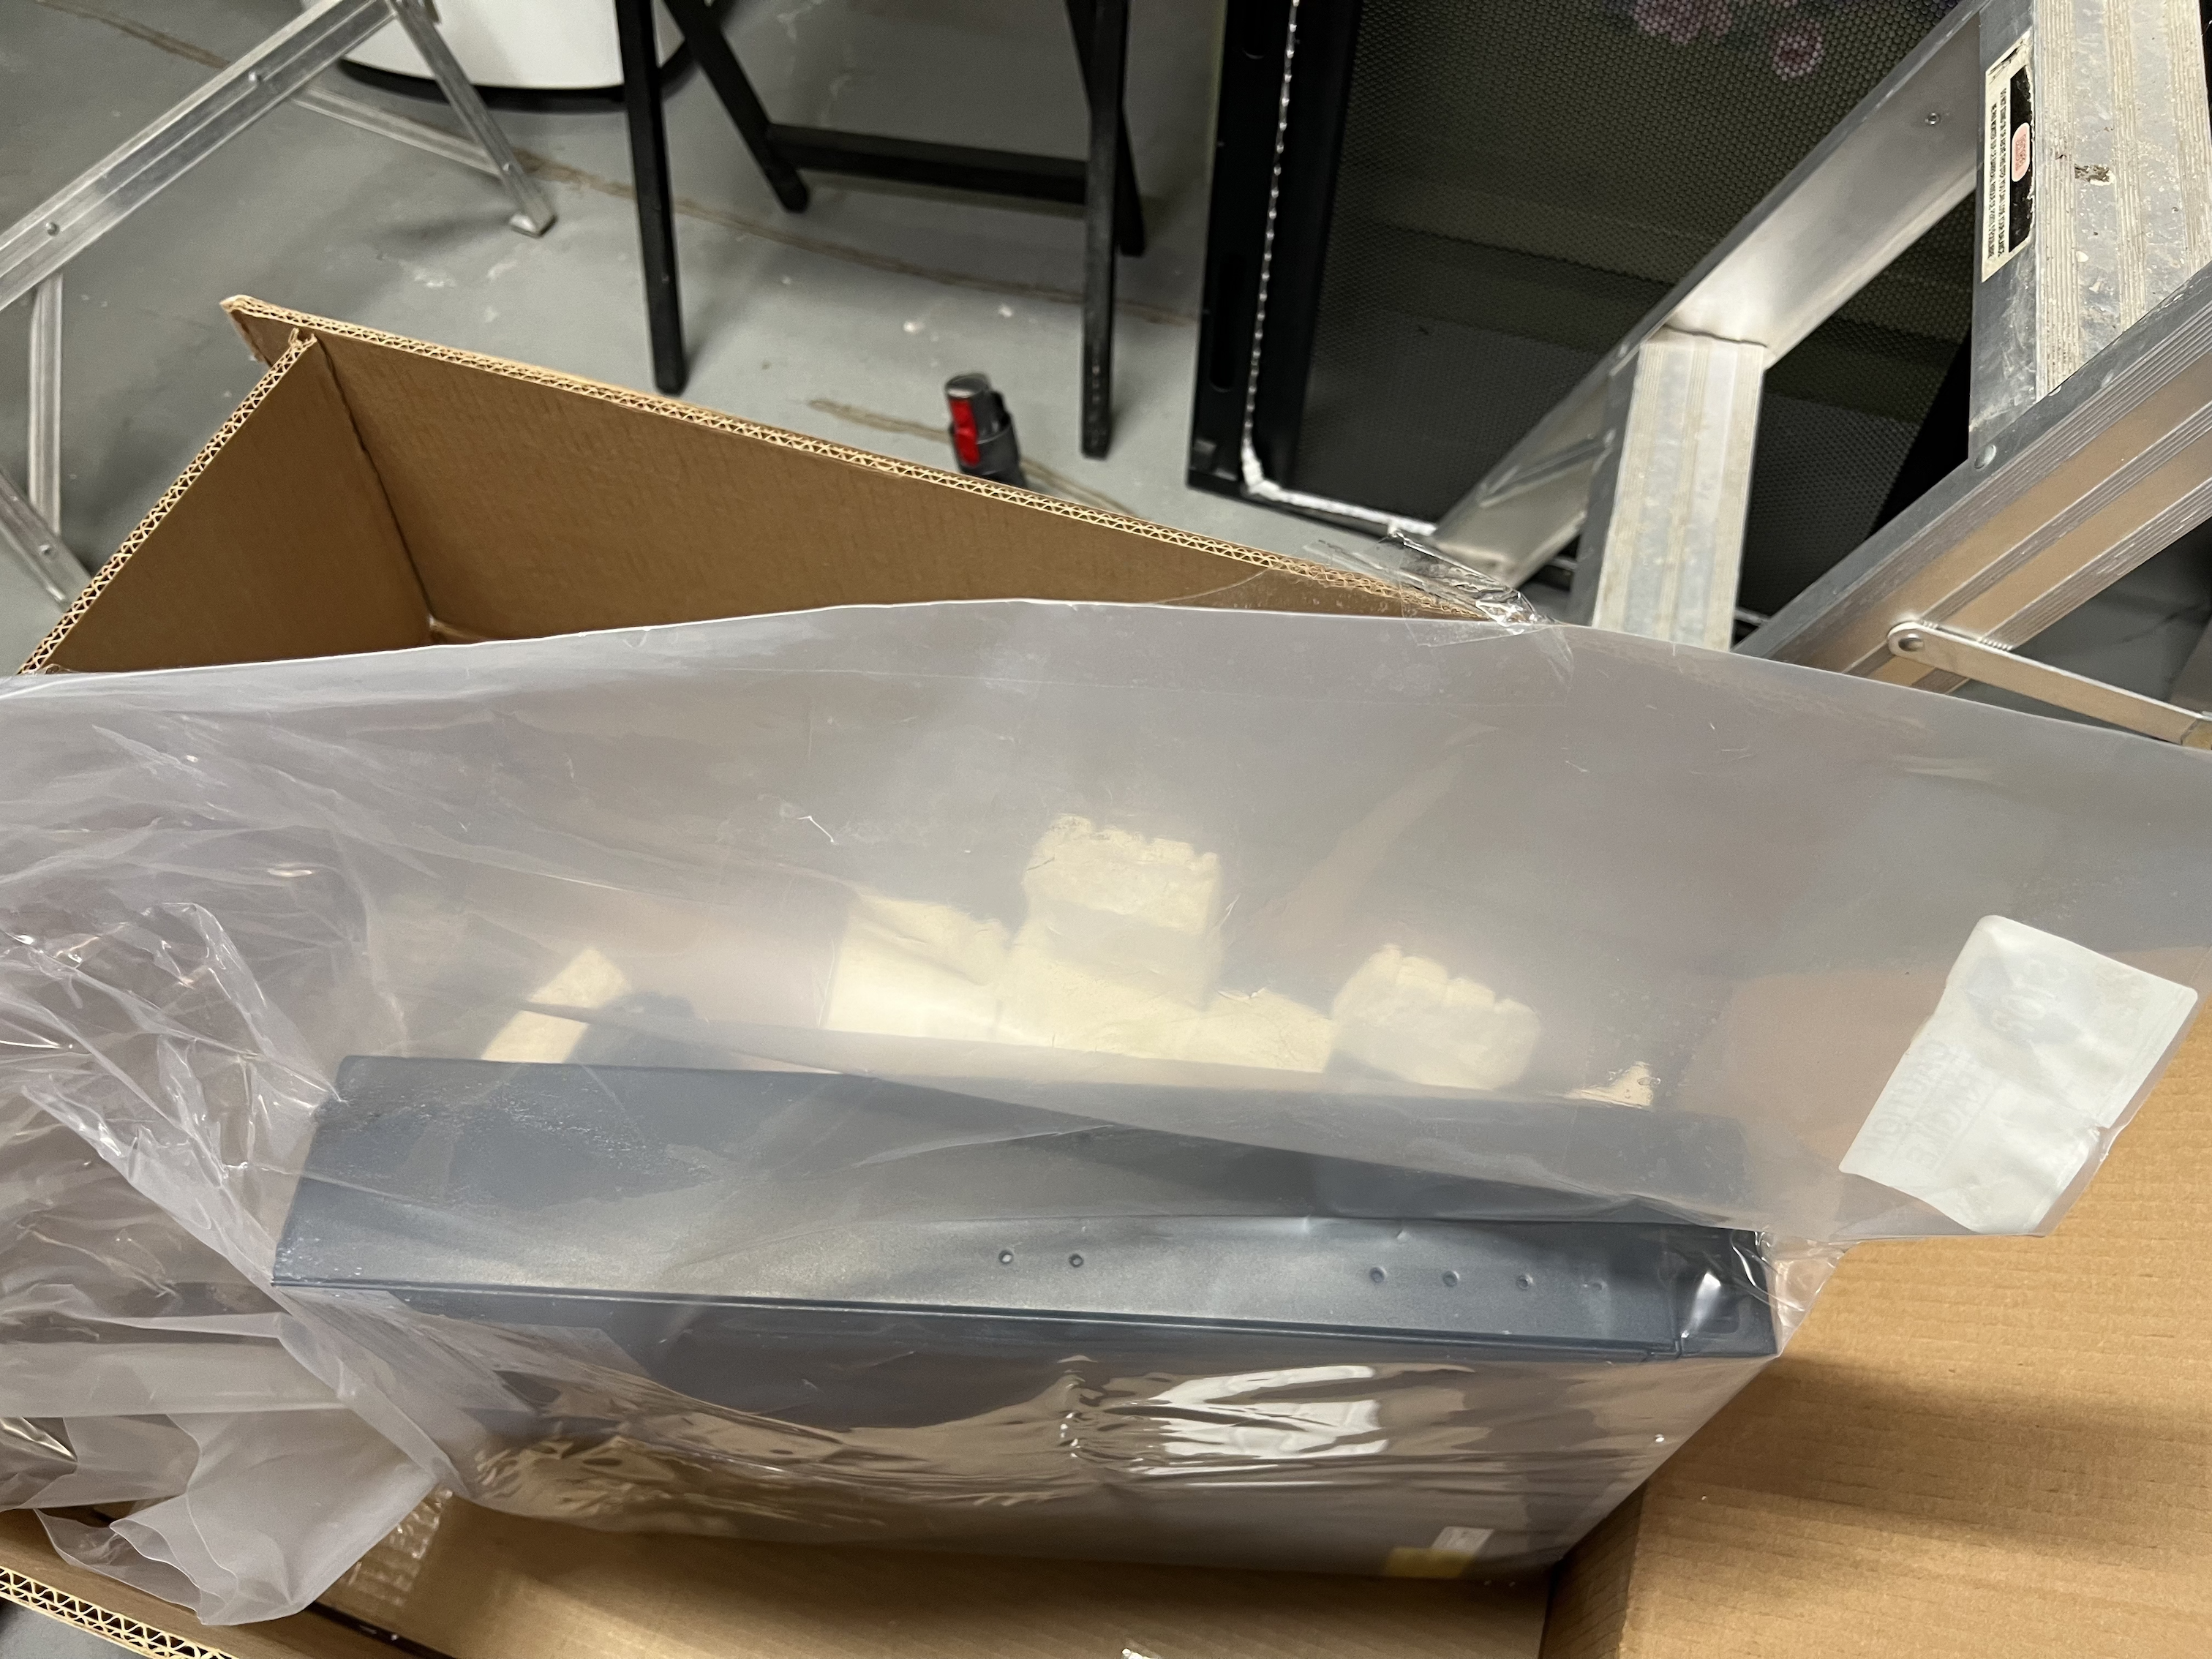
I removed that box by standing the outer box on its end and sliding the inner box out. That may have broken the packing corners, as seen in the next photo.
I slid the inner box over to where it would be installed.
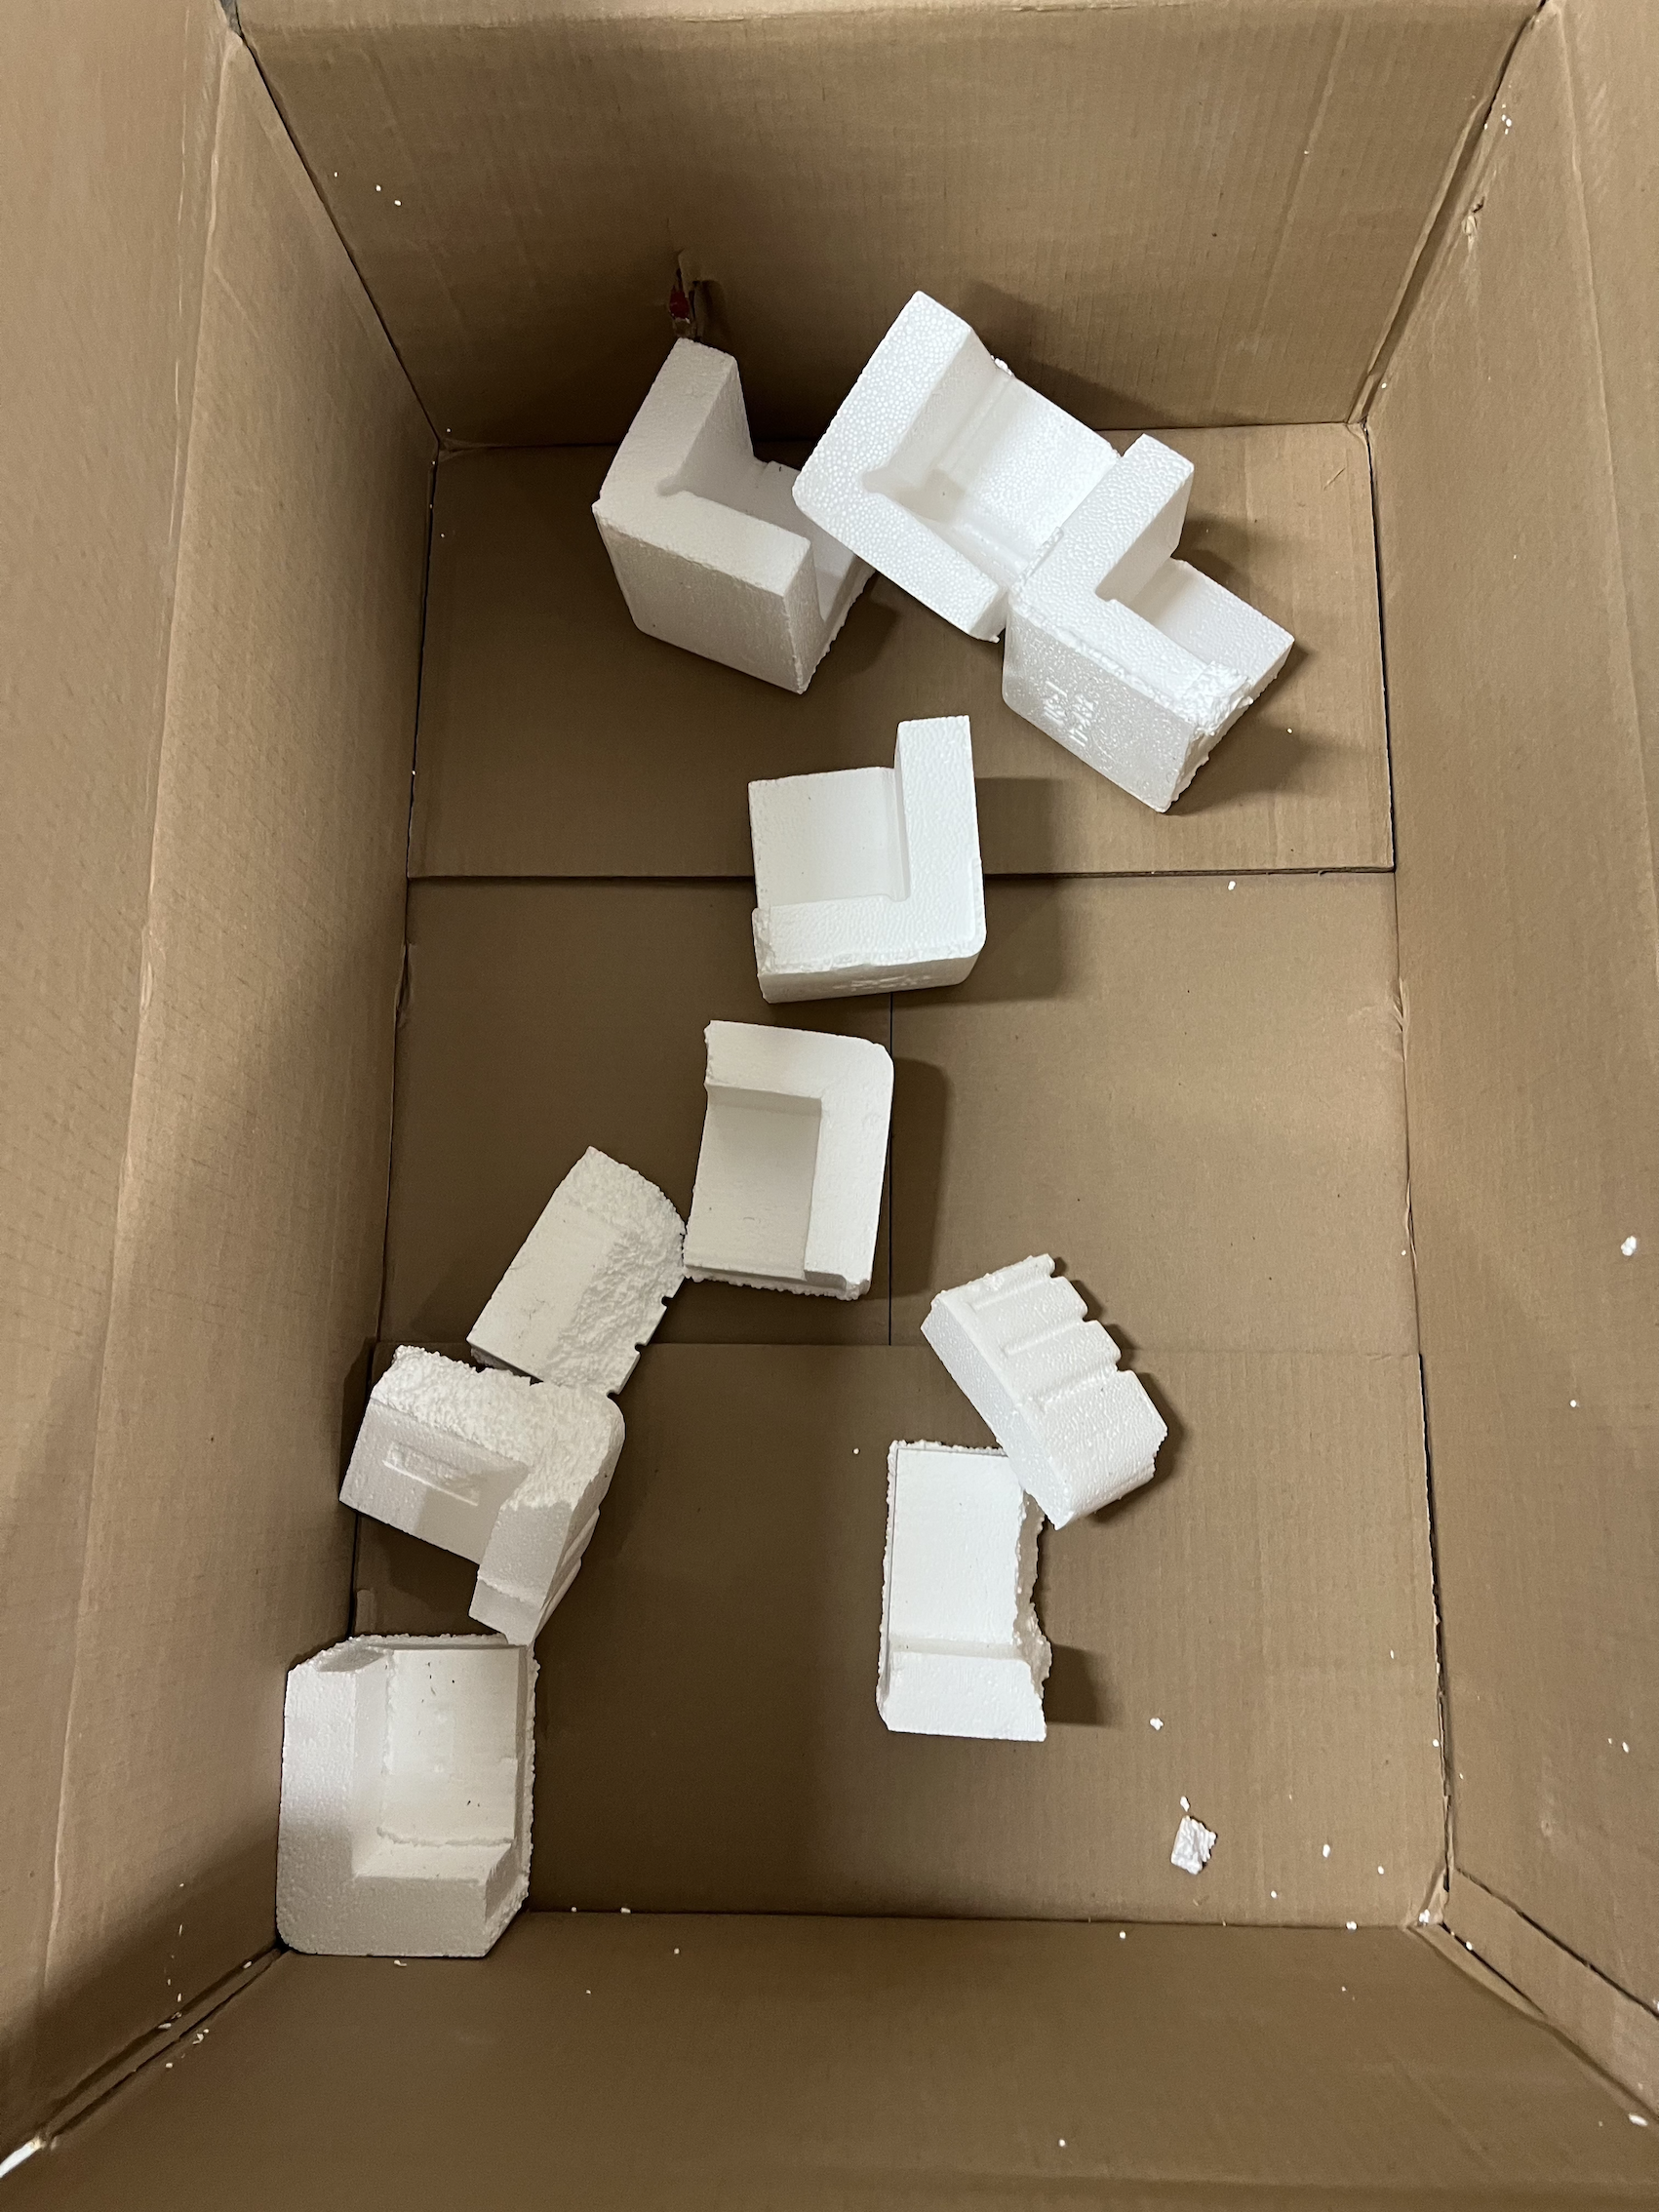
After opening, it was messy. It looks like all the packing corners broke.
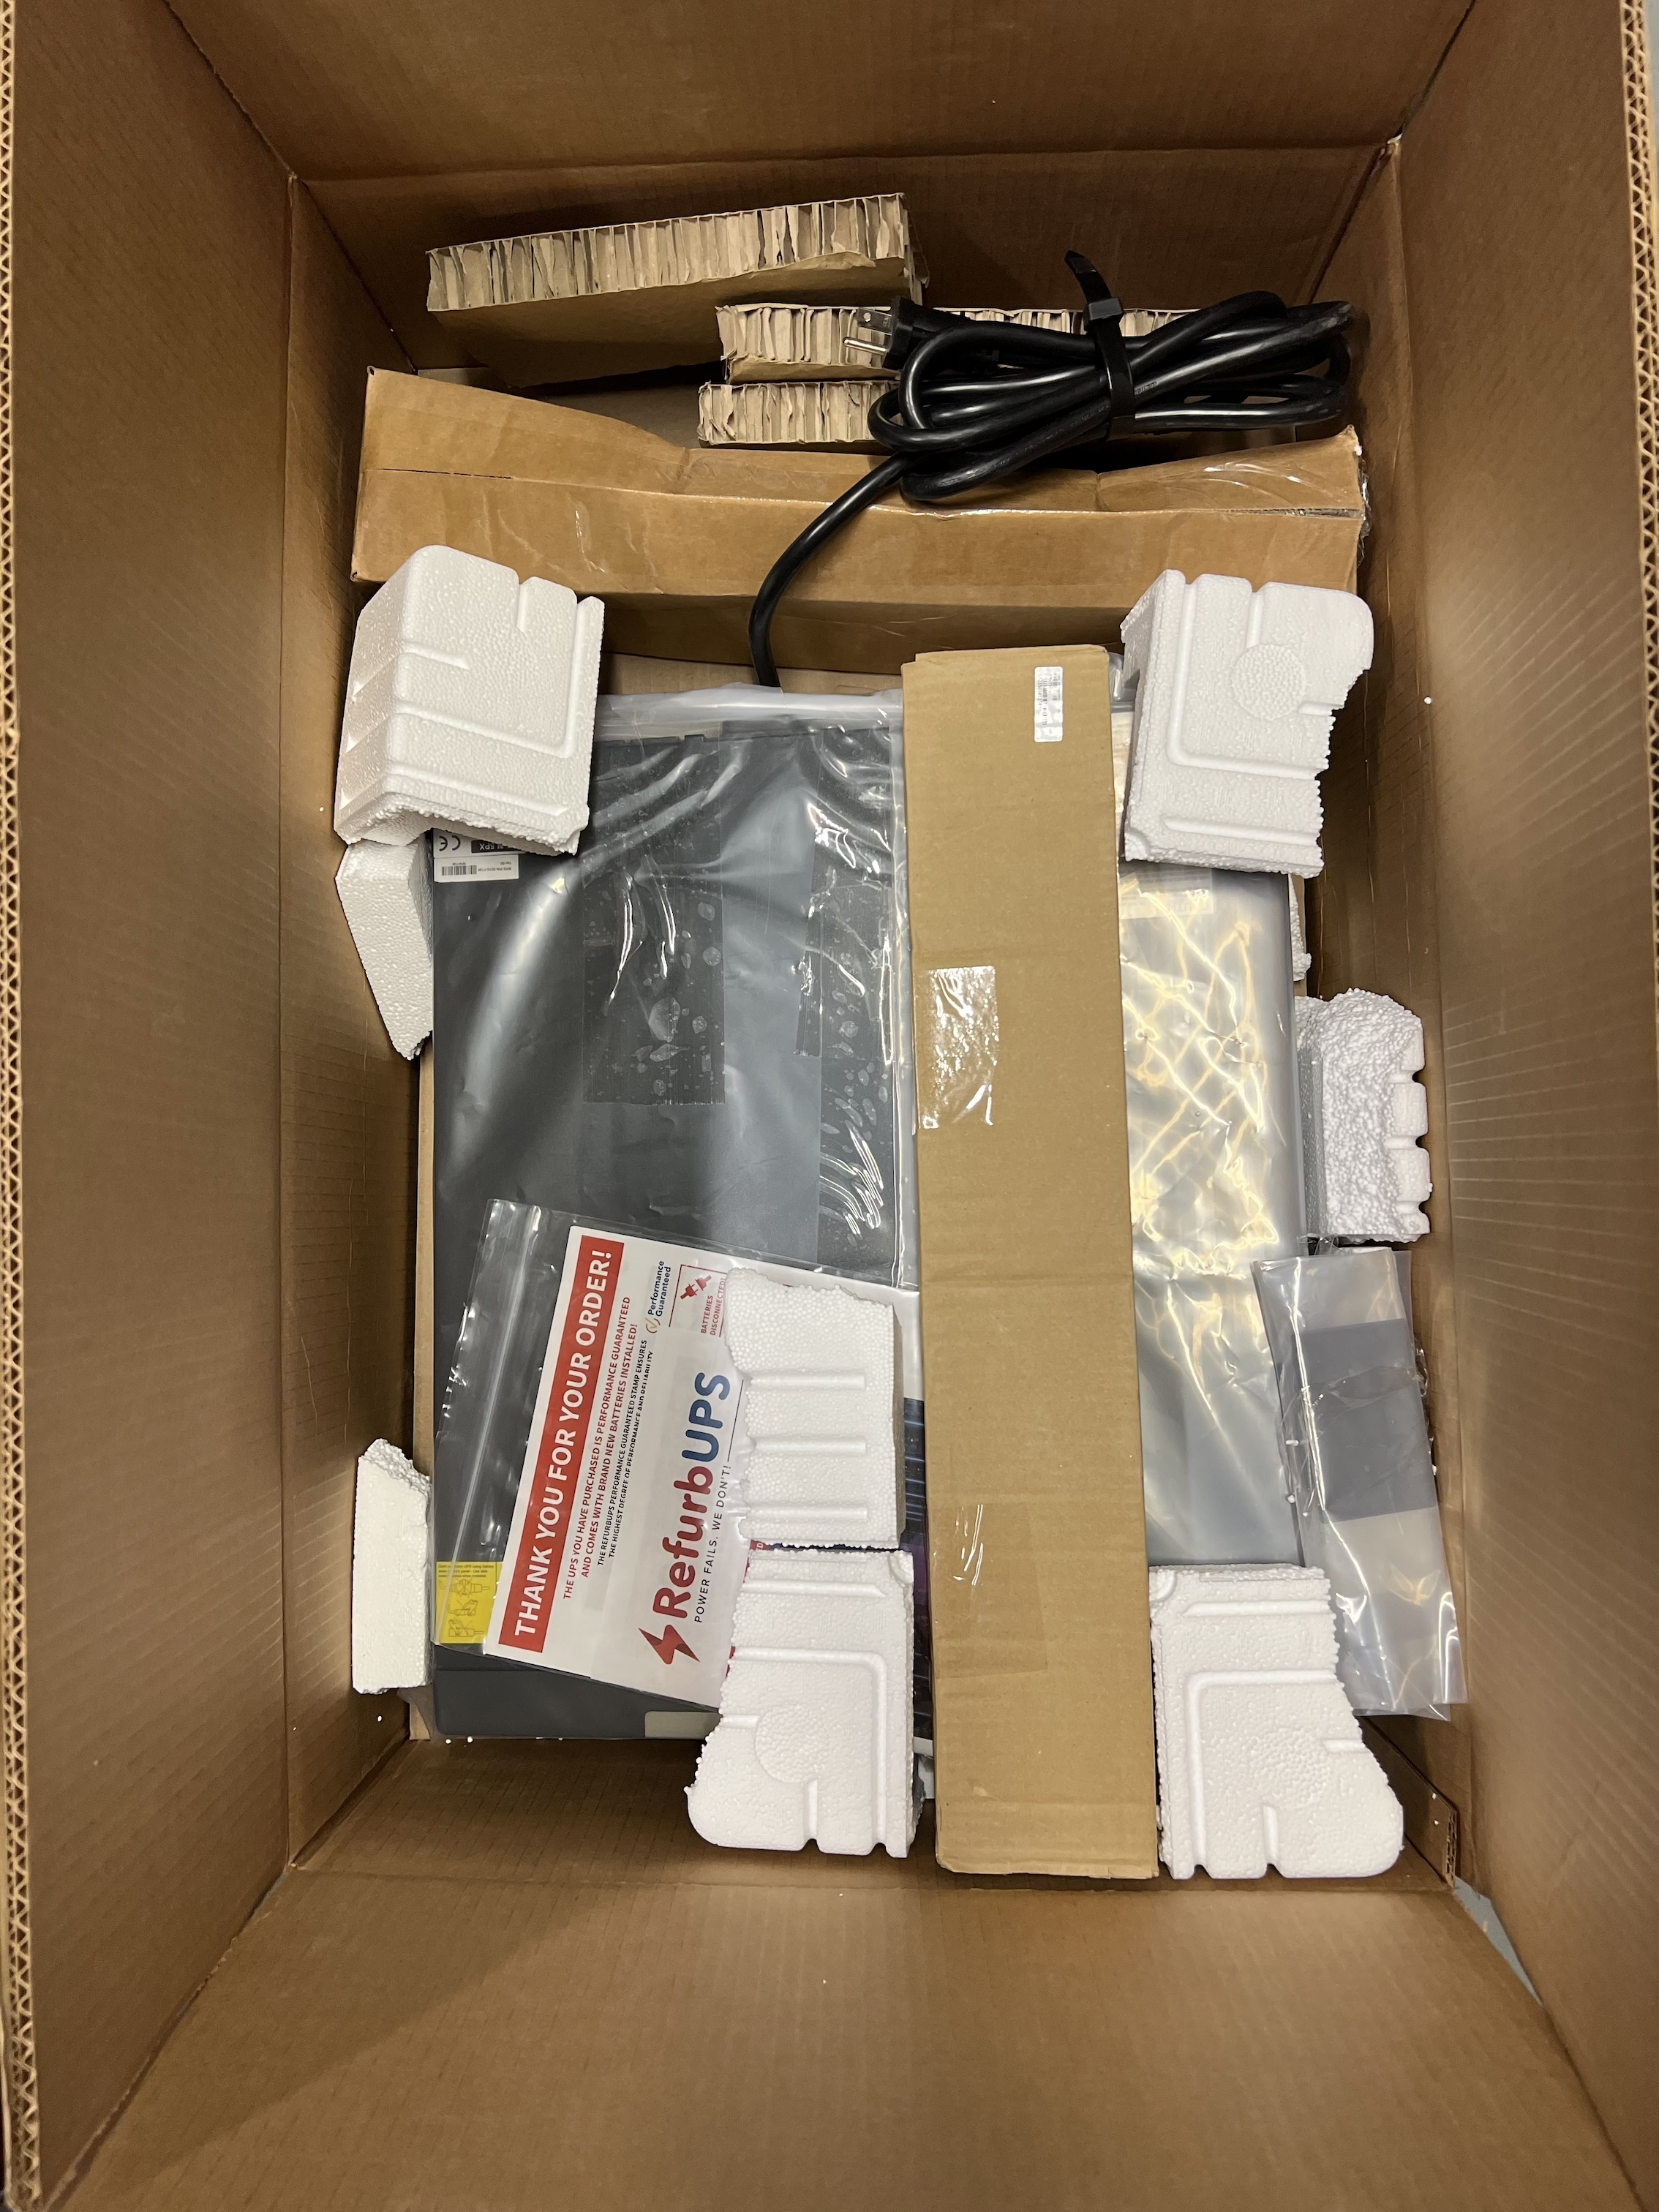
Looks sealed and new to me. However, the case did have scratches.
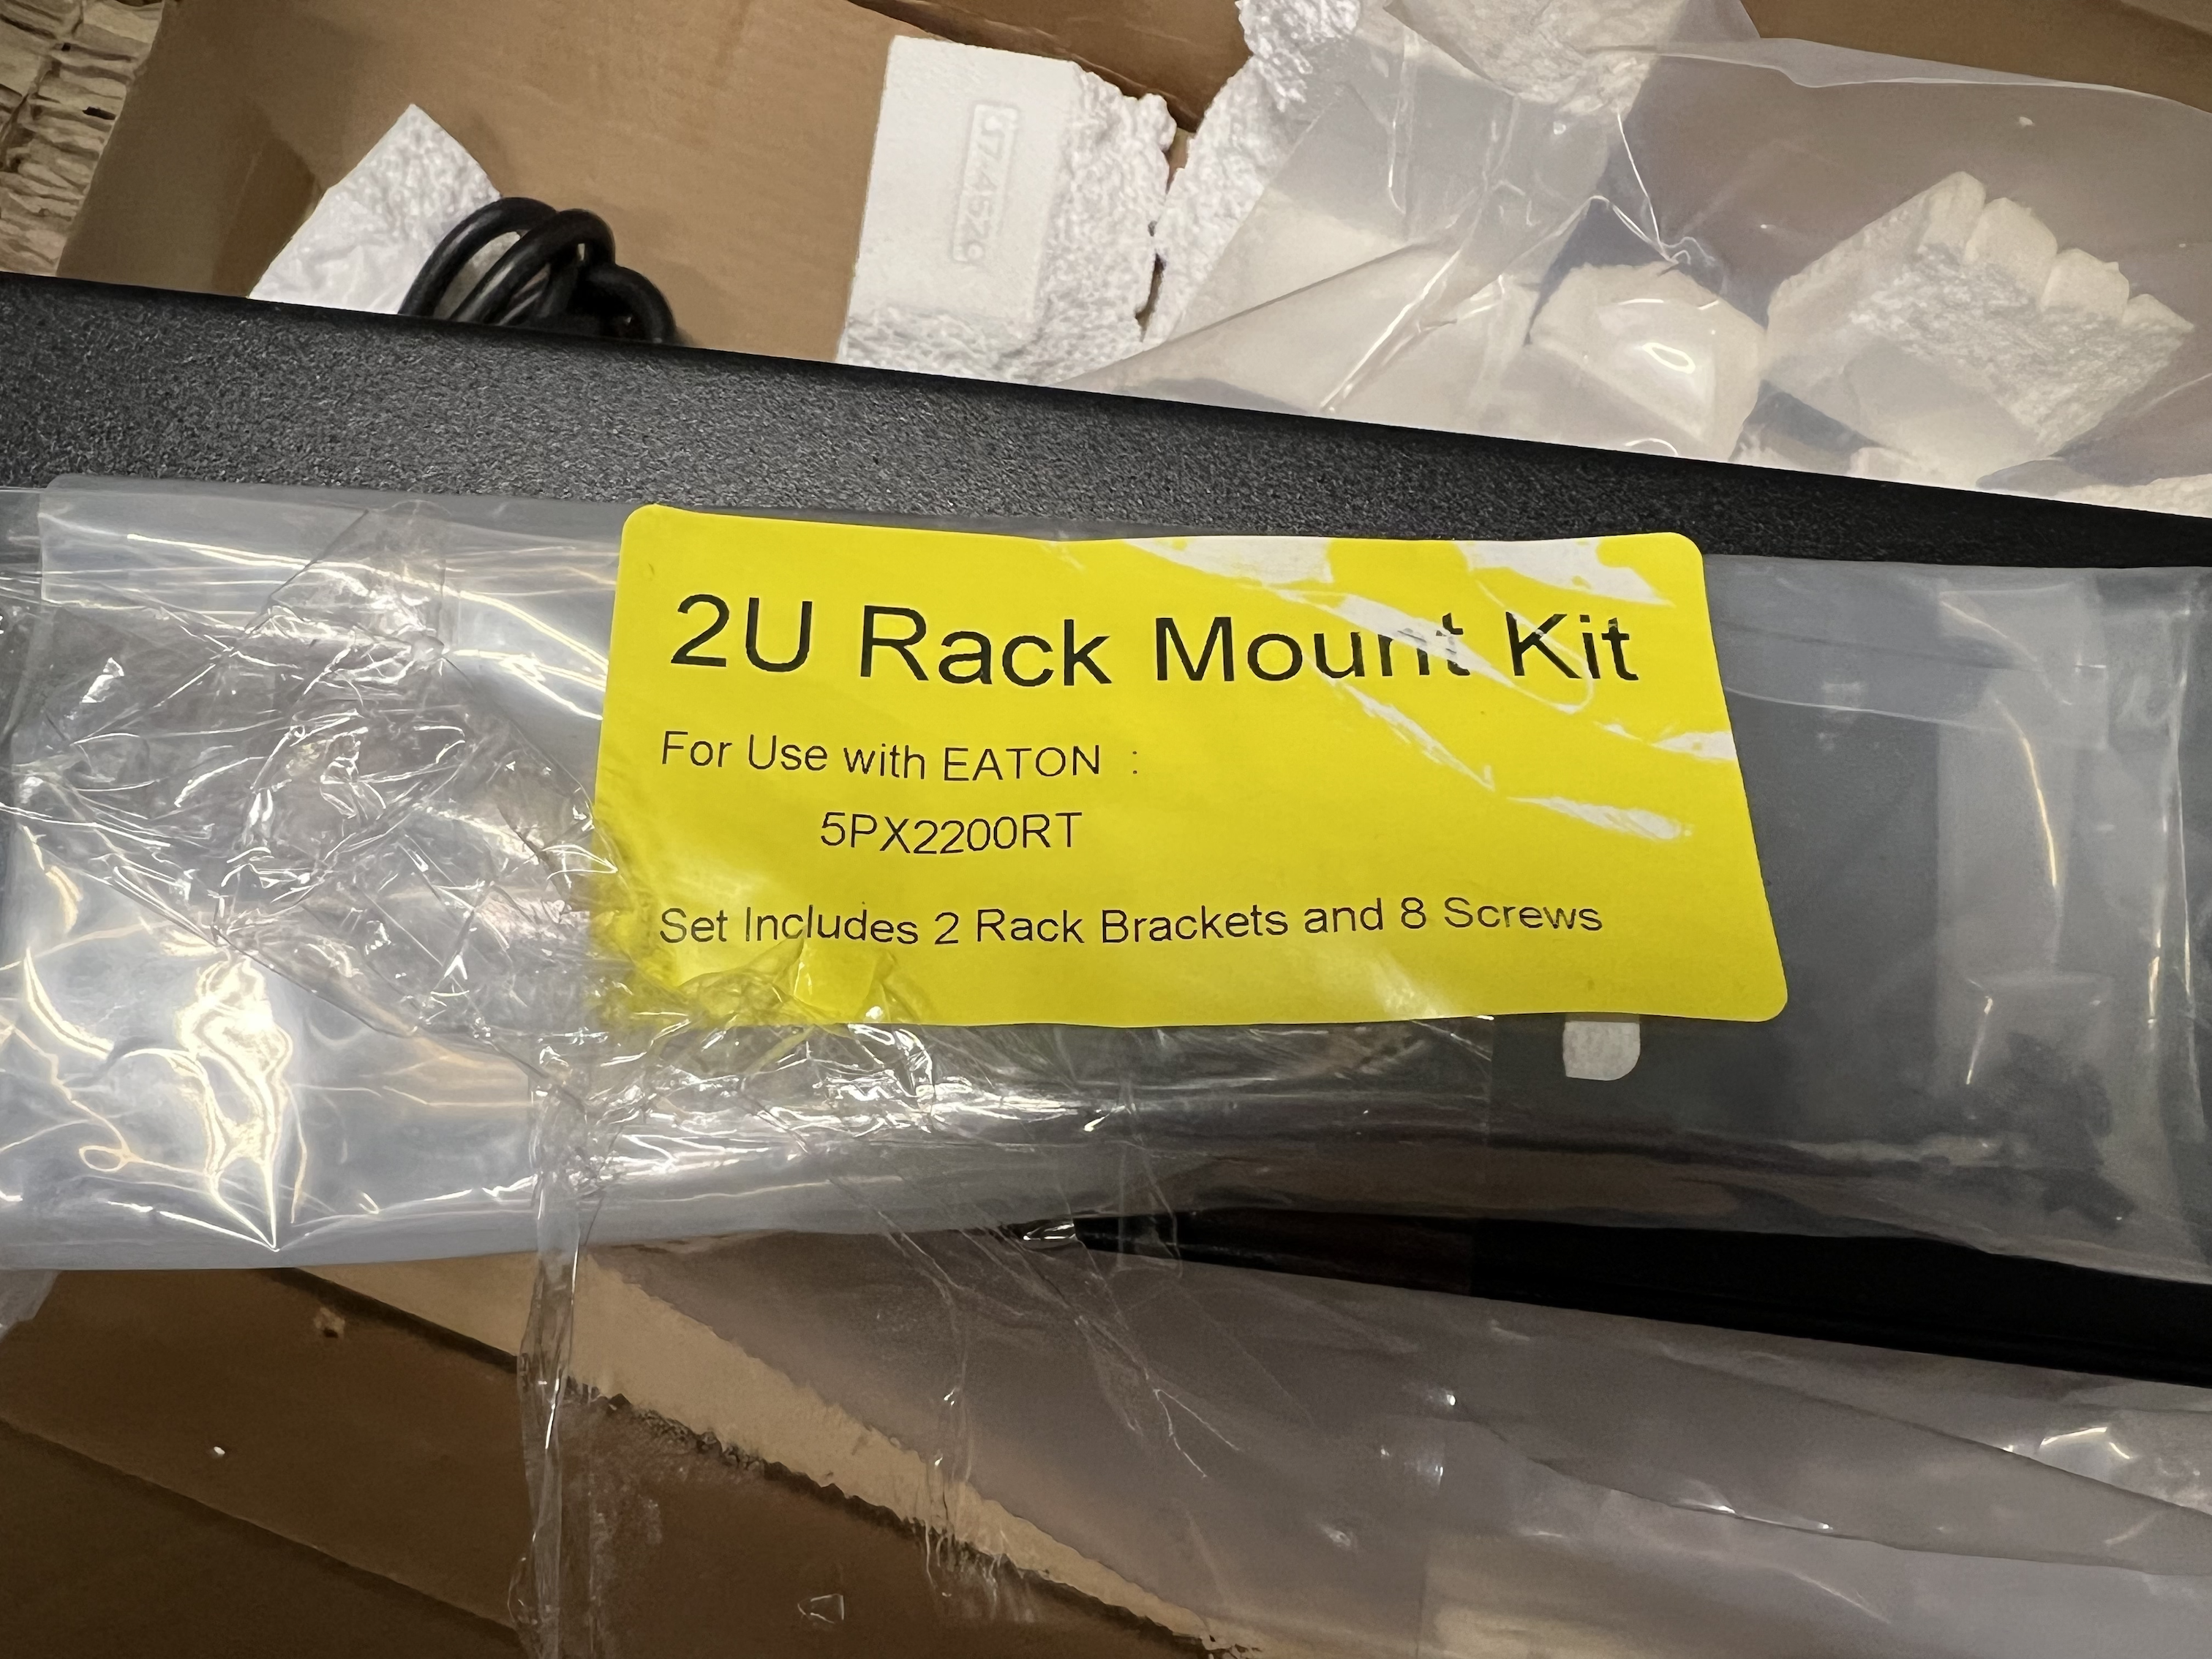
The rack mounting kit!
The shipment also included a set of rack shelves, which I already had.
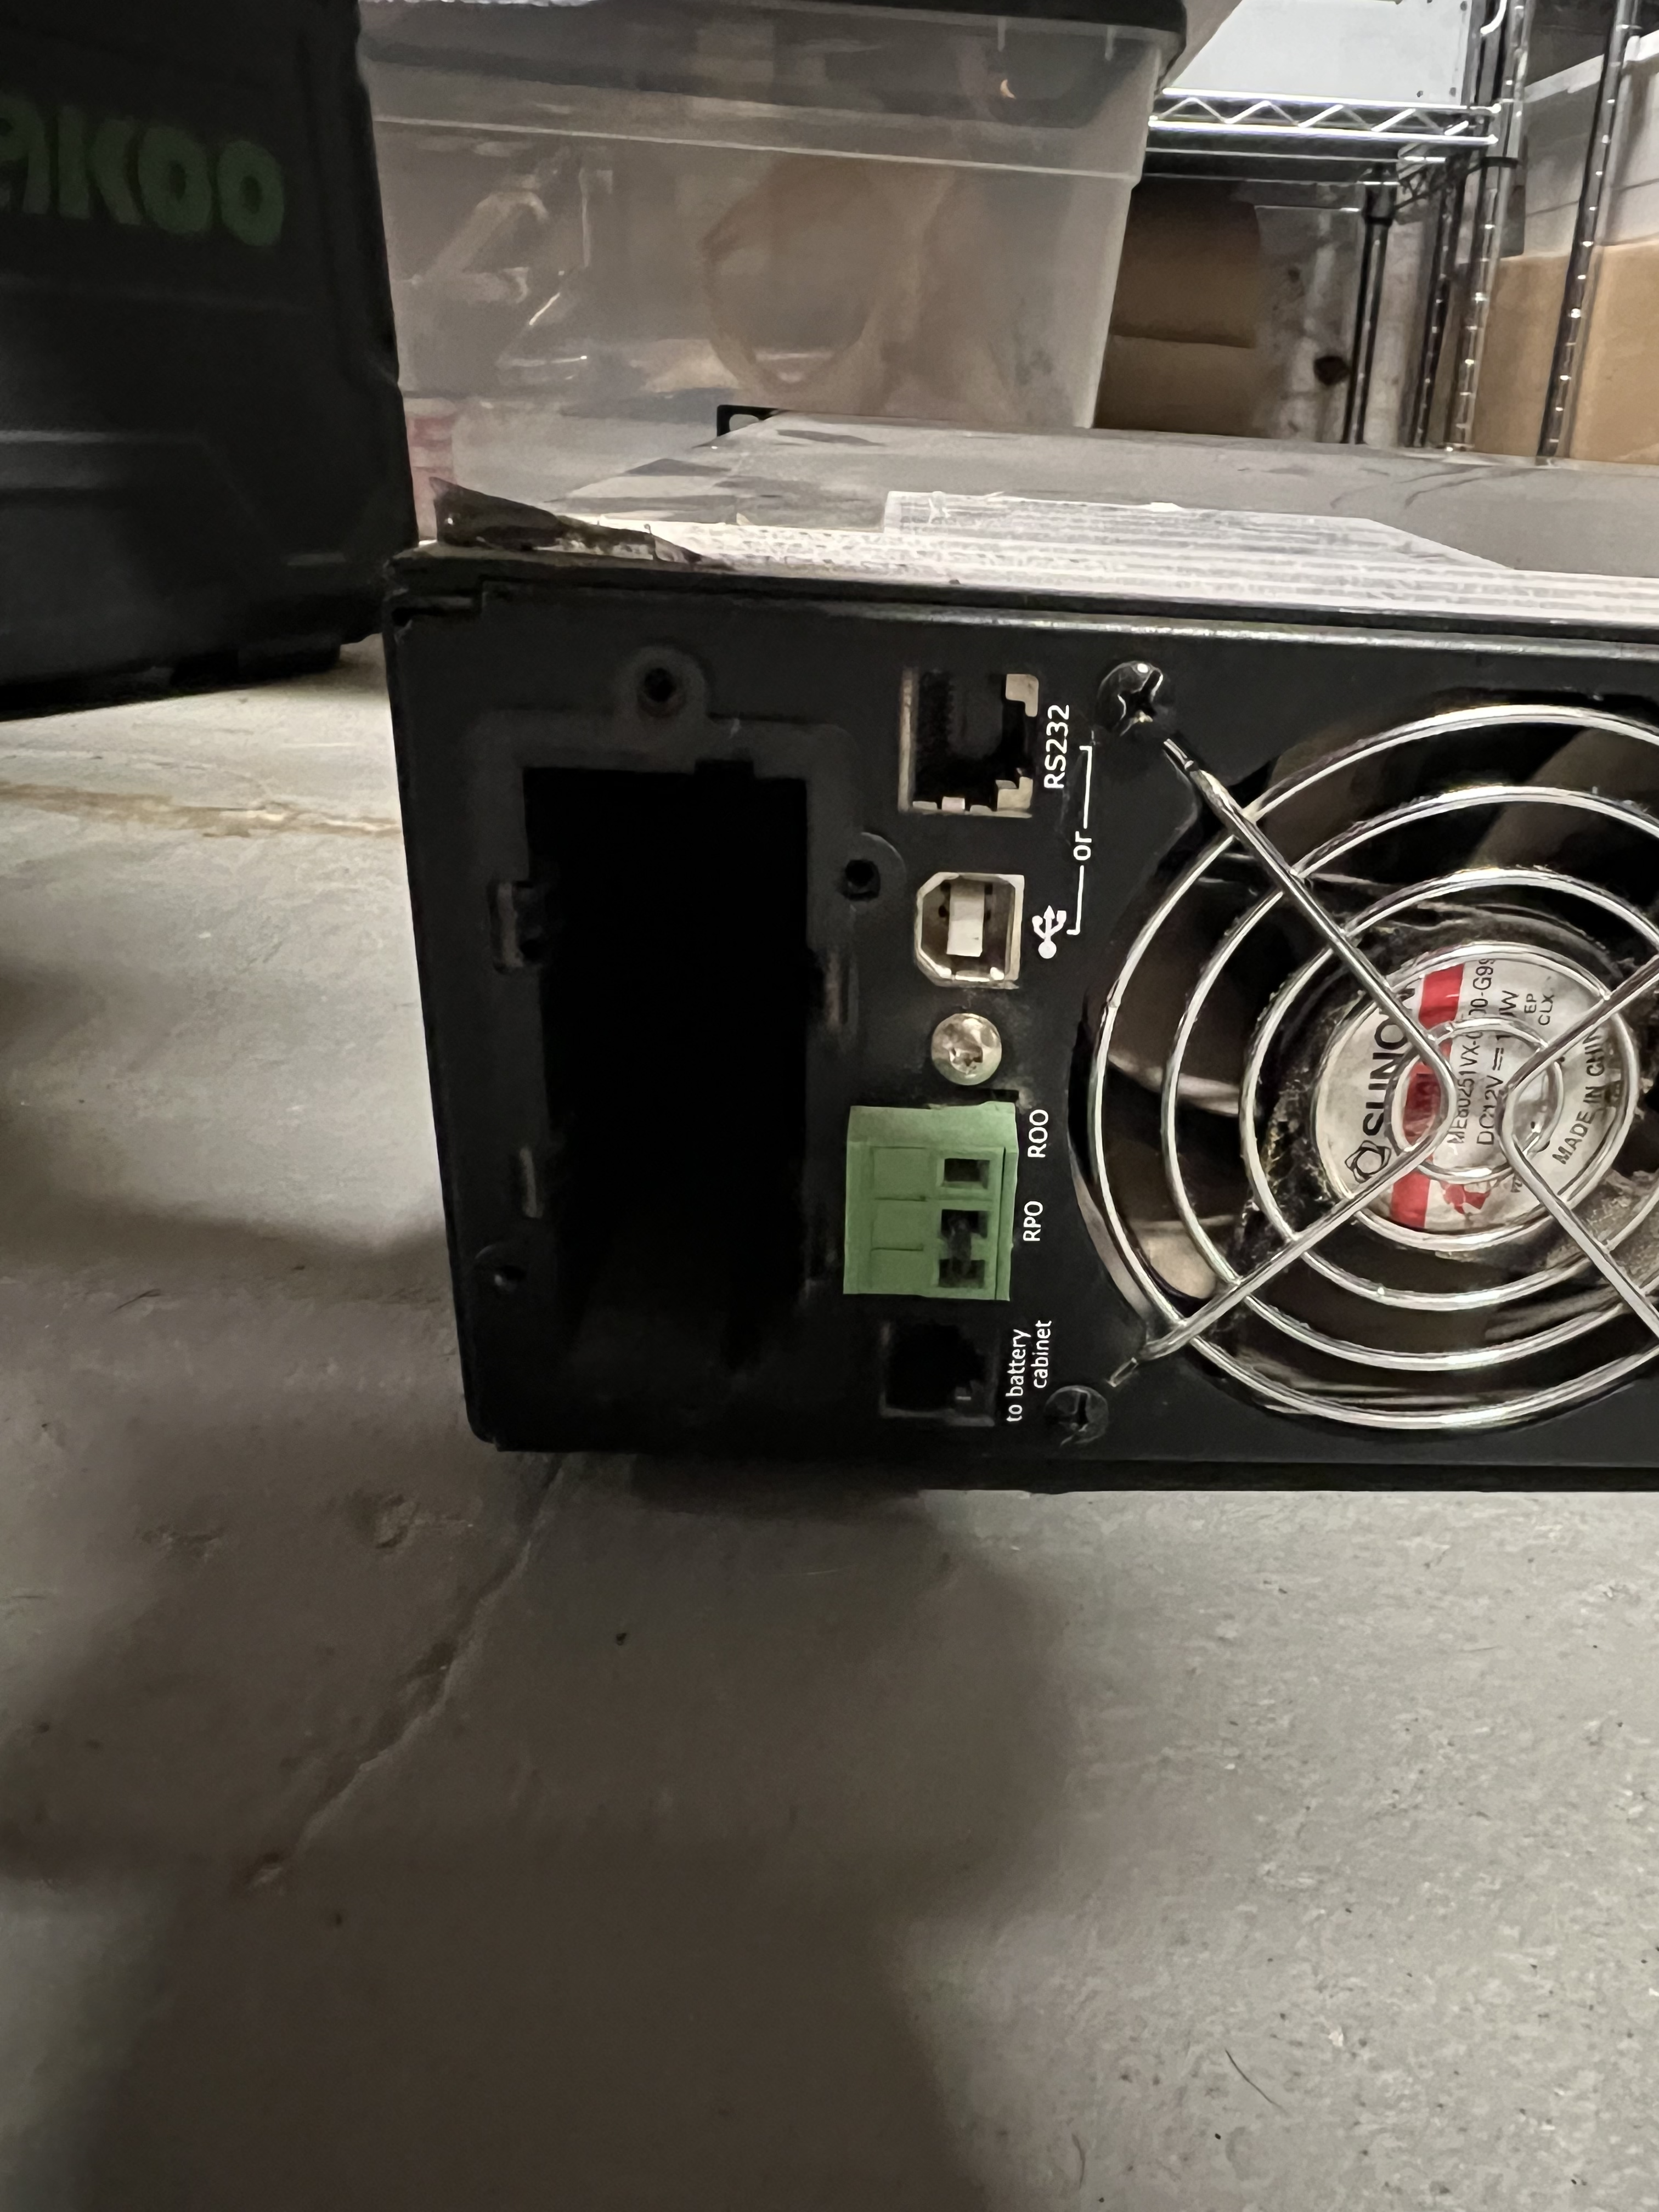
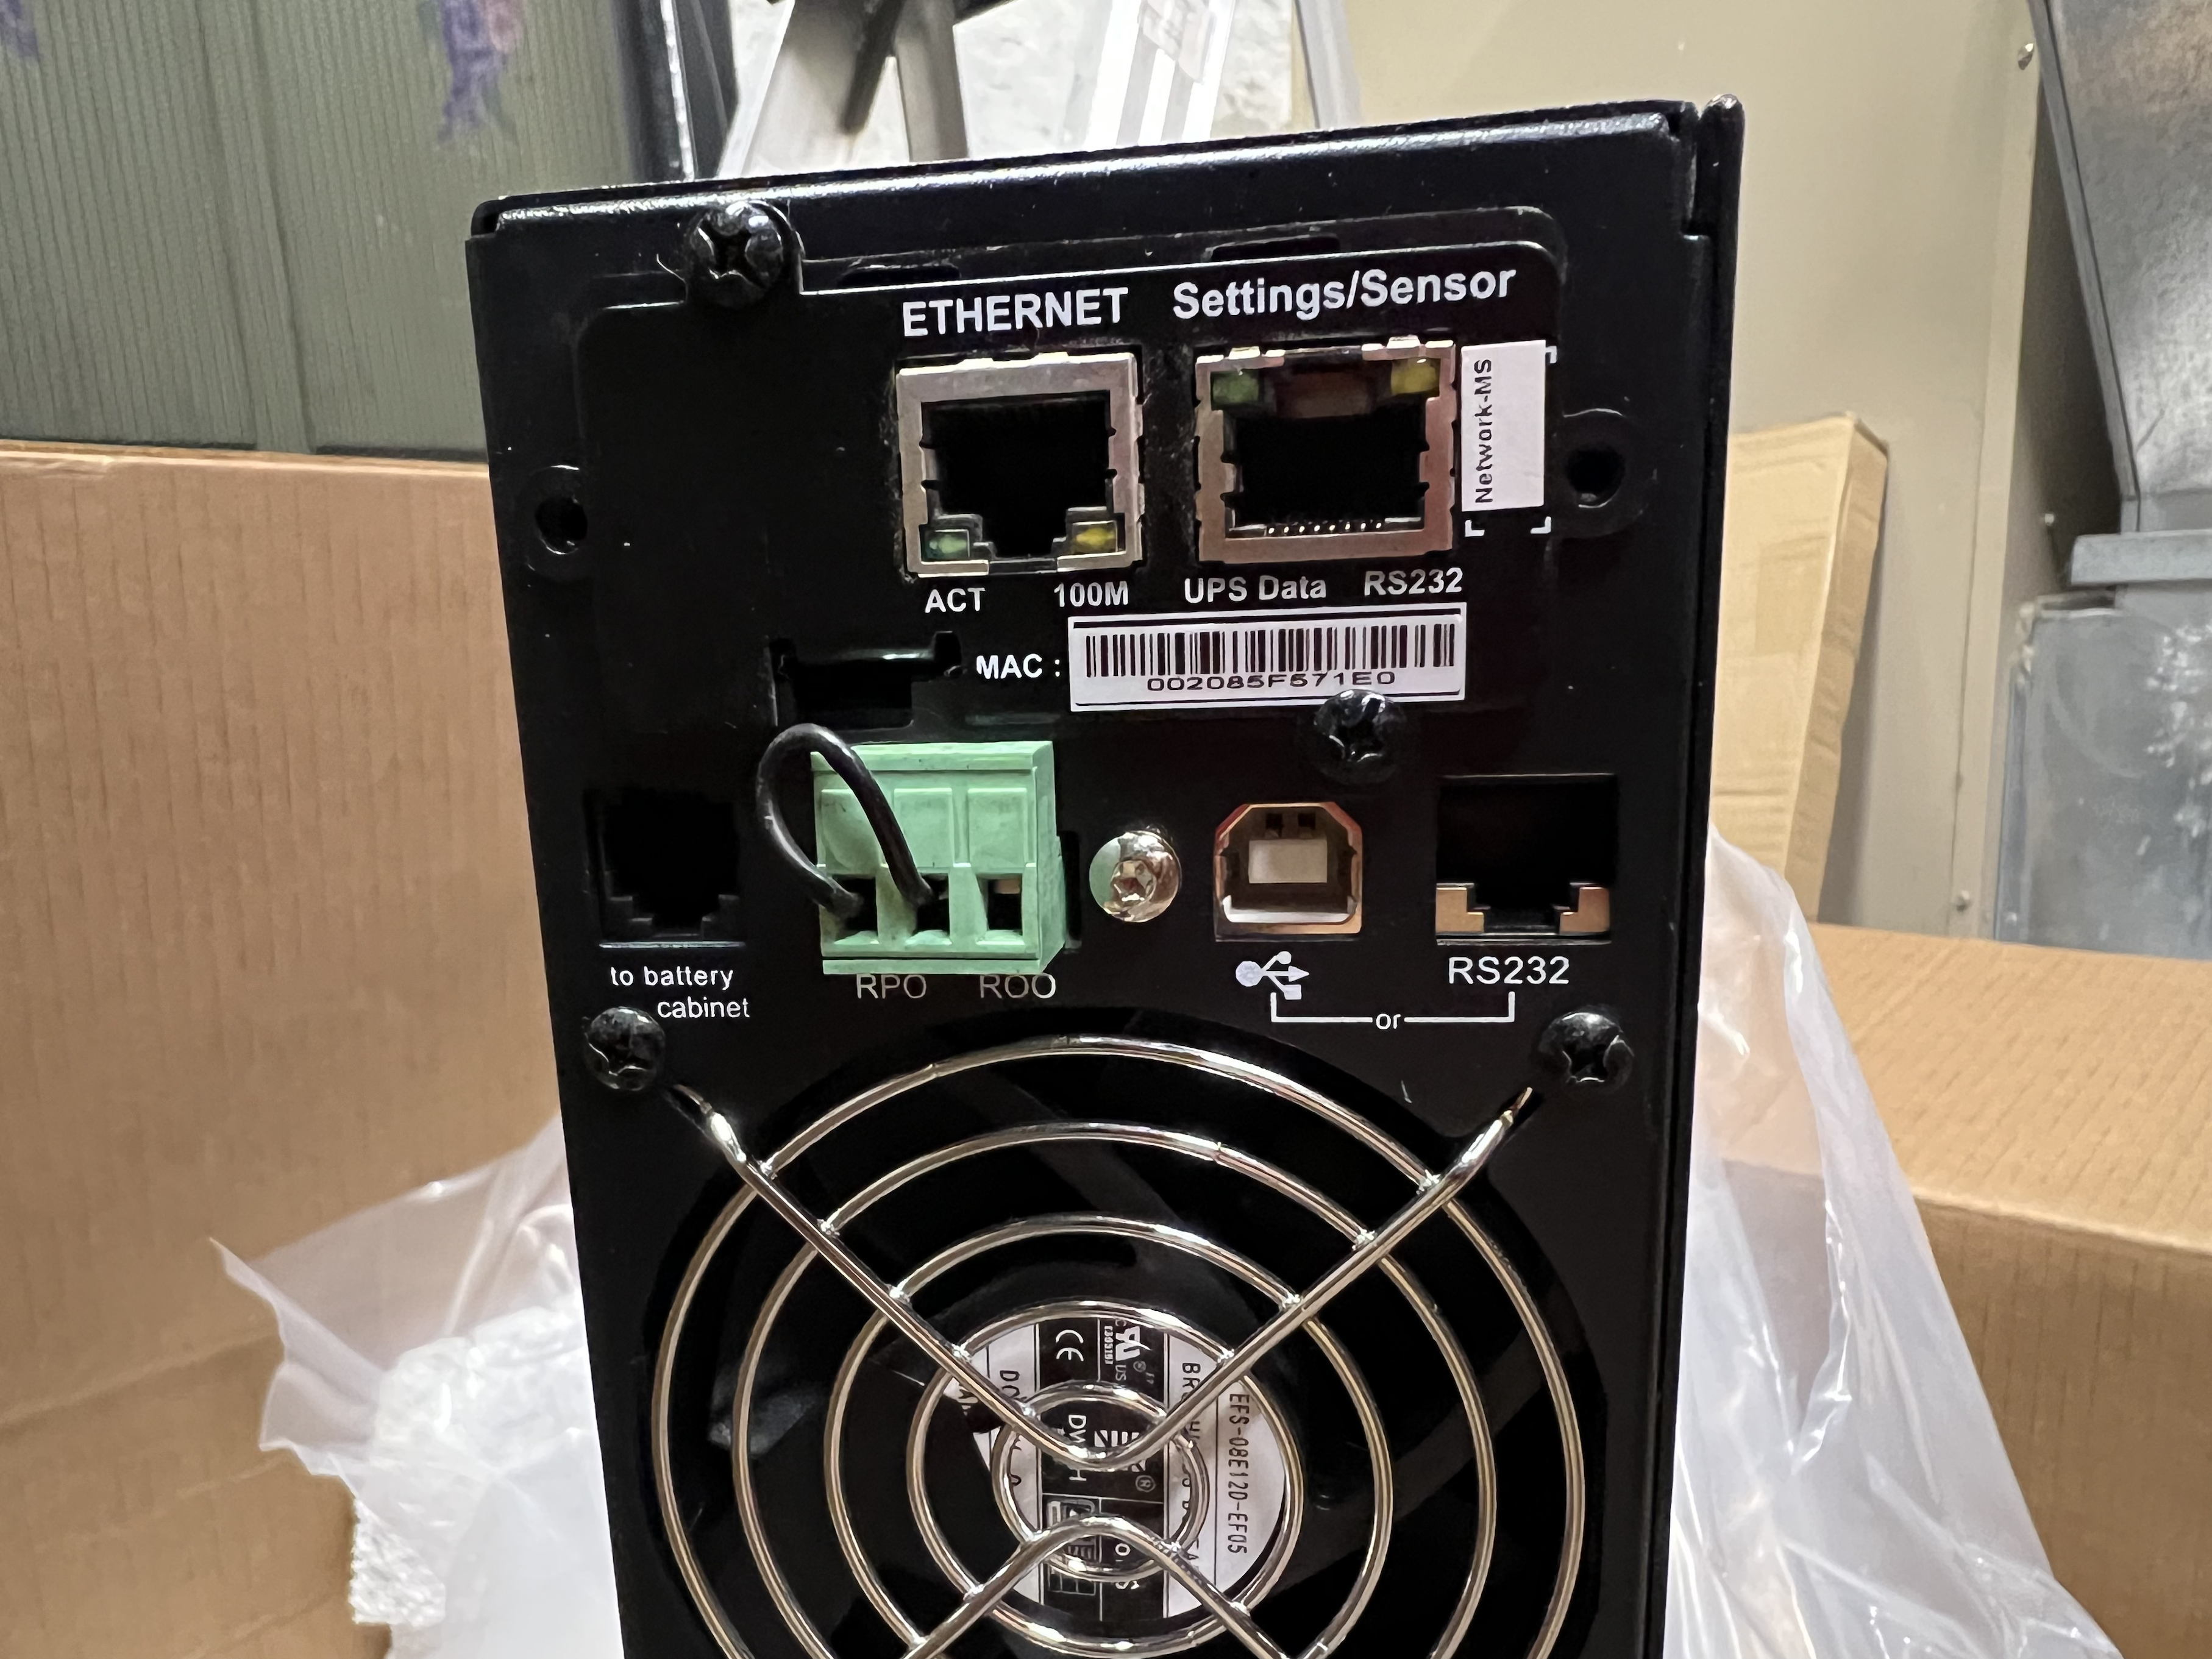
The network card
The new UPS did not have the network card. I swapped it over from the old unit, and placing the blank panel on the old UPS.
And … installed:
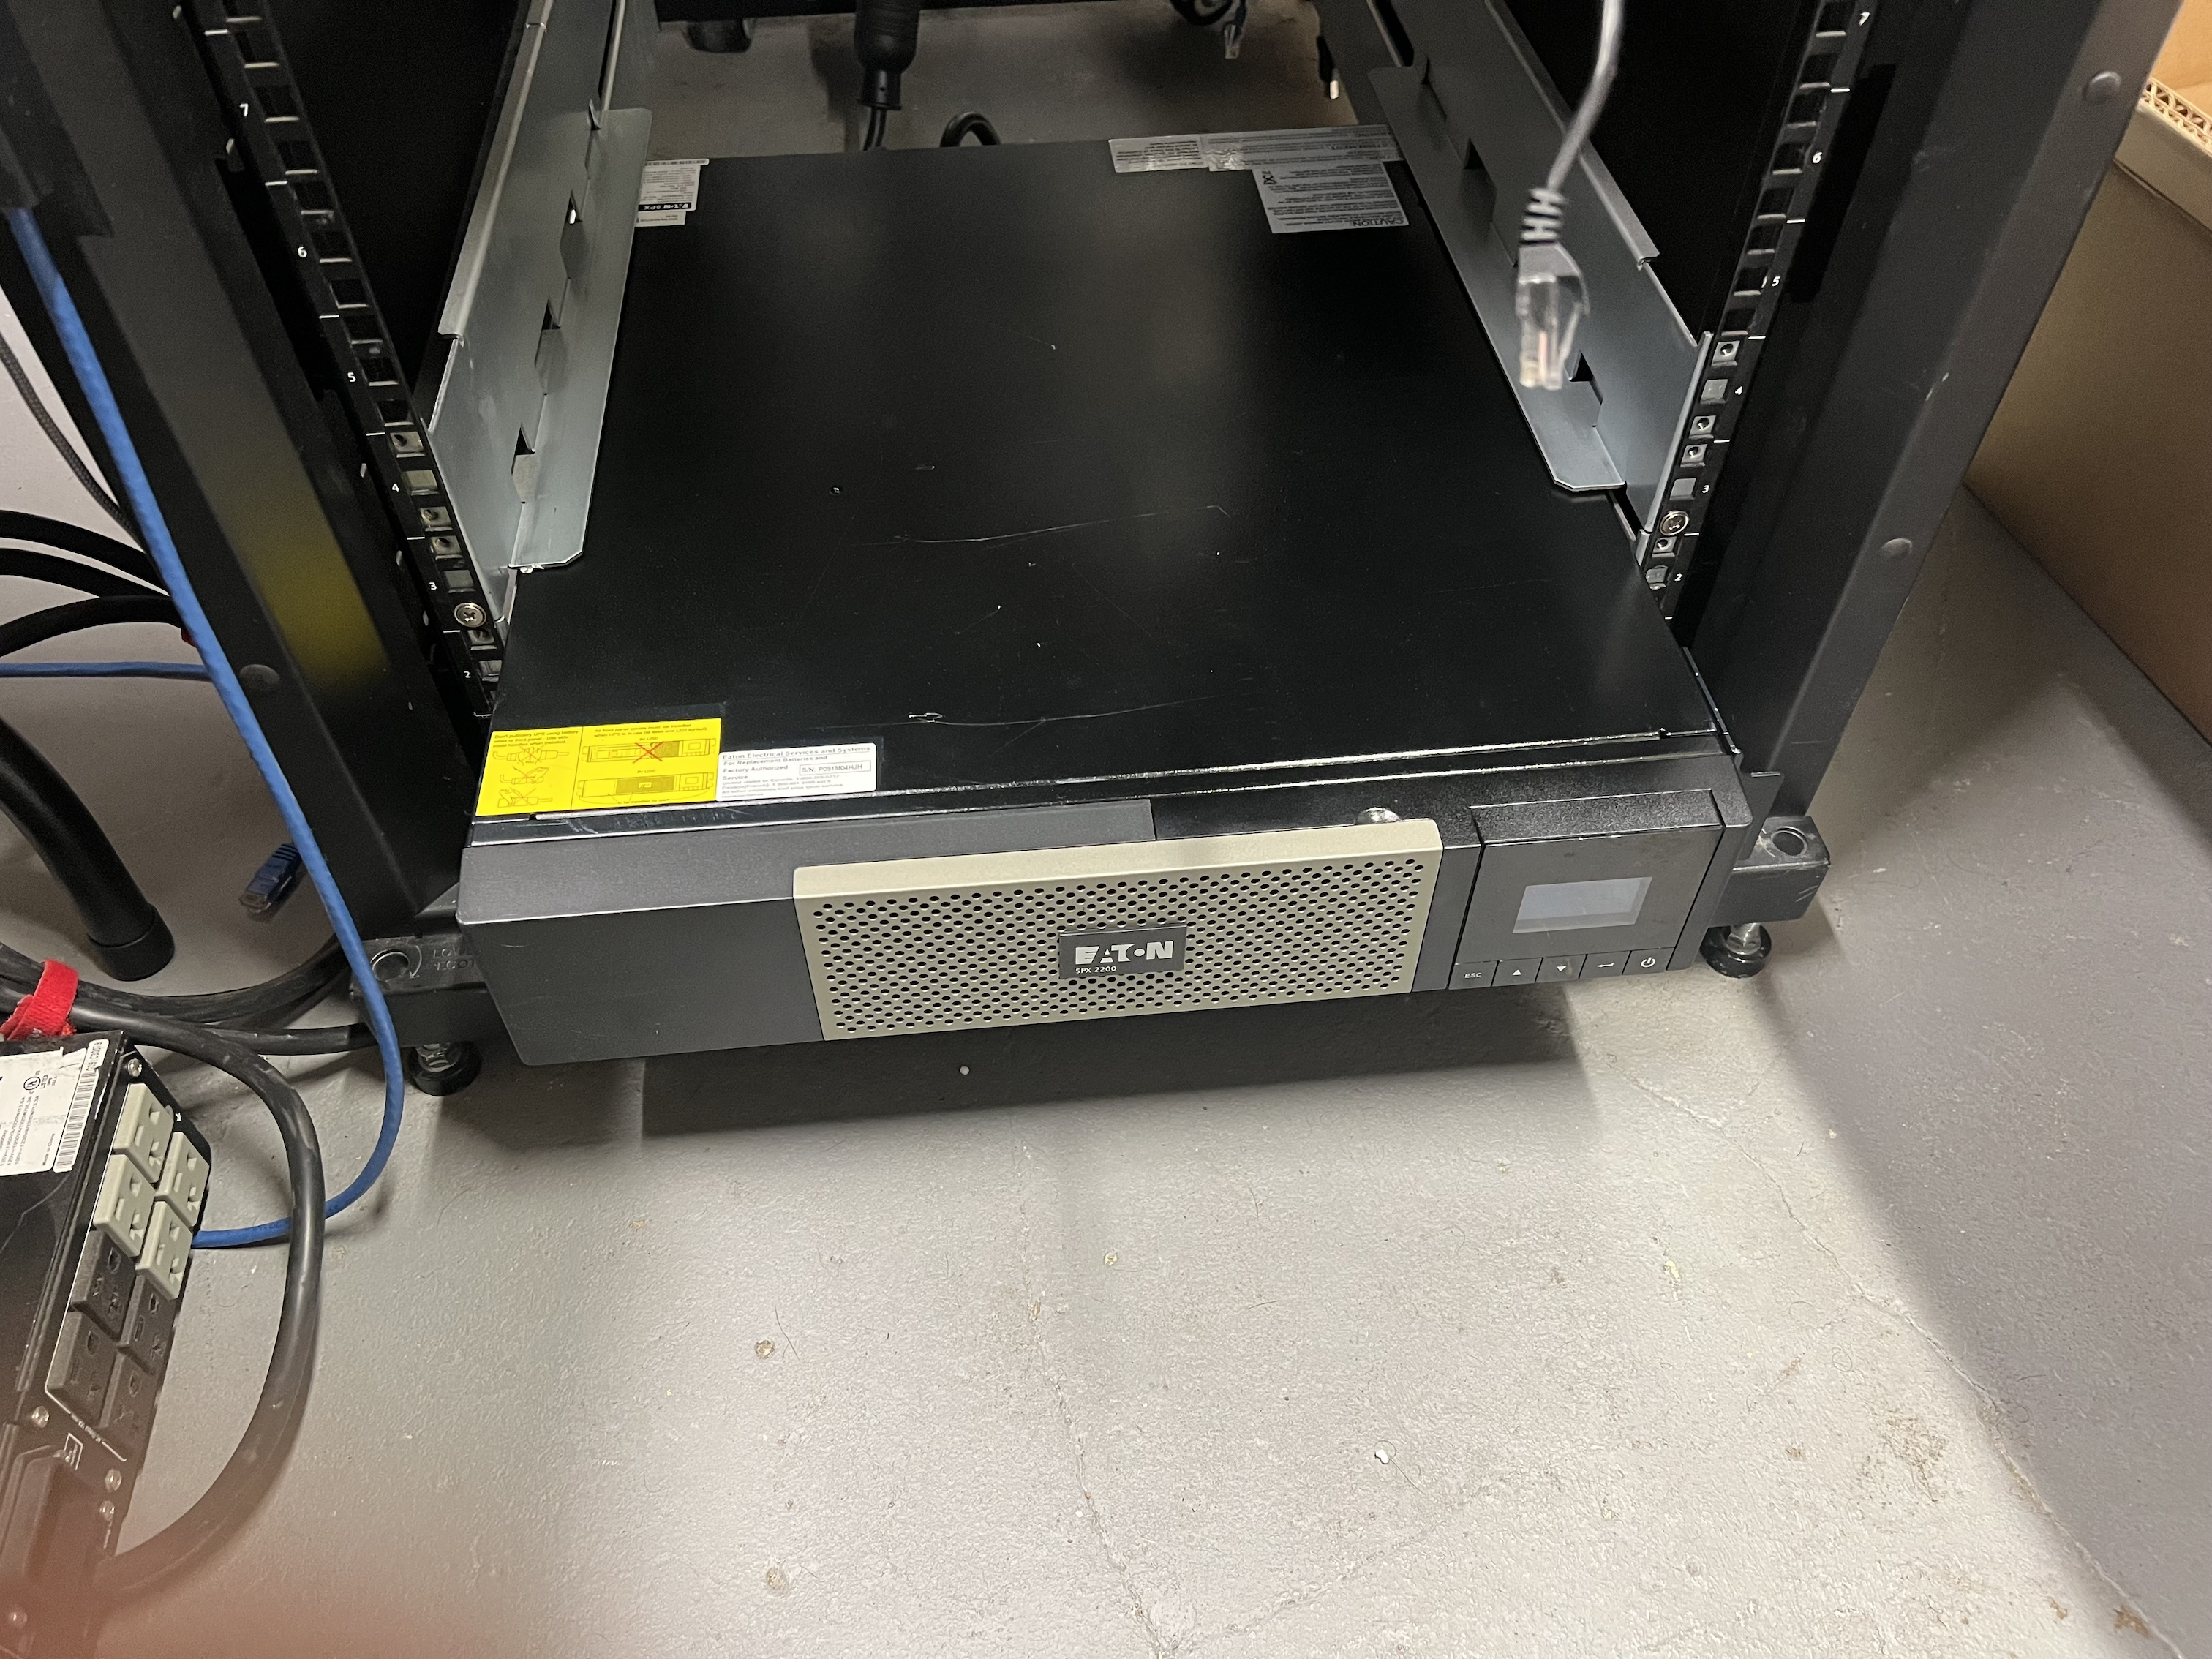
Connecting to power
This is the new UPS, racked, but not completely racked.
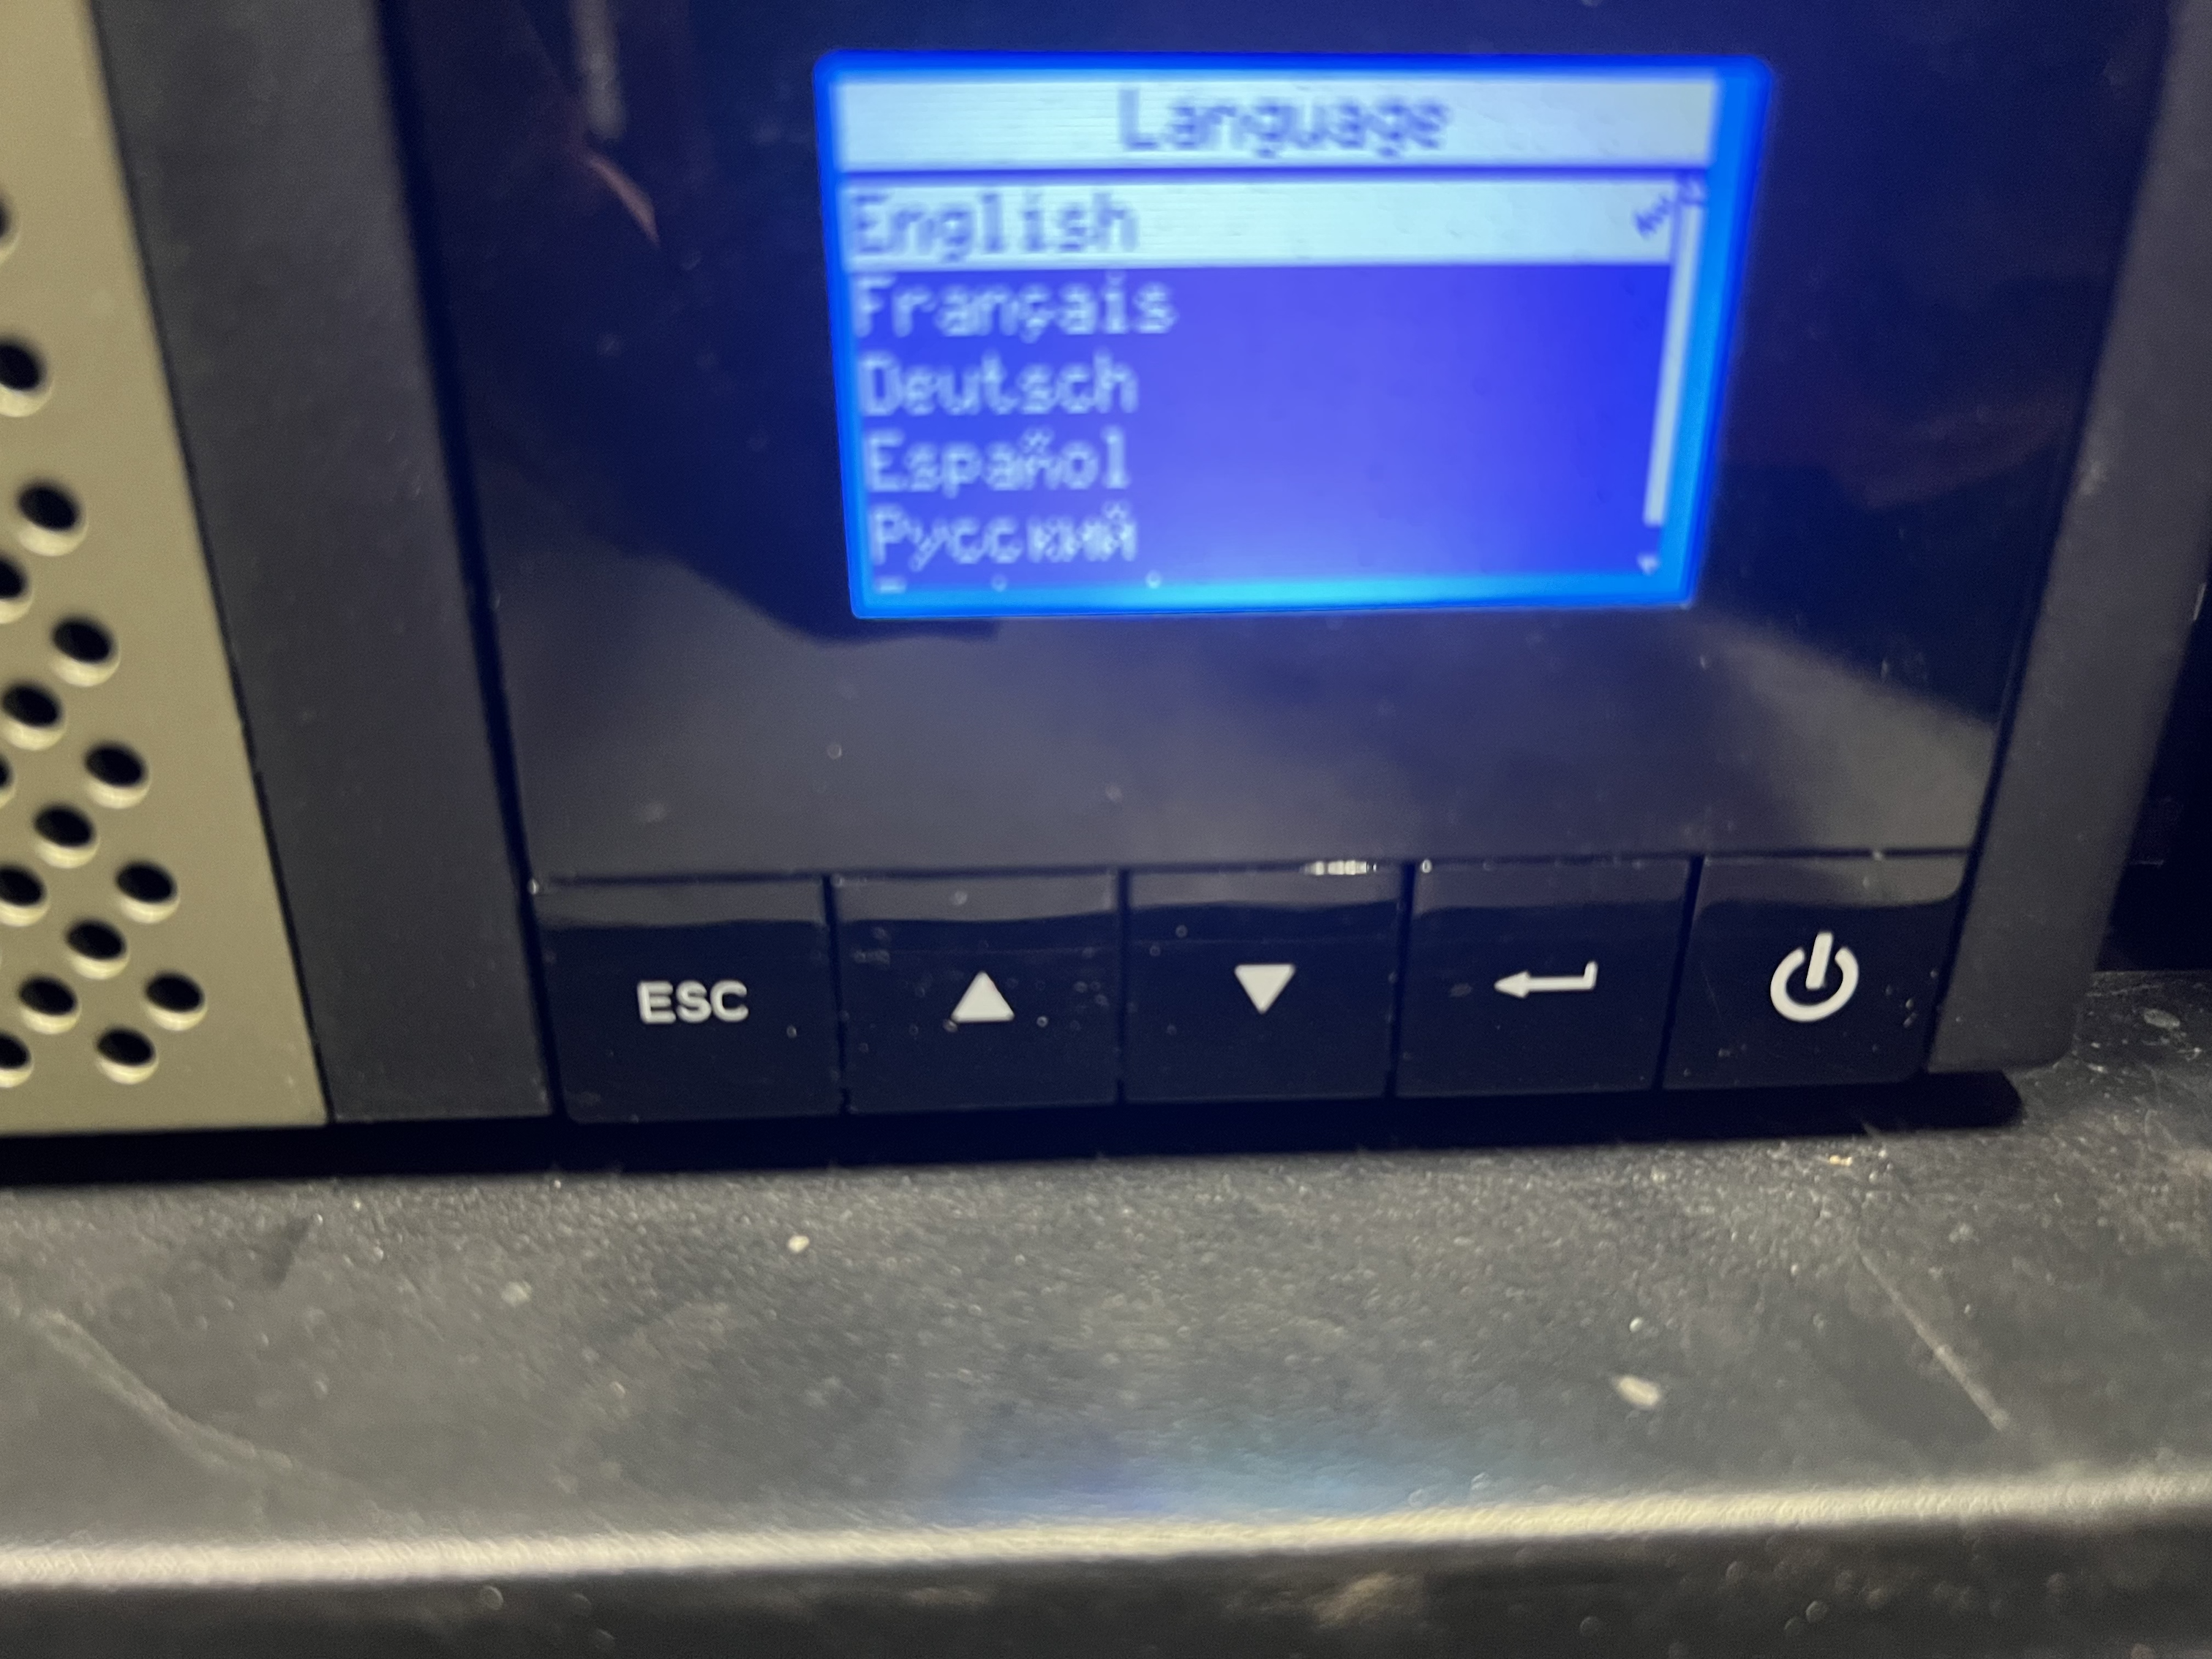
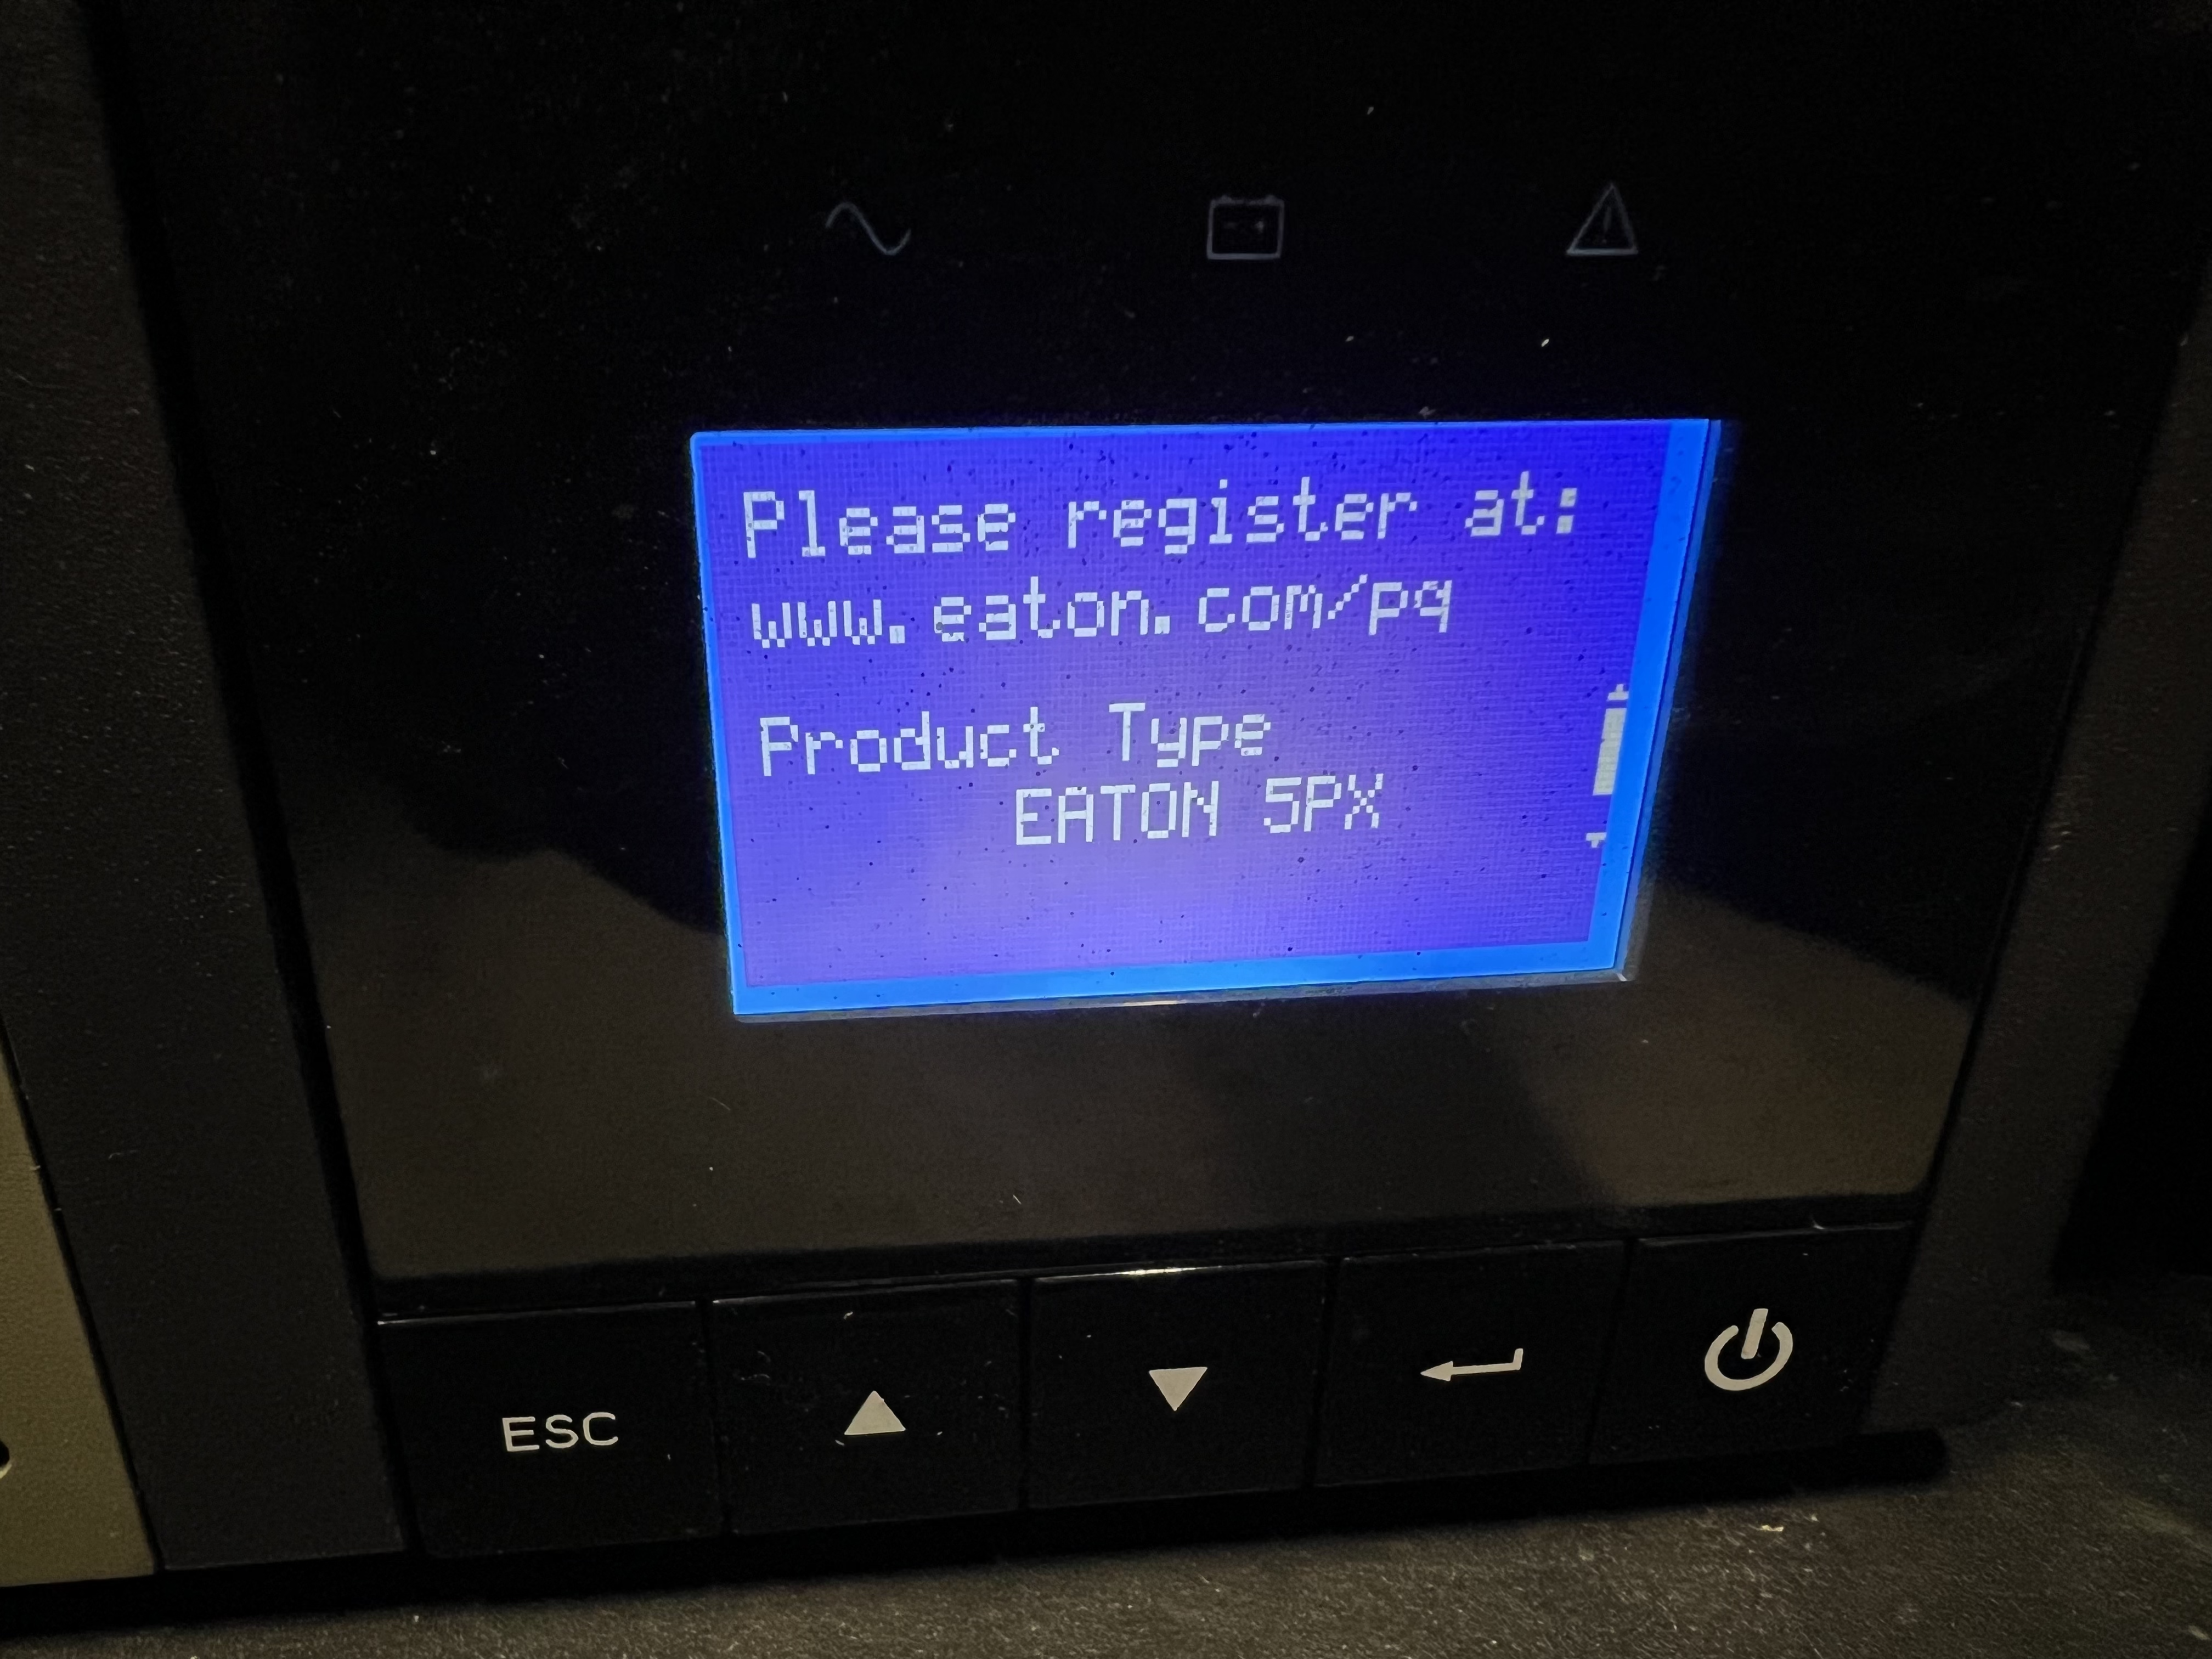
After connecting the rack to power, the screen lit up with this:
I don’t remember being able to set the output voltage before:
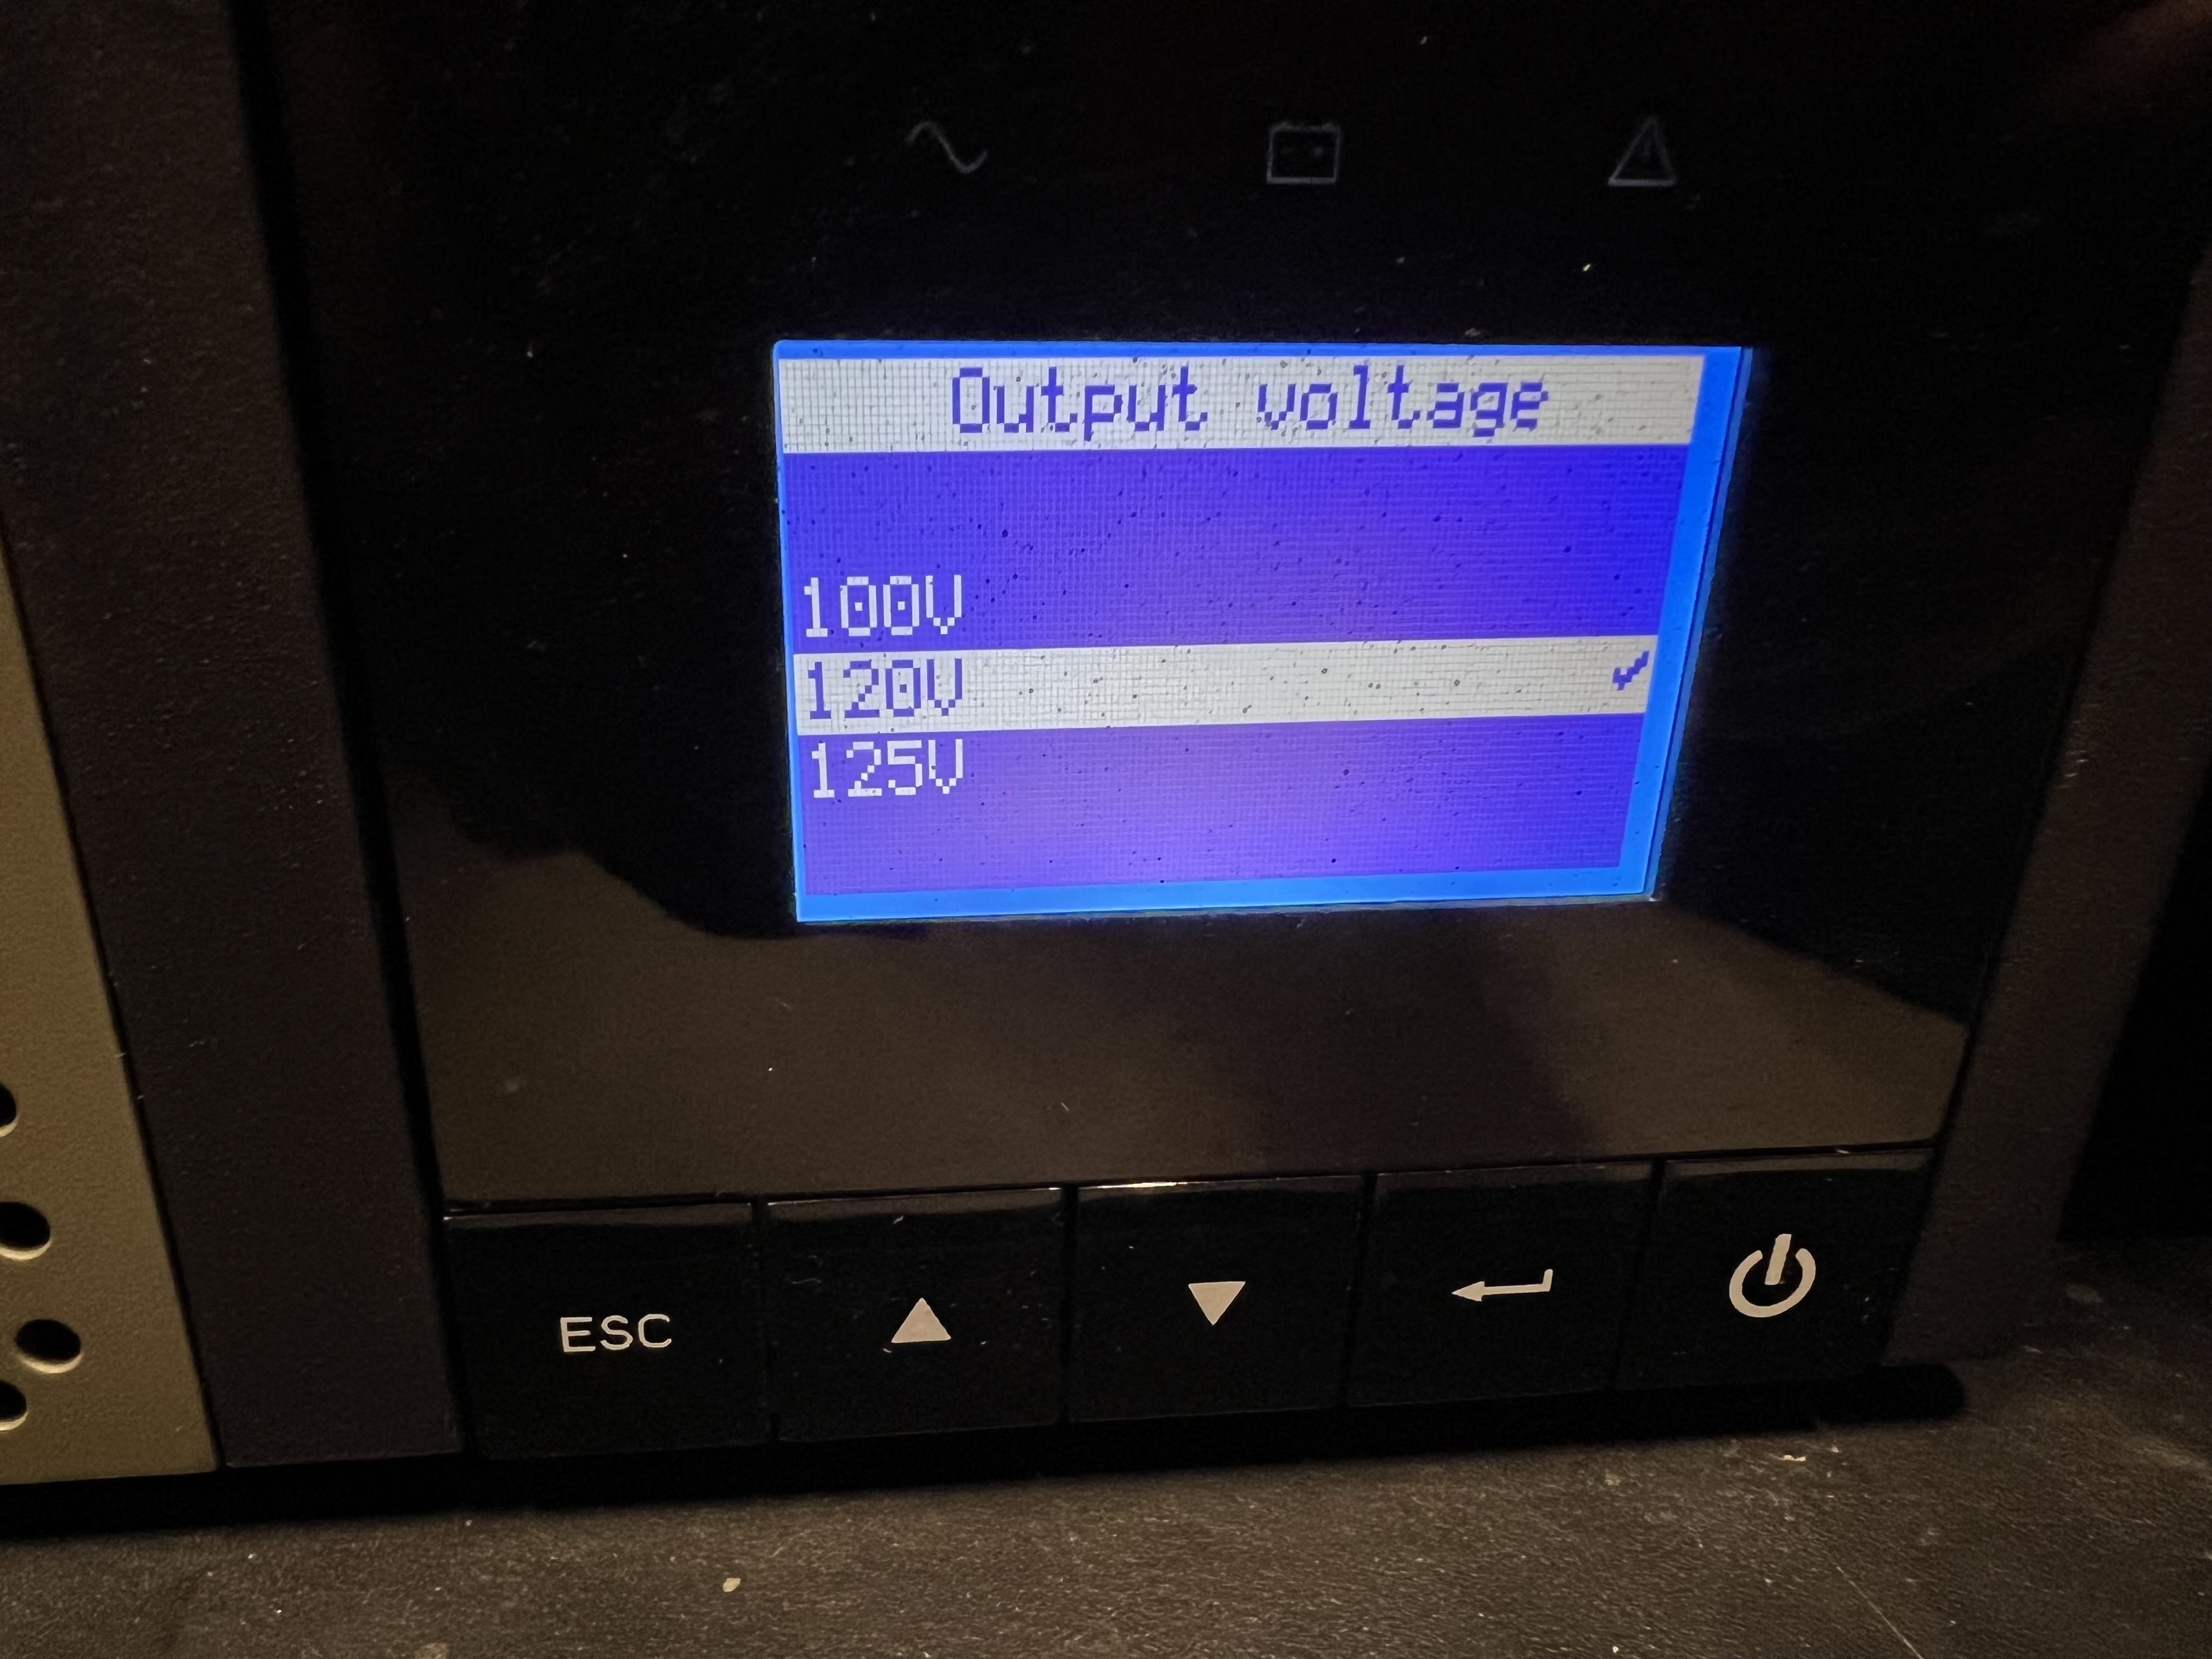
I tried that URL. It was a 404.
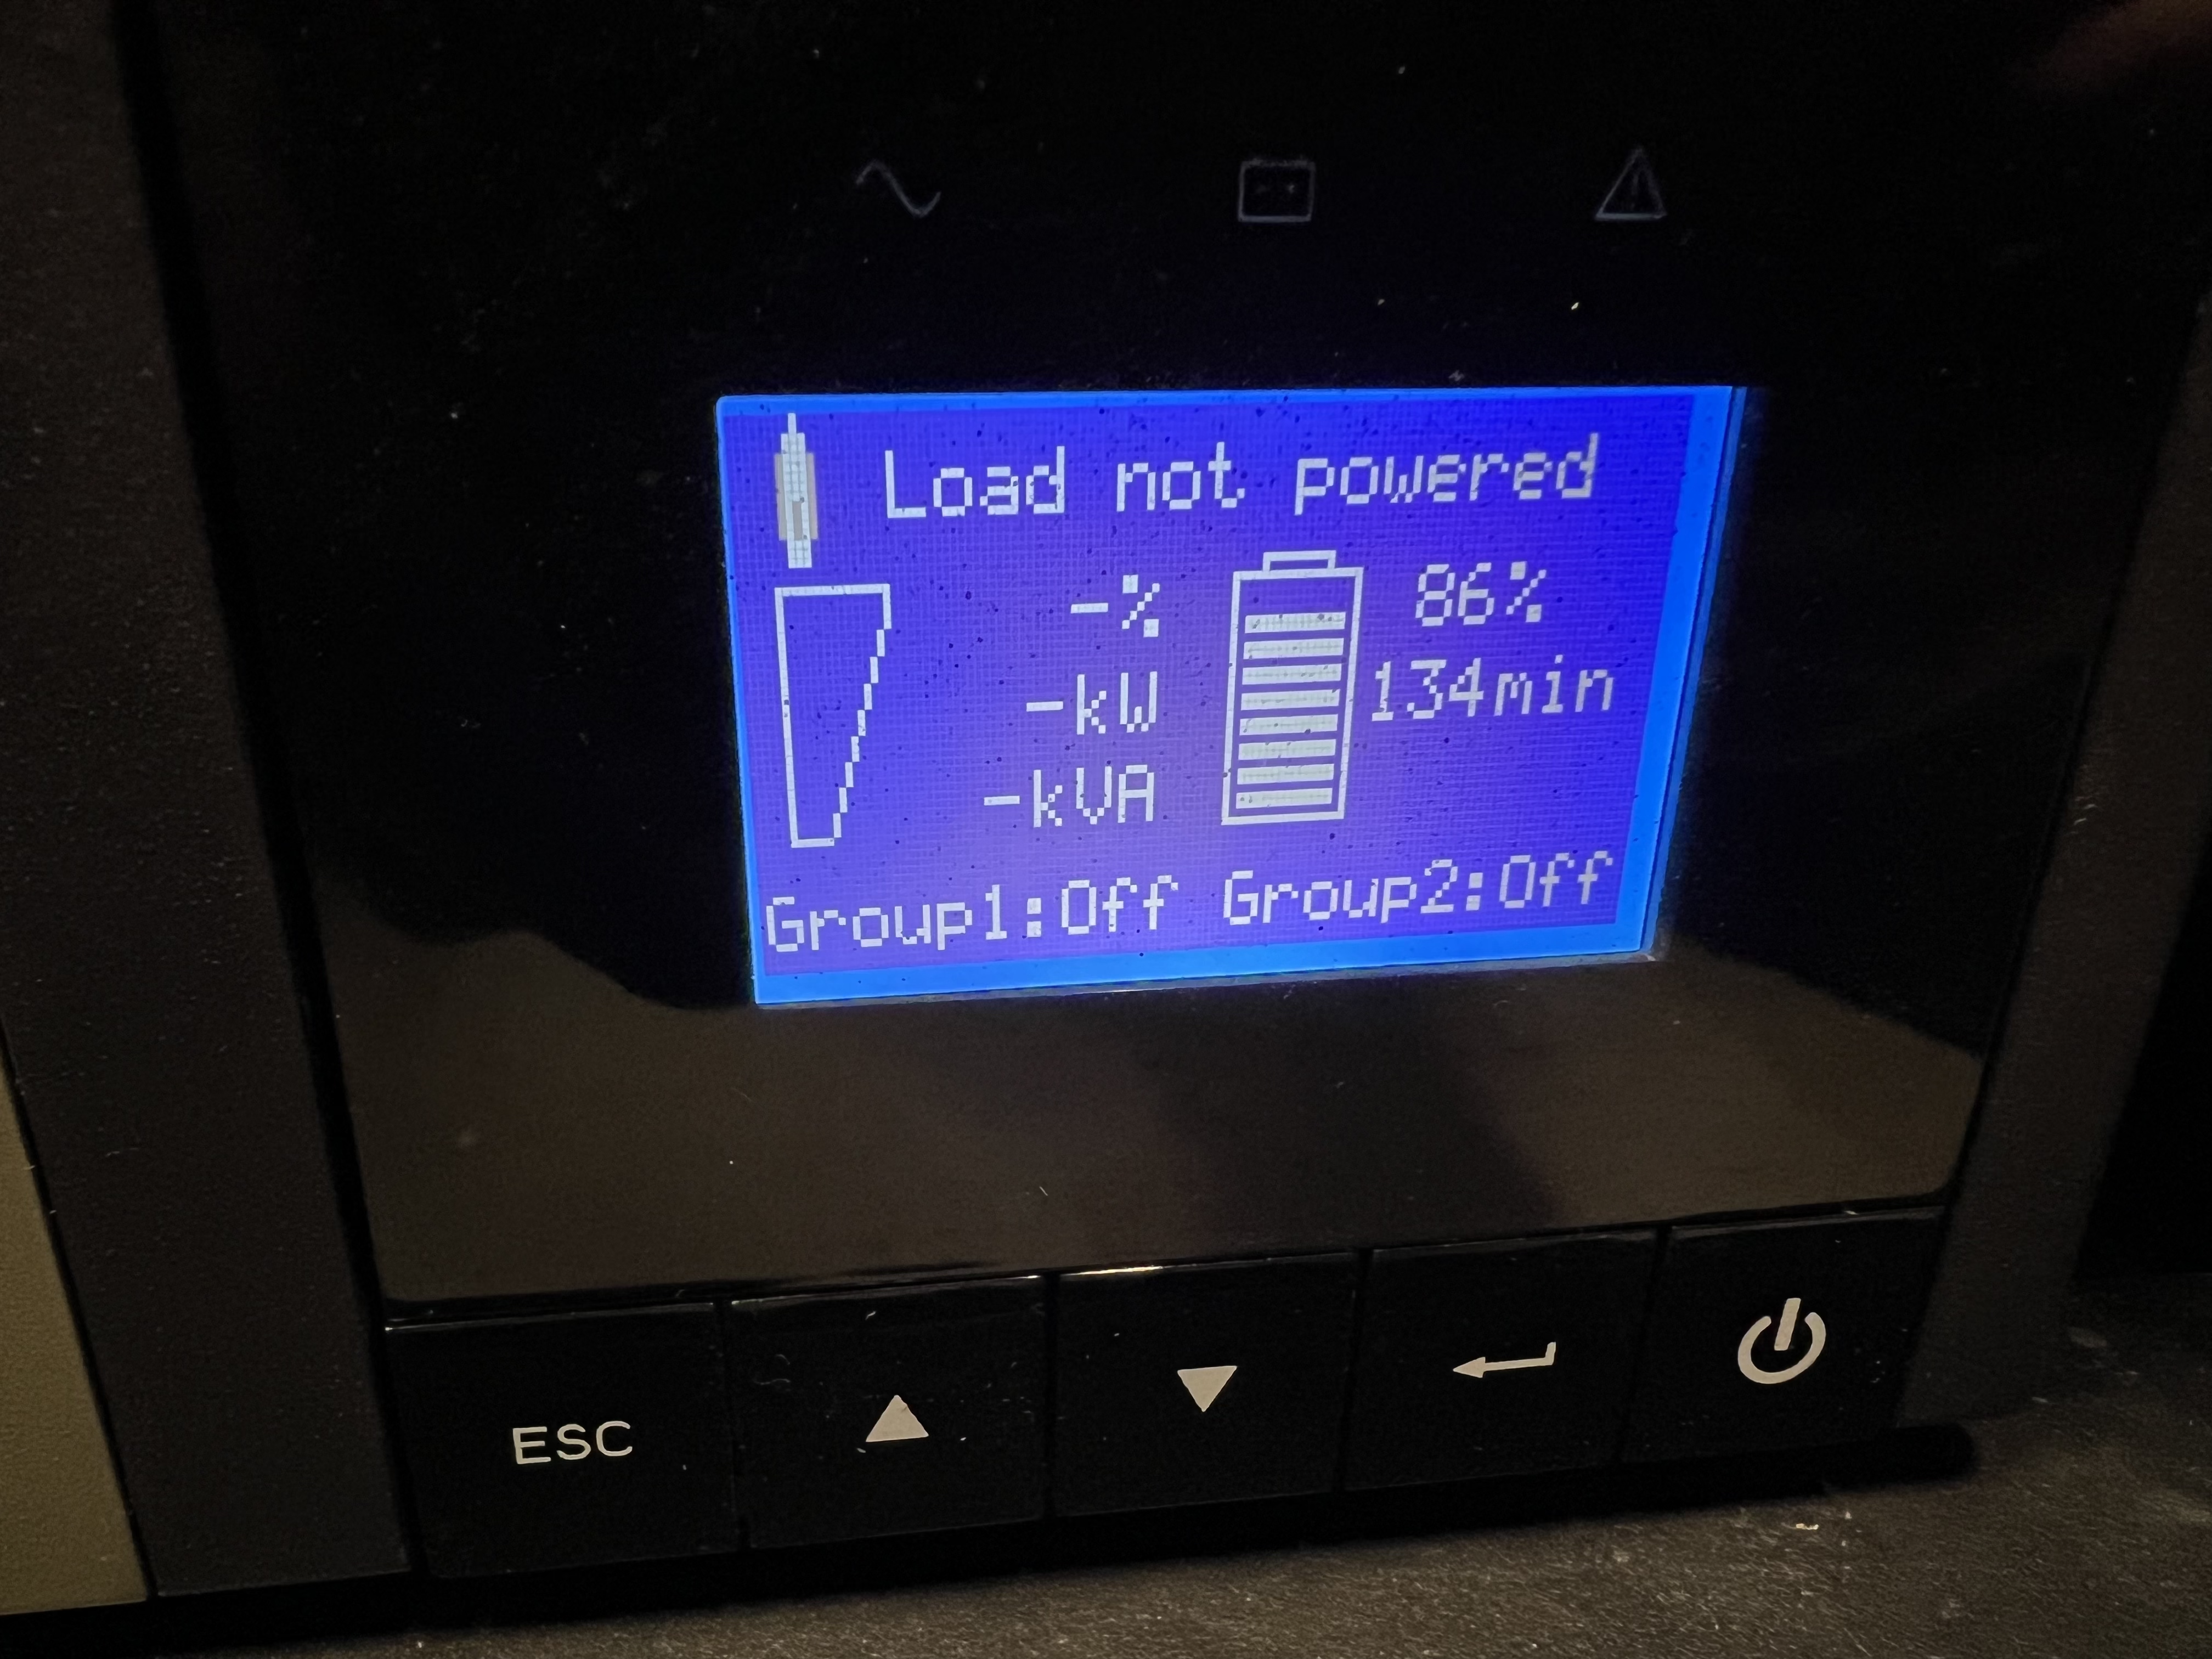
Ready, with power, but not yet powered on.
Power on
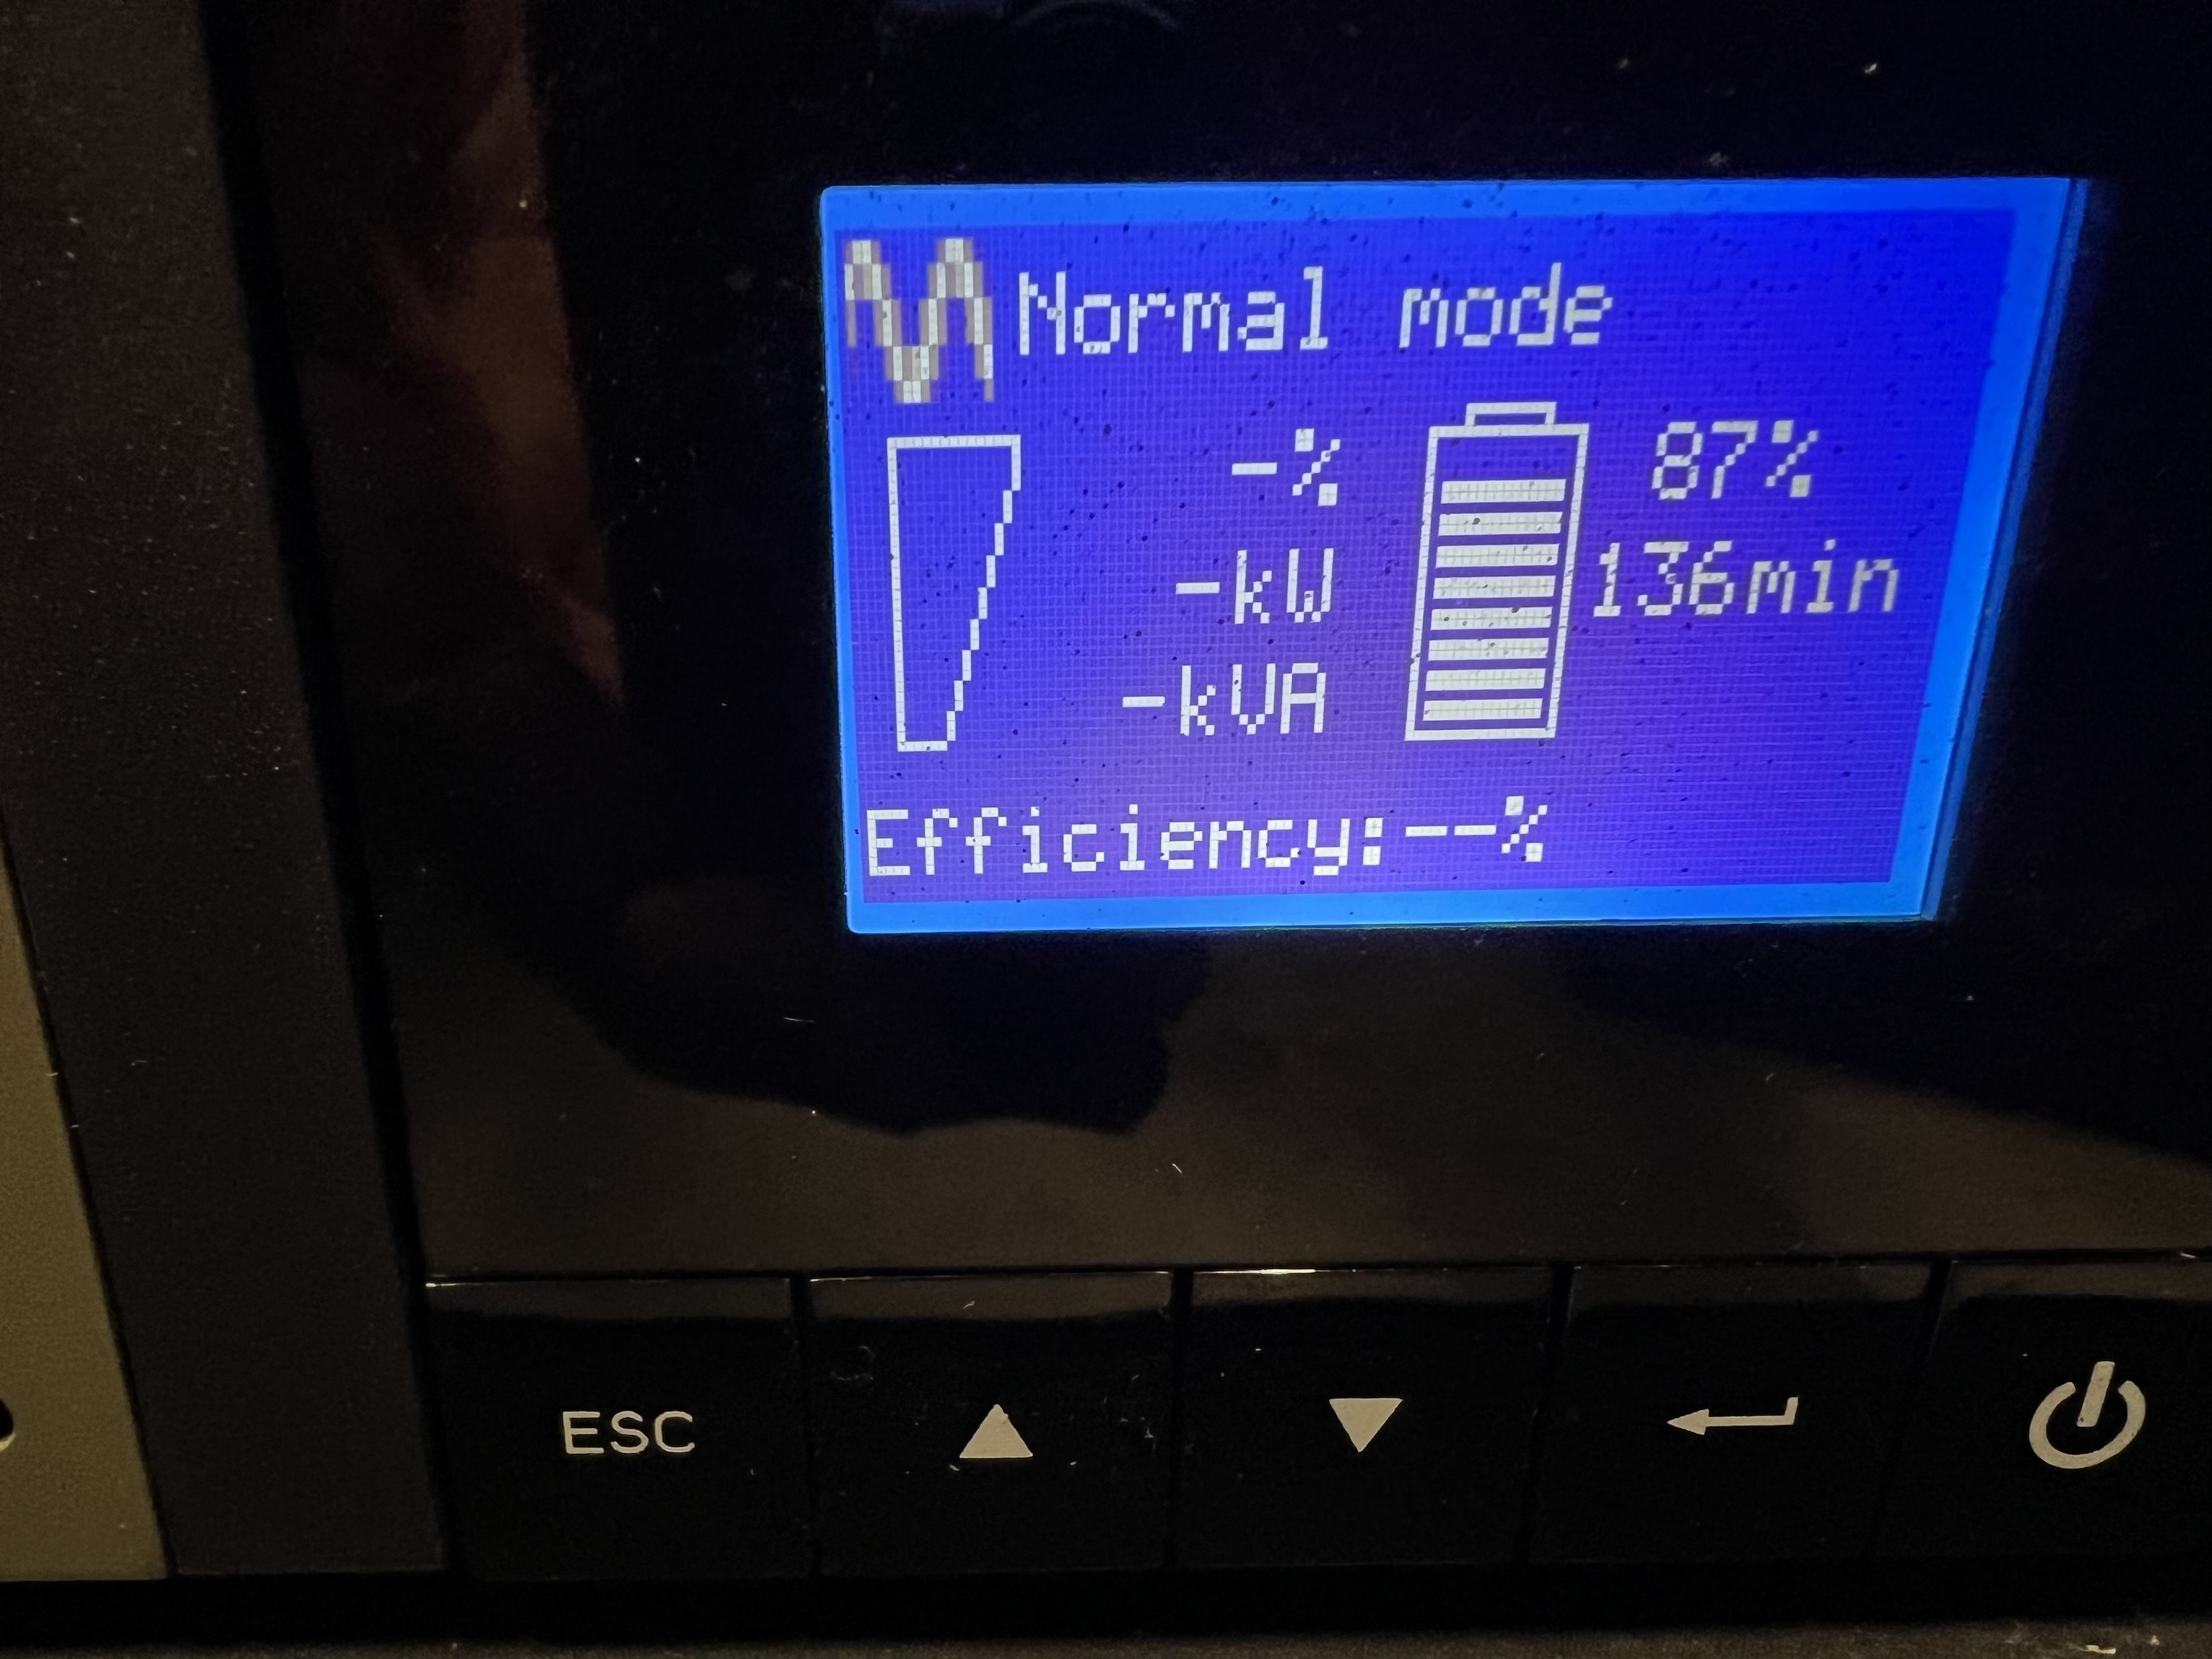
After powering on:
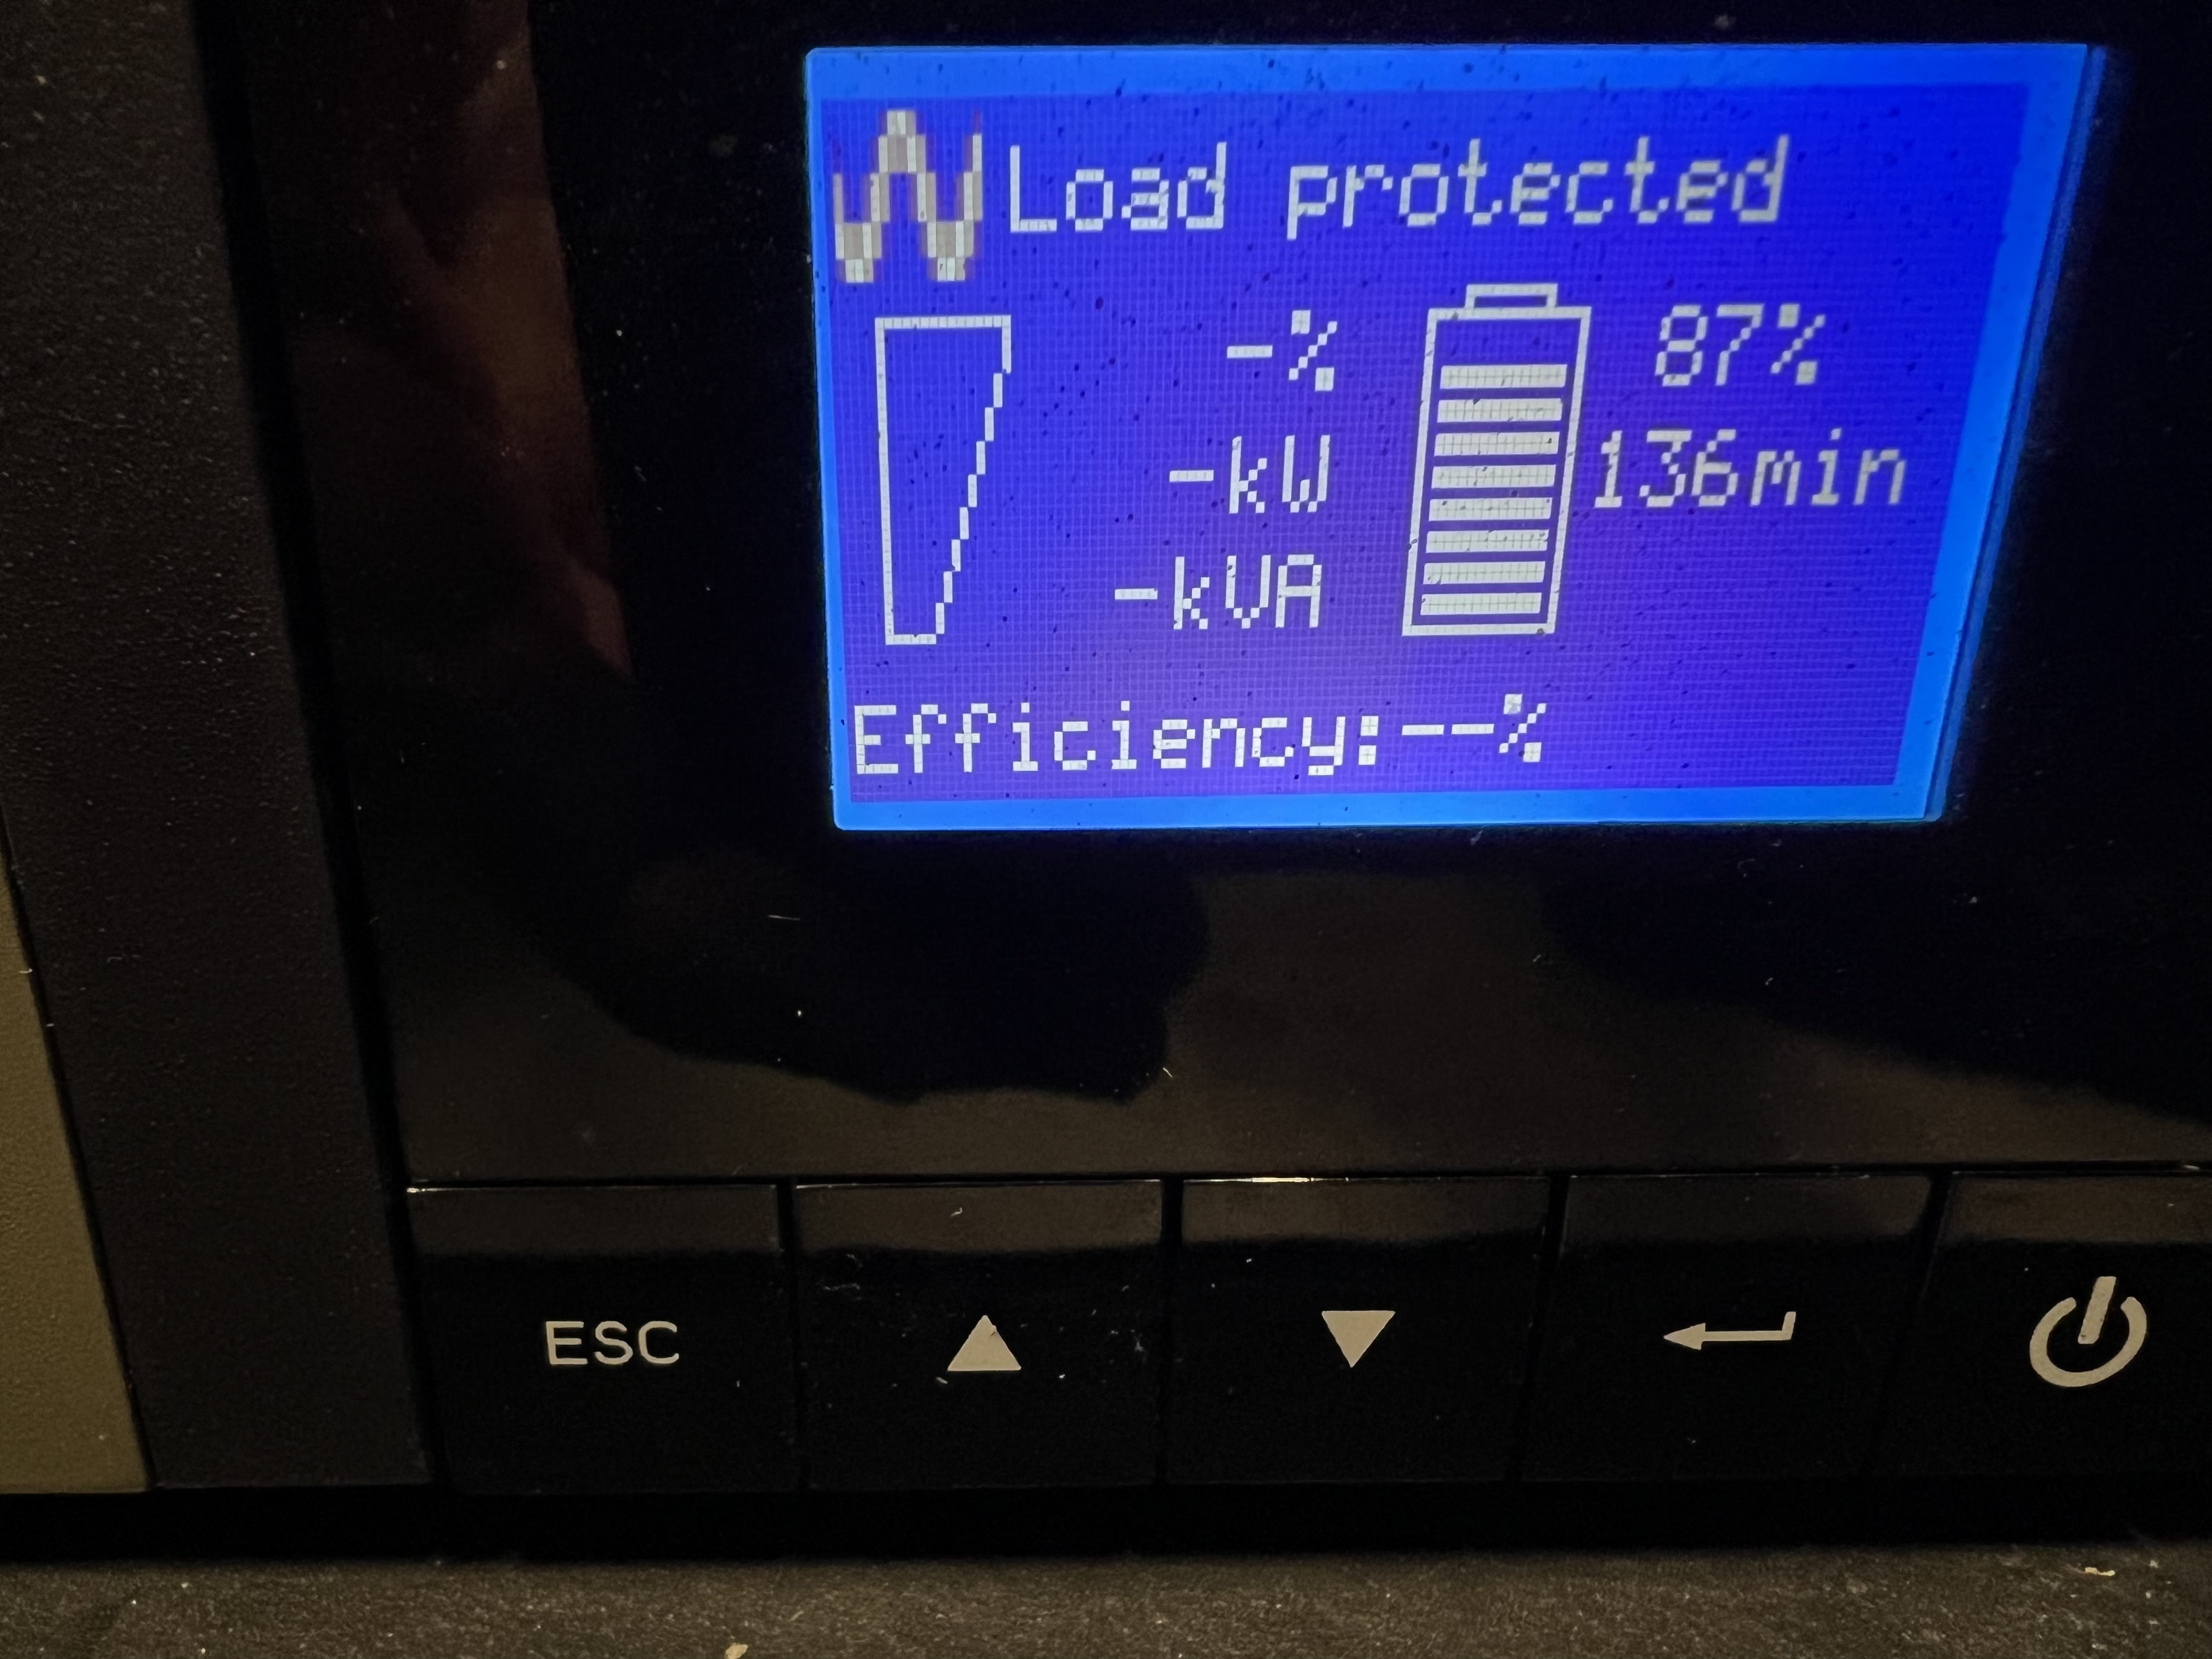
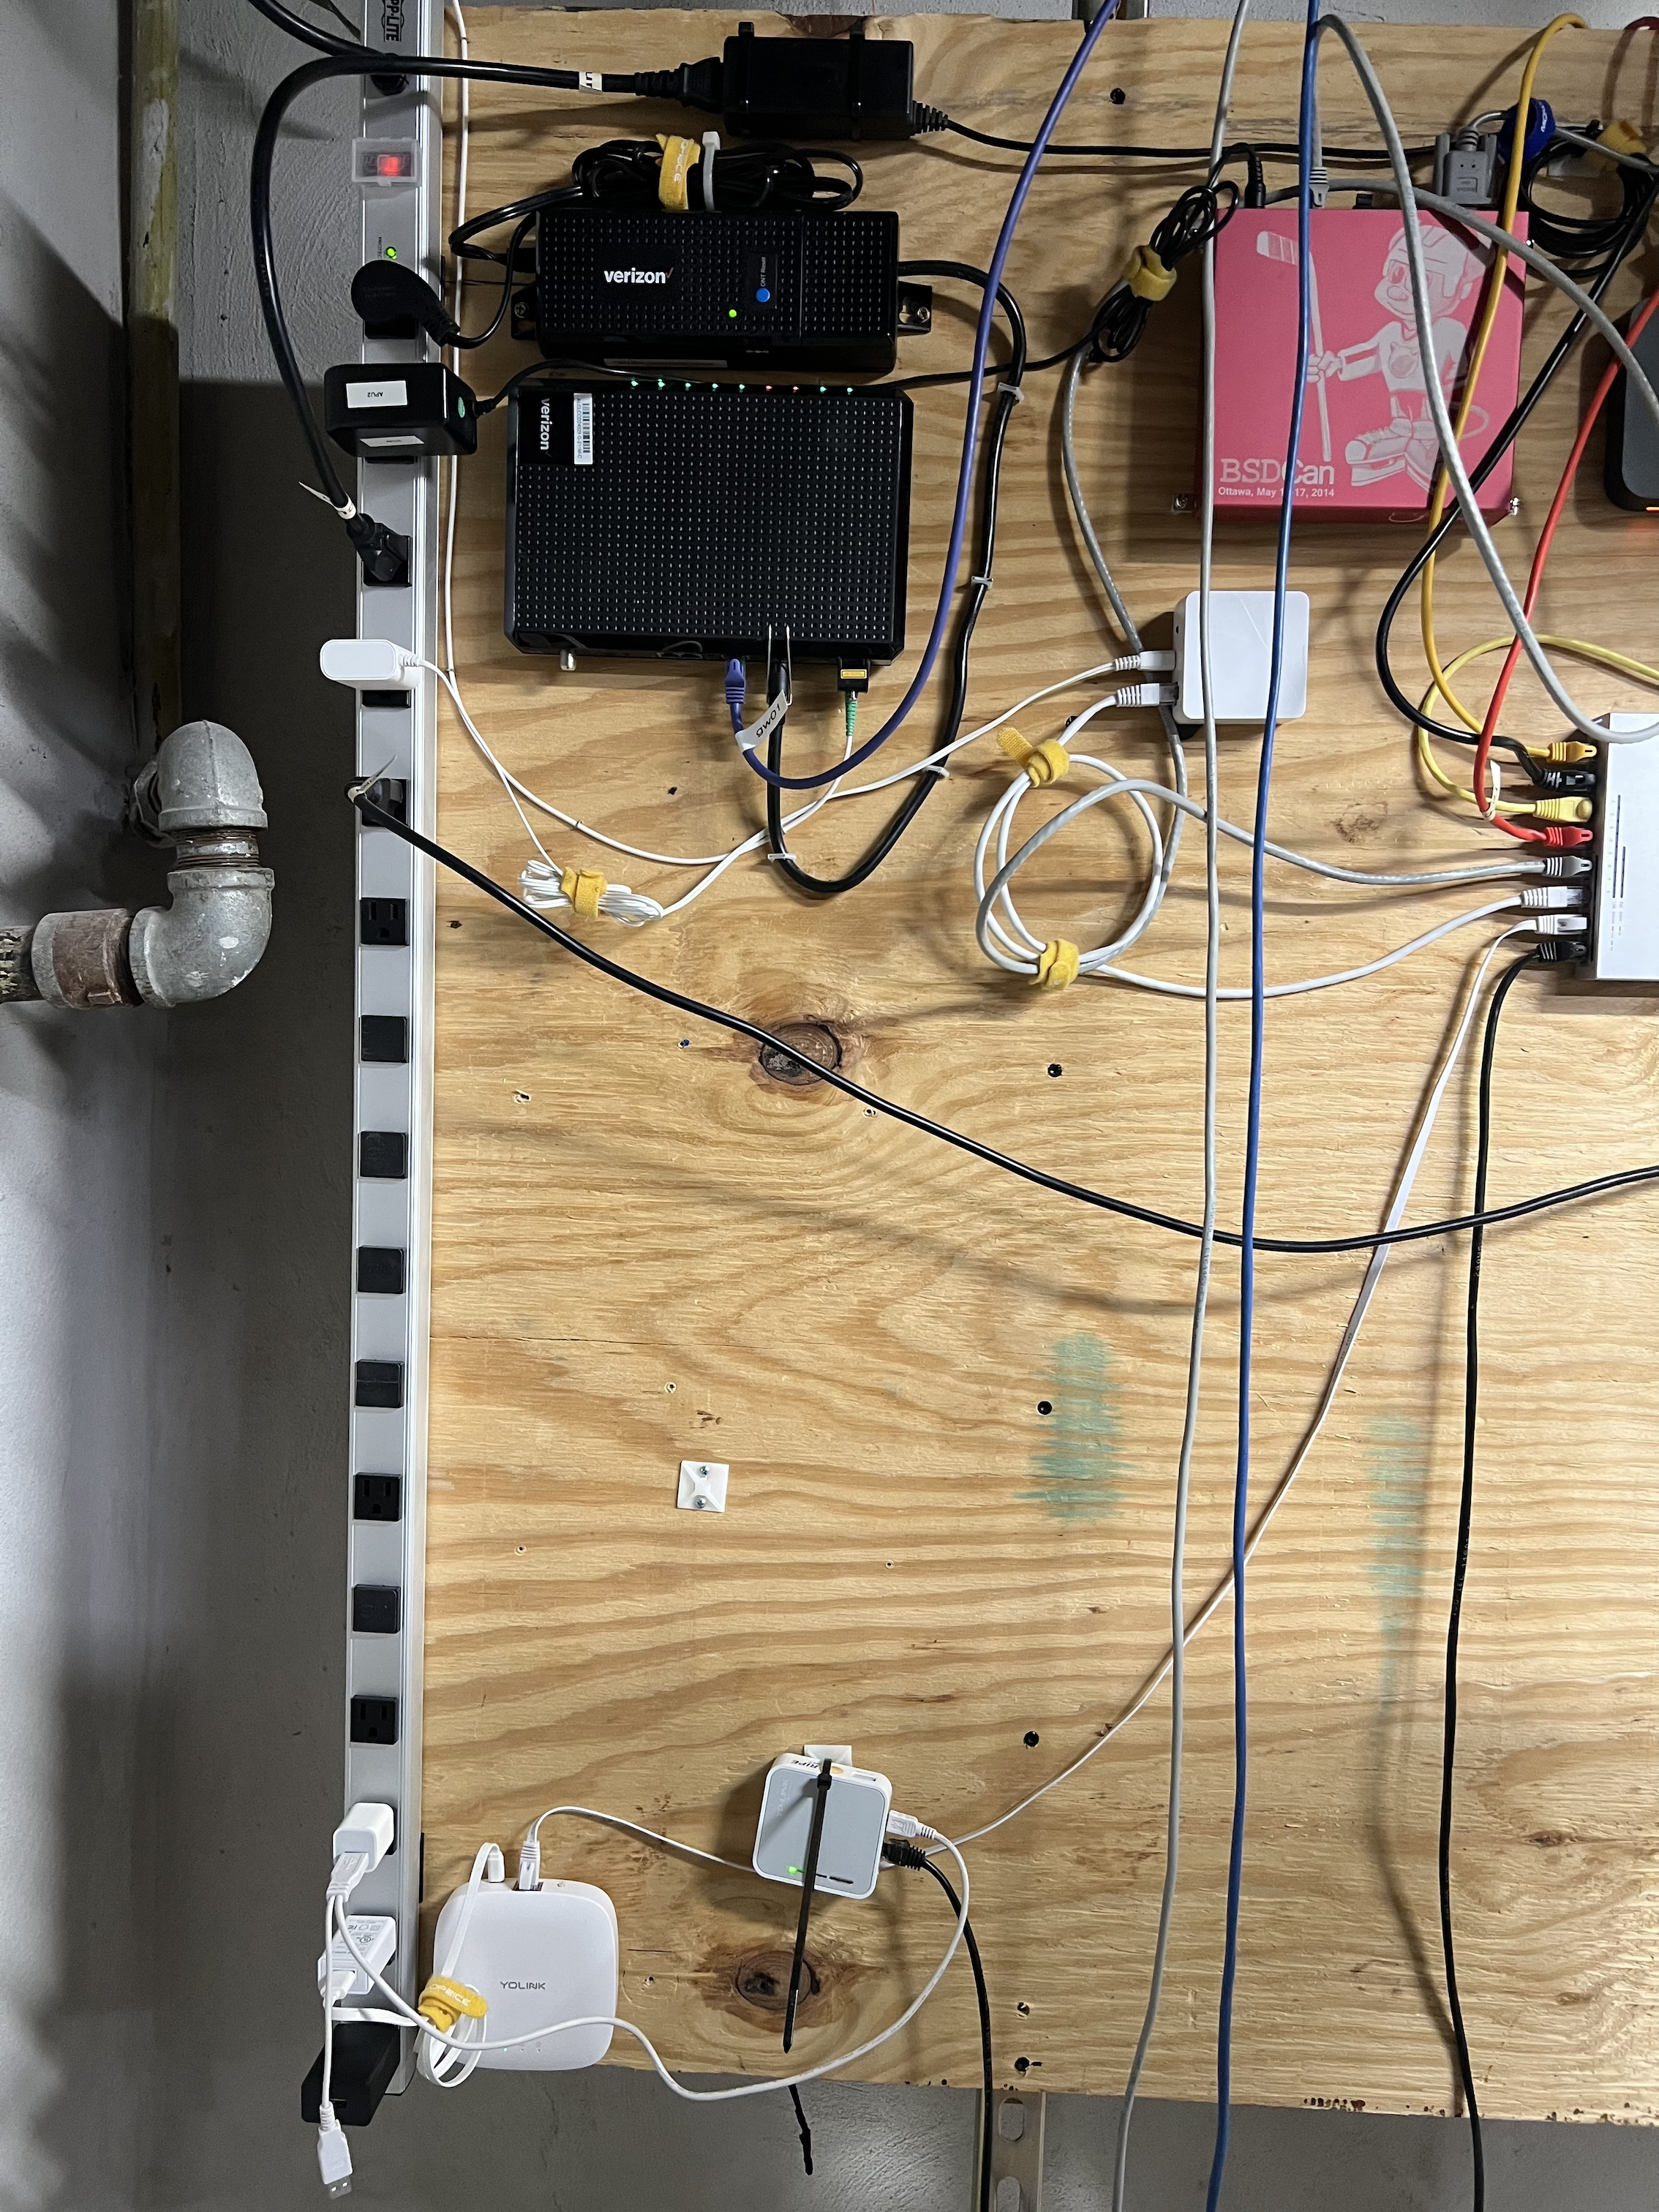
A bit later, as the PDU started to power on its outlets, the Verizon modem lit up:
Notes to self
I should modify the PDU such that:
- the panel has power for first 3 minutes – time for that stuff to get started
- gw01 has power at 3 minutes
- perhaps KVM then too
- rest of the rack gets power then
This may need relocating power cords – which may be a pain. EDIT 2025-03-20: No, that won’t require any power cord changes at all. Not one. However, I would like to reset the measurements for the outlets – everything is in a new outlet now. I want to start fresh on metrics.
Everything did power up nicely today. So perhaps overkill.
The new UPS (ups04) did not have groups available; My office UPS (ups03; same model) has Group 1 and Group 2.
What’s other things?
The dead UPS was known as ups02. The new UPS is known as ups04 (up03 was already in use).
I did this new name for tracking metrics. I wanted to retain the LibreNMS statistics separate between old and new, just should that be useful for comparison at some time in the future.
It was because of that change that my UPS monitoring (i.e. Nagios) had to be modified.
In LibreNMS, I disabled polling and alerts for the dead device and added in the new device.
For the two servers (r730-01 and r730-03), their nut configuration also had to be updated. For reference, here is my original nut post: Monitoring your UPS using nut on FreeBSD.


