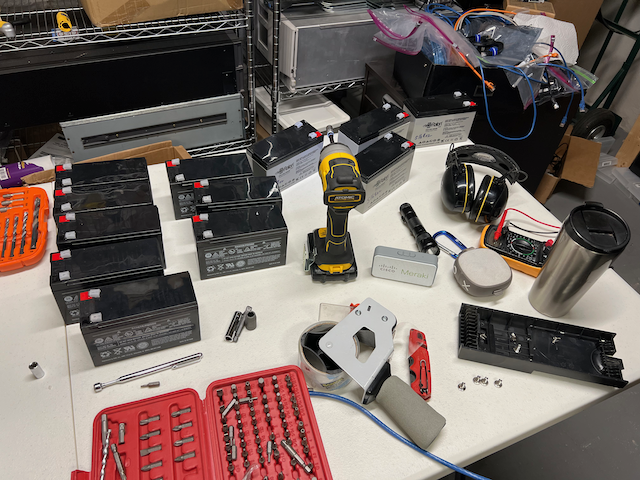
NOTE: the images in this blog post were broken. As of 2024-12-01 1600 UTC, they are fixed. Sorry about that.
Two useful links for future me:
The time arrived this morning. The batteries were charged up. I had most of the day to myself.
It was time to replace the batteries.
Elapsed time for this process, according to the photos I took, was about 90 minutes. However, looking at snmpd metrics, it claims it was about 3.5 hours. I find that claim difficult to believe.
A few things to note:
- This procedure is potentially dangerous
- The manufacturer says to not replace the batteries in the External Battery Module (EBM) – 5PXEBM48RT
- Take photos before
- Take photos of all the connections
- Disconnect and connect one line at a time
- Take your time and duplicate what you see
Relevant posts:
Shutting down
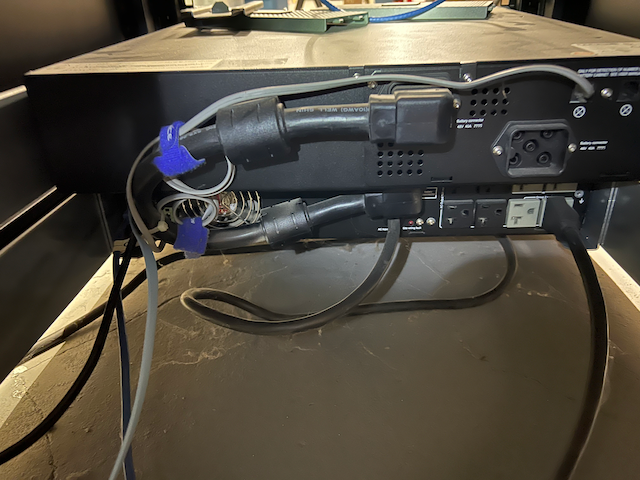
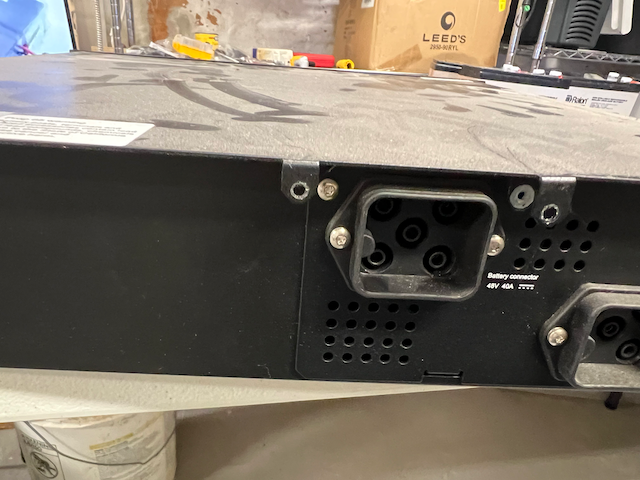
I shutdown my servers manually, then powered off the UPS, then disconnected it from power. The EBM was disconnected from the UPS.
Opening the 5PX chassis
There are many videos online. Two screws are torx screws, two are philips.
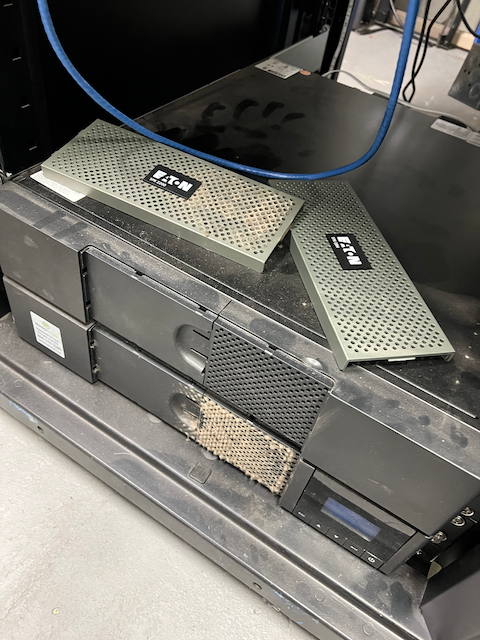
This was very dusty. I cleaned that up with the vacuum.
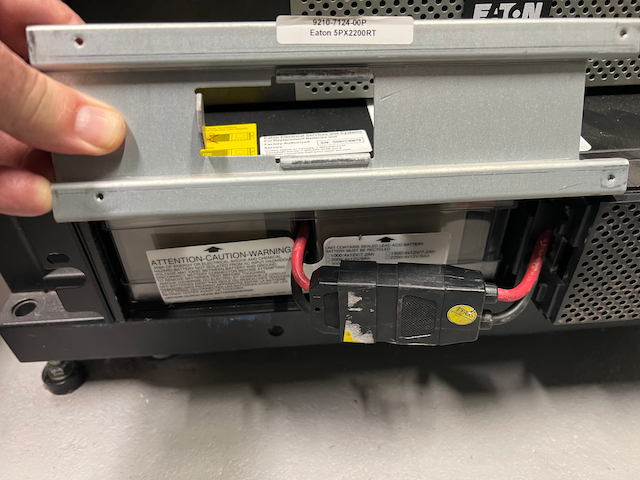
After removing the 5PX chassis, that metal plate slides to one side and can be removed.
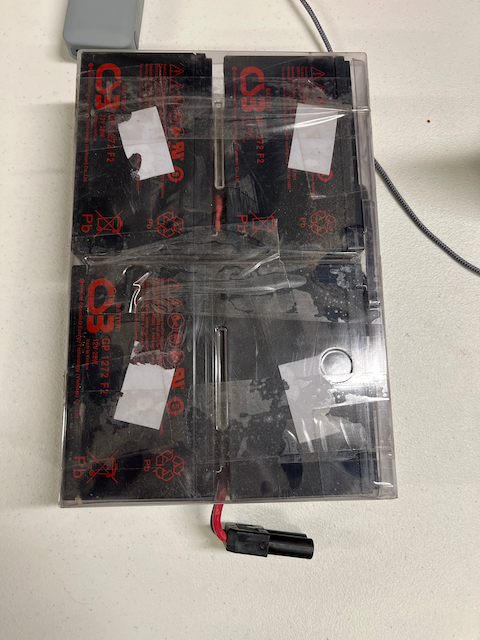
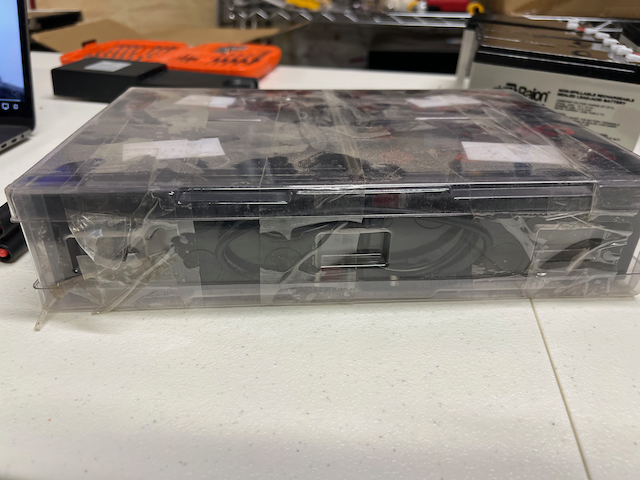
This is what the battery pack looks like. This itself, I am sure is not OEM batteries. I bought this unit USP second-hand.
I carefully removed the tape and opened up the plastic container.
Cut carefully, I took care not to pierce the container.
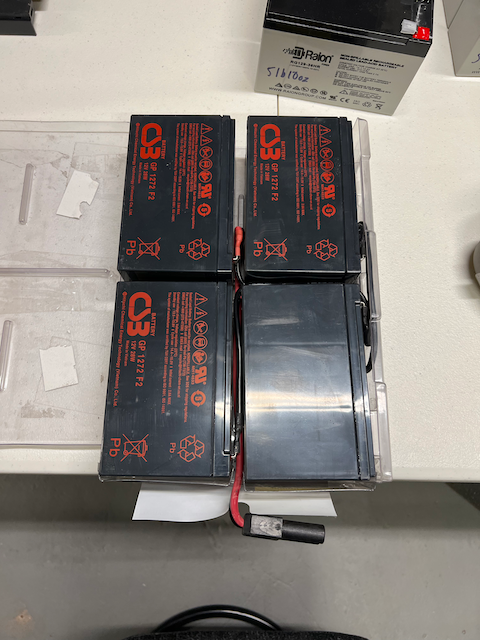
Notice how one battery is different. Don’t try to correct that. Hook the new batteries up exactly as you find the old batteries.
One cable at a time.
By now, I’m done the 5PX UPS and I’m on to the EBM.
There’s the batteries from the UPS – Notice that battery at the top, with a small grey-like battery around one circle.
I took a photo so I knew where the cables go back in.
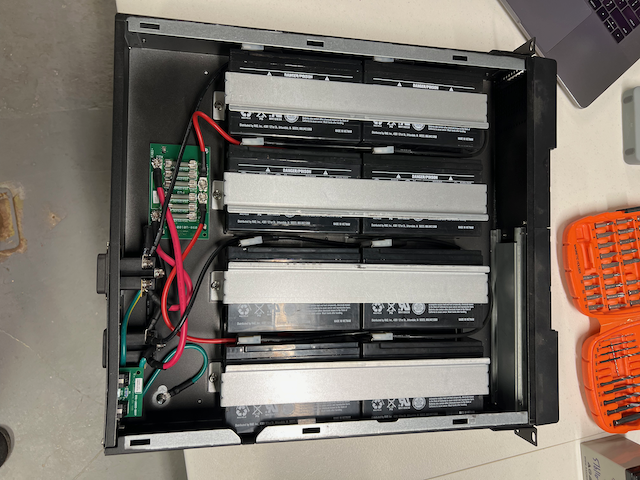
That is the two screws which open the EBM. In this photo, the screws have been removed and the top of the chassis has been slid towards you. This perspective reveals the screw holes.
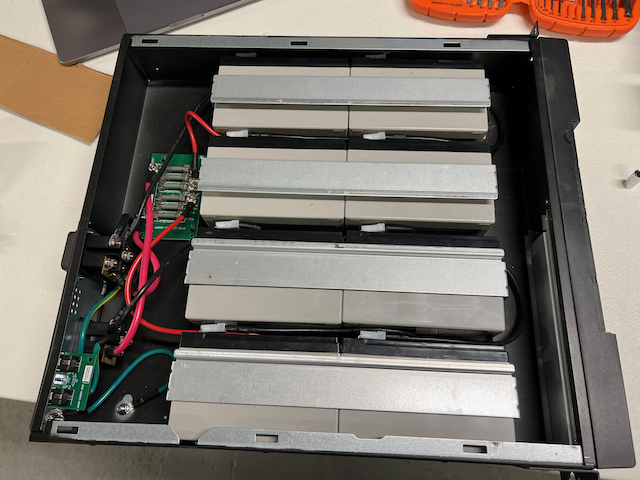
I’m going to keep the chassis orientation the same for each photo. This means I may have rotated the original photo so the fuses are always on the left. My plan is to make it easier for you to follow along.
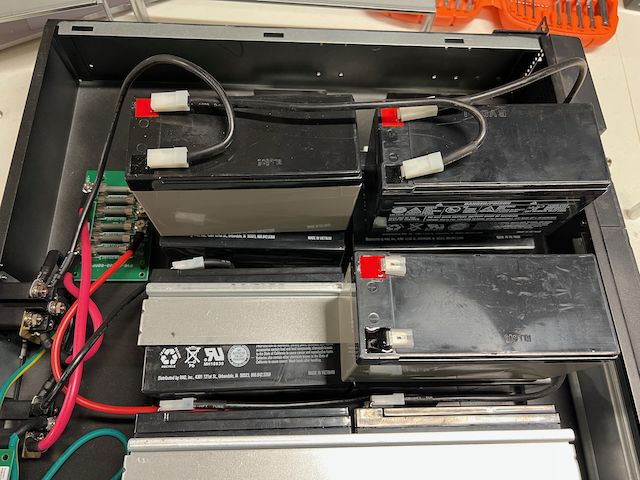
The eight batteries are held in place by four metal bars. The bars are not oriented the same way. This may be by design; I don’t know. However, I put them back the same way during reassembly. Notice how they have a lip. The bars all have the lip pointed towards the center of the chassis.
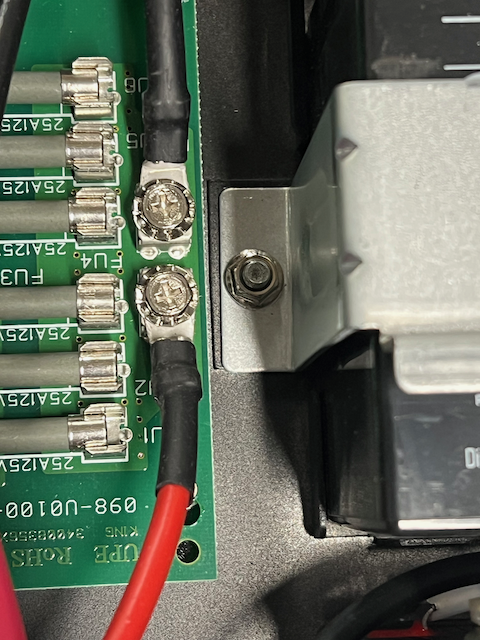
Notice how close that nut is to the power – I used a piece of cardboard to isolate my screw driver from that. Just in case.
The nuts are 5/16″.
I was unable to remove the top batteries unless the row below was moved first. The same problem existed for the bottom row. For the top row, I lifted up the battery immediately below it , removed the top battery and set it upright, finally placing the below battery. Hope that helps.
Batteries are replaced. The bars are back in place, oriented the same way as before.
After replacing all the batteries, carefully reinstalling the bars, and attaching the cover, I was ready to hook up the EBM to the UPS.
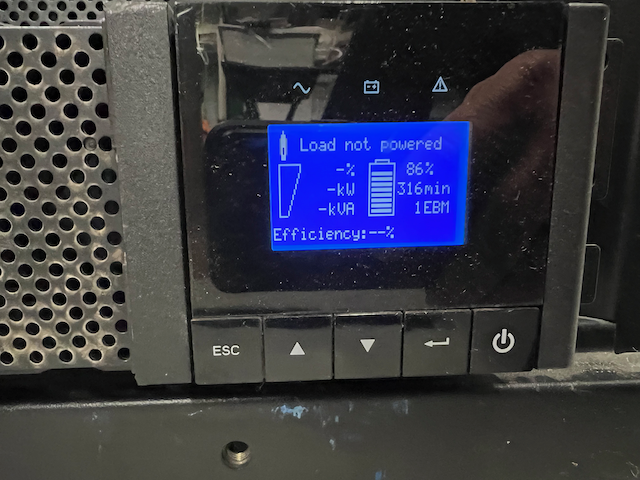
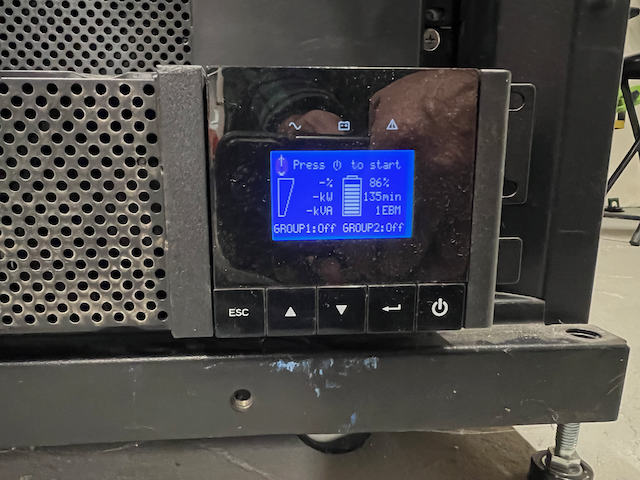
I could not get the UPS to power on. Damn. I was worried I’d messed up the battery connections somewhere. I was concerned I wasn’t going to get the gear back online.
The following is more or less what I think I did to get the UPS to work.
I disconnected the UPS from the power, allowing it to fully shutdown. disconnected both cables from the EBM, and powered on the UPS. Then the UPS powered off. I powered it off, and disconnected it from power. I reconnected the EBM cables, and connected the UPS power cable. I was then able to power on the UPS. I do not know what the problem was.
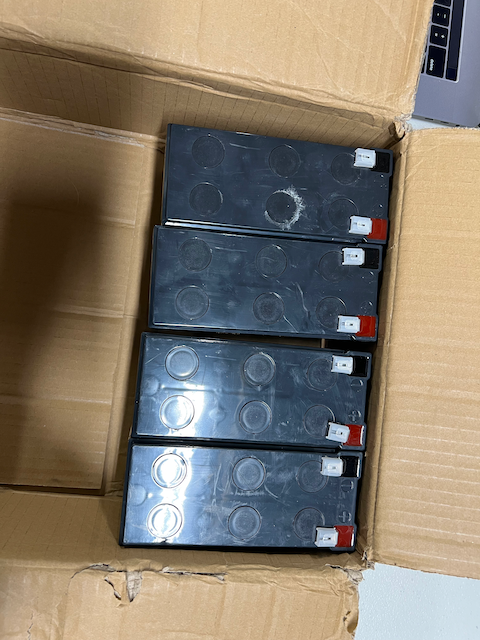
There’s the eight batteries from the EBM, and I have four new batteries left over – top right.
It turns out I ordered the wrong battery package. That is why I have four extra batteries. However, I have another 5PX in the office and I bet it’s about to want new batteries.
Post install
The report battery status is interesting.
13:53 UPS WARNING - Status=Online, Replace Battery, Unknown Utility=117.6V Batt=100.0% Load=24.0% Left=73.5min
14:53 UPS WARNING - Status=Online, Replace Battery, Unknown Utility=117.3V Batt=100.0% Load=24.0% Left=71.7min
15:54 UPS WARNING - Status=Online, Replace Battery, Unknown Utility=117.4V Batt=100.0% Load=25.0% Left=73.5min
...
batteries were replaced
...
18:20 UPS WARNING - Status=Online, Replace Battery, Charging, Unknown Utility=118.3V Batt=86.0% Load=27.0% Left=63.2min
19:20 UPS WARNING - Status=Online, Replace Battery, Charging, Unknown Utility=117.2V Batt=90.0% Load=27.0% Left=58.0min
21:20 UPS WARNING - Status=Online, Replace Battery, Charging, Unknown Utility=117.4V Batt=90.0% Load=24.0% Left=66.2min
21:20 UPS WARNING - Status=Online, Replace Battery, Charging, Unknown Utility=117.7V Batt=90.0% Load=24.0% Left=66.2min
Next step: get that “Replace Battery” warning reset. I went through the 5PX front panel and cleared the battery usage history. That did not clear the warning. I may need to factory reset this unit.
Oh no…
I purposely did not reassemble the front panel thinking I may have to take it apart again. Today (2024-12-01) I went back to finish the job – it appears I need to disconnect the battery to do that. Since I could not find any documentation that it was safe to do so, I’ll wait until I need to shutdown the servers again.
That power down might be next week when my Icy Dock 2.5 inch SATA SSD PCIe adaptors show up. That will allow me to relocate two SSDs from the front drive bays to the rear of the DELL R730. One of those then-free drive bays will be used for a new 12TB drive to replace one which is failing. The failing drive is part of a mirror. Best practice is to insert the replacement drive, add it to the mirror, let it catch up with the good drive, then the failing drive is automagically tossed out the ZFS array.
