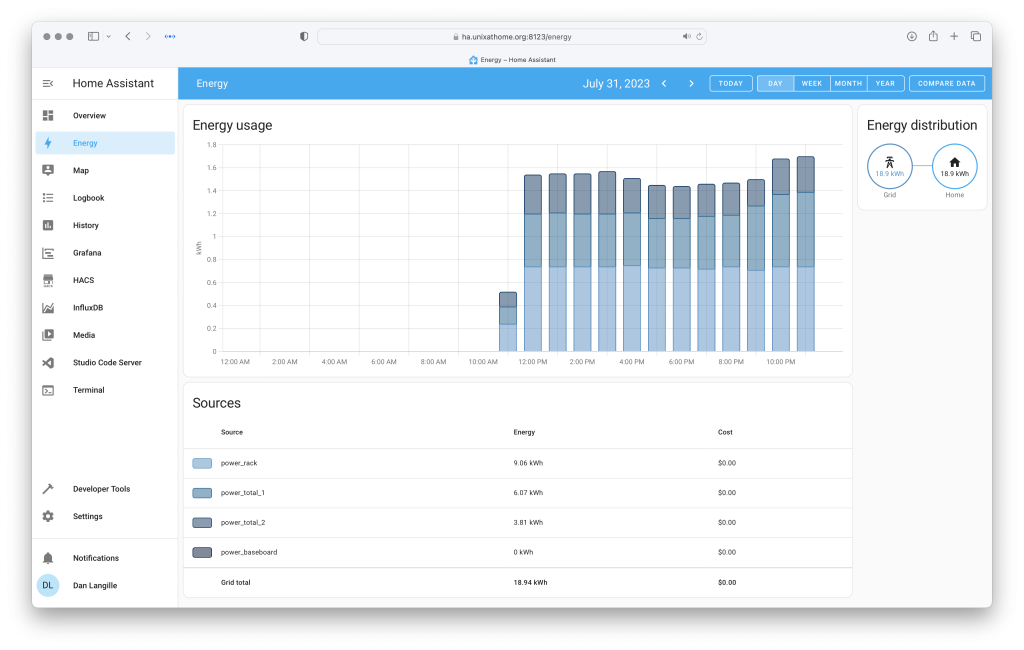
I started using Home Assistant (HA) for graphing the power consumption of my house. Many months before venturing down that road, I bought a Greeneye Monitor (GEM). A current transformer has been installed on each circuit in my breaker box (see the photos near the bottom of this album). I chose HA for that. I first trying installing from FreeBSD packages into a FreeBSD jail, but then reluctantly abandoned that approach in favor of running HA natively in bhyve.
I did get graphing of my electrical usage working, but I did not create the panel I wanted showing individual circuit usage (e.g. how much power is my rack using?).
On June 15th, an upgrade broke the GreenEye Monitor (GEM) integration for Home Assistant.

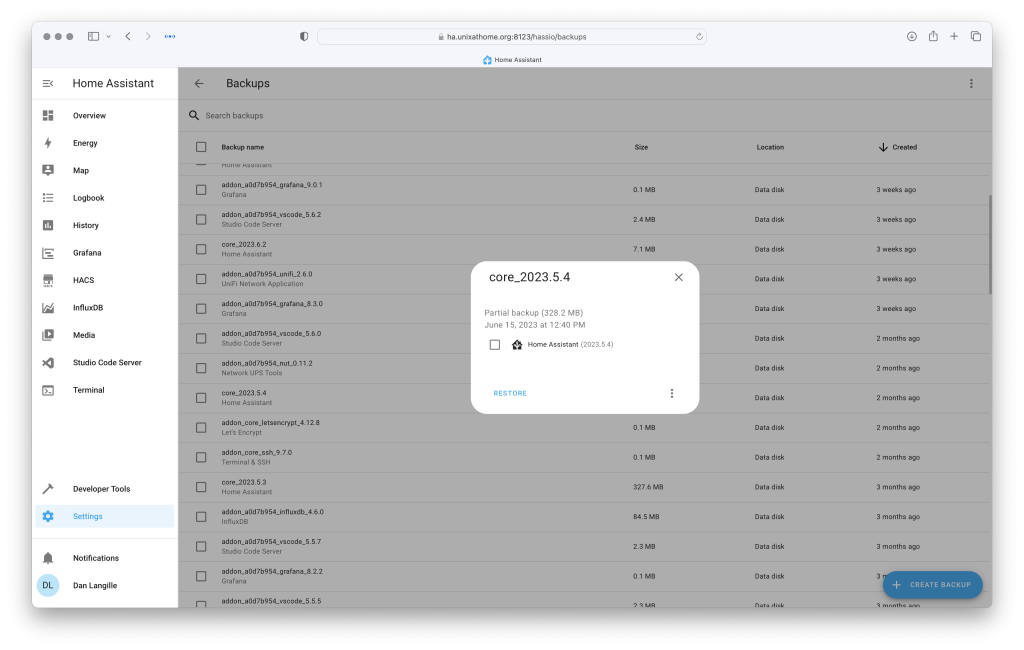
Looking in the backups, I found this:
core_2023.5.4 at June 15, 2023 at 12:40 PM
The screen shot shows it:

I didn’t know it was that upgrade. I just knew that the Energy panel was not recording new data. It took me until July 31 to have the time and search to discover the issue. I searched and found this HA issue which mentions the Python 3.11 upgrade broke the GEM HE Integration. In that issue, mention was made of “pull requests were just sitting around for months without review” so a fork was made. That fork is known as GreenEye Monitor (GEM) Custom Integration.
I had hope.
I admit, it was difficult for me to integrate it. Instructions are not clear. I hope the follow helps. It’s not like a pkg install. I find that HA documentation can be quickly outdated as the user interface changes. This seems to be the case here.
NOTE: I am writing this in hindsight based on notes. I did not compose as I went along, which is my usual workflow. If there are errors or difficult bits, please let me know and I’ll see if I can improve this post.
In this post:
- Home Assistant 2023.8.0
- Supervisor 2023.07.1
- Operating System 10.4
- Frontend 20230802.0 – latest
Getting the GEM Custom Integration
NOTE: you need a Github login for this. Login first, it will be easier.
There are several steps. I’ll devote a new section to each step. I’ll copy/paste the instructions from the README and document the steps required.
Add this repository as a custom repository for integrations in HACS – the false start
Clicking that button didn’t help me because I didn’t have custom repositories enabled.
Enabling custom repositories
This is not straight forward. There are many ways to do this.
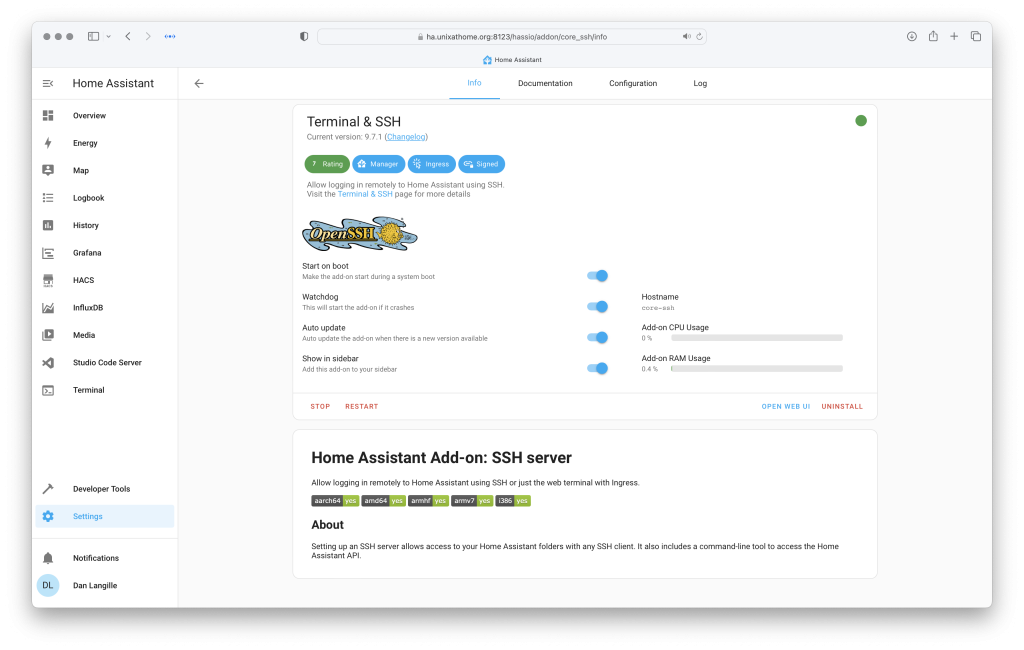
I accomplished it through the Terminal tab in my Home Assistant installation which was previously installed. It is an add-on installed from Settings | Add-ons.

There are other methods, but this is what I used. Details and choices are at https://hacs.xyz/docs/setup/download/
After getting into Terminal, I ran this command:
wget -O - https://get.hacs.xyz | bash -
Yes, I greatly dislike this method of installation. It’s terrible. As a package builder, this is the opposite of what I prefer. However, this is the HA way.
After that, click on Initial Configuration (bottom right corner of the page). This will take you to https://hacs.xyz/docs/configuration/basic. You need a Github login for this. Login first, it will be easier.
Follow the page. It worked for me.
At the end, click on Configuration Options and follow through that page.
Now you are ready to install the custom repository.
Add this repository as a custom repository for integrations in HACS – proper
Now that you have custom repositories enabled, go back to README and click on the My HCAS: repository button.
Then click on download.
Then configure…
Then restart
Removing the old Greeneye
After the restdart, you can remove Greeneye from configuration.yaml. I saved it away:
greeneye_monitor:
  port: 8000
  monitors:
    - serial_number: "[redacted]"
      channels:
        - number: 1
          name: total_power1
        - number: 2
          name: total_power2
        - number: 3
          name: dryer
        - number: 4
          name: baseboard_heater
        - number: 5
          name: kitchen_GFCI
        - number: 6
          name: unknown
        - number: 7
          name: main_mid_bedroom
        - number: 8
          name: 2nd_floor_bthrm_GFCI
        - number: 9
          name: washer
        - number: 10
          name: dining_room_outlets
        - number: 11
          name: living_room_outlets
        - number: 12
          name: pantry_rear_porch1
        - number: 13
          name: pantry_rear_porch2
        - number: 14
          name: basement
        - number: 15
          name: surge_panel
        - number: 16
          name: basement_other
        - number: 17
          name: dishwasher
        - number: 18
          name: stove
        - number: 19
          name: microwave
        - number: 20
          name: rear_bm_and_2nd_flr_bth_lights
        - number: 21
          name: 3rd_attic_office
        - number: 22
          name: fridge
        - number: 23
          name: 1st_floor_lights
        - number: 24
          name: furnace
        - number: 25
          name: panel_quad
        - number: 26
          name: rack
        - number: 27
          name: heat_pump
Success
That got it working.

Side note
You can ignore this section. It is just for my notes.
I went down the wrong way at one point. There are many old HA guides which do not reference the version of HA in use.
In an failed attempt enable custom repositories, I found https://developers.home-assistant.io/docs/add-ons/repository/ – but that doesn’t help either. That’s not what you want.
And I created repository.yaml via Studio Code Server
name: mhacs-greeneye-monitor
url: https://github.com/jkeljo/hacs-greeneye-monitor
That file still exists. I’ll remove it one day.
My next goal: an energy panel showing all the circuits.


