Dell PowerEdge Servers are common in #homelab use. The hardware gets sold after it goes out of warranty and they get dumped. Most of the disk cards in these servers come flashed for use with RAID and RAID only. Never use a RAID card with ZFS. Always give ZFS direct access to the drives. I won’t go into the details because the reasons why are easily researched.
These cards usually arrive in IR (Integrated RAID) mode. You don’t want that for ZFS.
Many cards can be flashed in IT (Initiator Target) mode which presents each drive individually to the host. This is what you want. This is what ZFS wants.
In recent times, the DELL PERC H710 Mini card could not be flashed to IT mode. Starting in mid-2019, the solutions started to appear. Vendors started to supply cards for sale in IT mode.
Eventually, the solutions became widely known (from what it seems, that was the results of research and trial and error). and now they are easily implemented. Now fohdeesha.com provides an ISO you can download with everything you need.
I will try that on an R720 server.
In this post:
- DELL PERC H710 mini
- DELL R720
- FreeBSD 12.1
This won’t work for you
What I do here may well not work for you unless you have the exact same matching card as I have. The fohdeesha.com instructions show you want to do for your card, and if they don’t, do not proceed. You will mostly likely brick your card if you do. Instead, contact fohdeesha.com as instructed.
Upgrade as much firmware as you can
I recommend updating the firmware as much as you can before you start this process.
First, so you can get the HTML virtual console, not the Java console (which is horrible, avoid it).
I live tweeted the process I did in Oct 2019. While not a complete guide, it should help. It helped me this past weekend.
Boot from the ISO
The hardest part of this was learning to to mount the ISO images via the virtual console.
The flashing instructions show you how to download the ZIP file which contains FreeDOS and Debian. Both ISO are used during the flashing process.
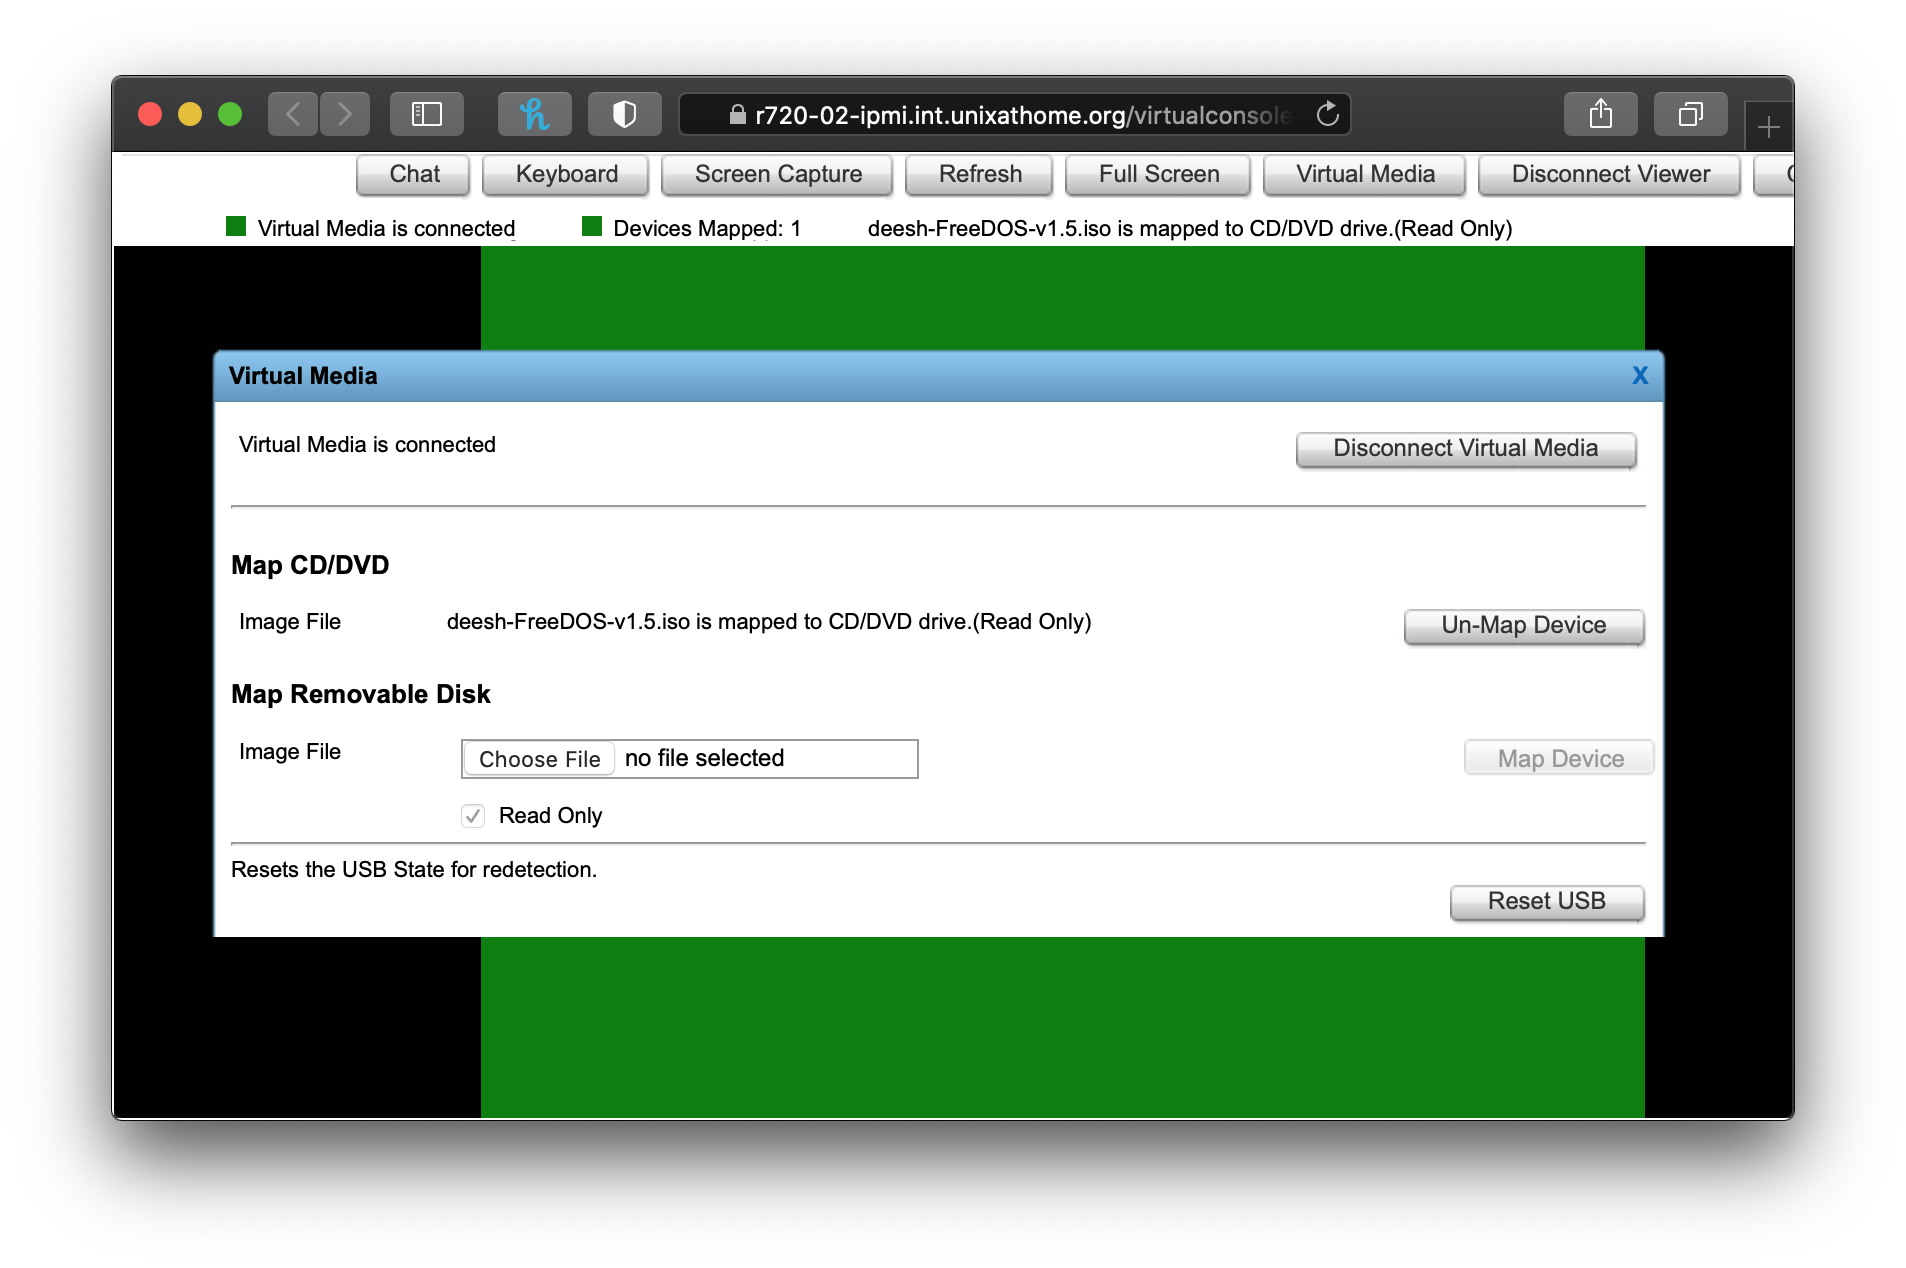
Get into the virtual console, then click on Virtual Media button at the top. Click on Choose File, browse to and select the FreeDOS ISO image supplied in the ZIP file you downloaded from the URL above.
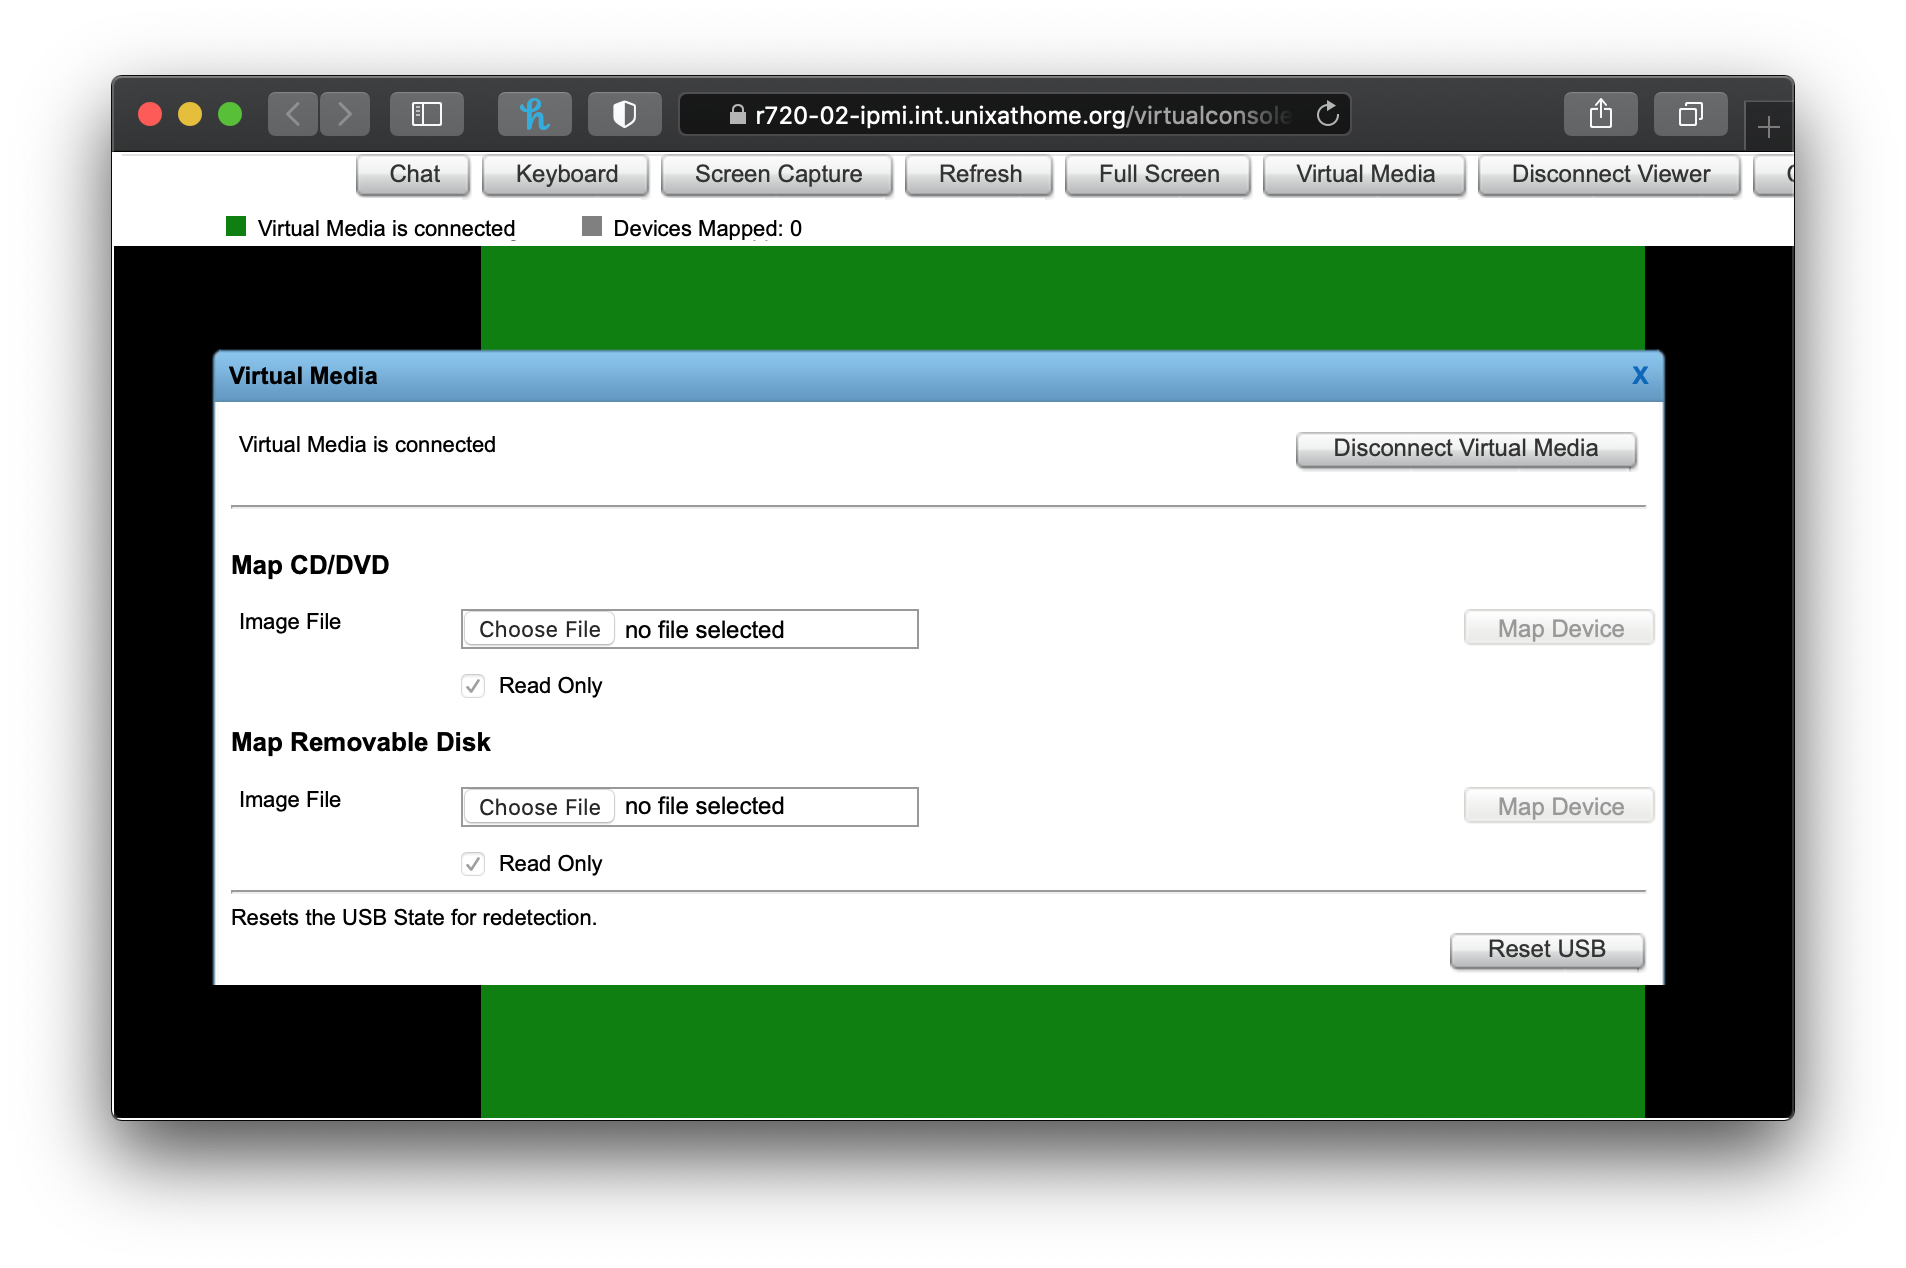
You must also click on Map Device.
Verify & SAS
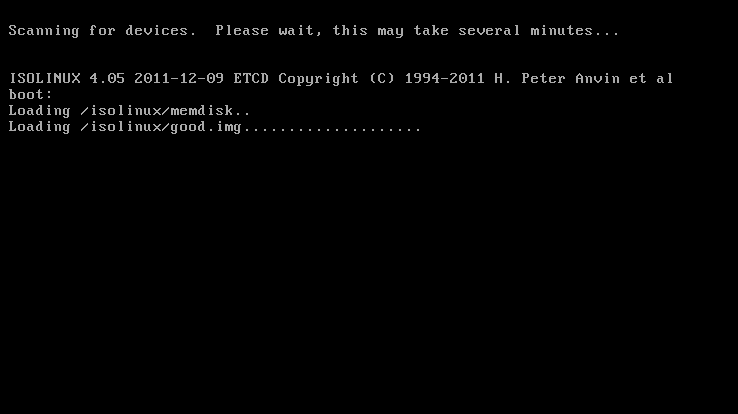
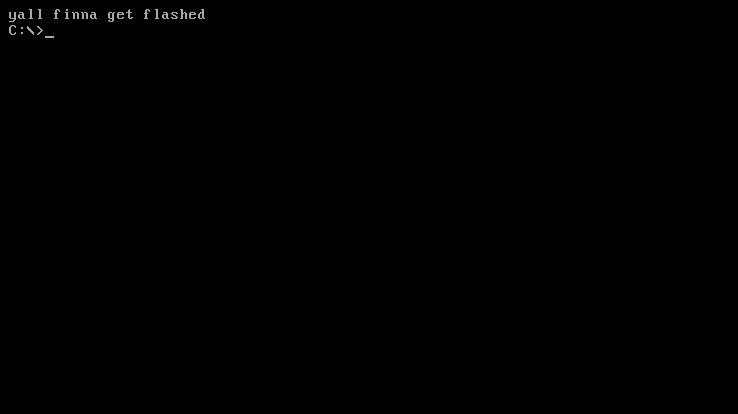
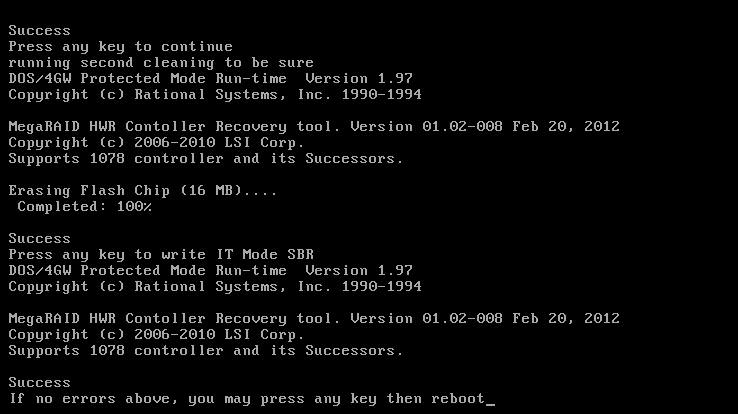
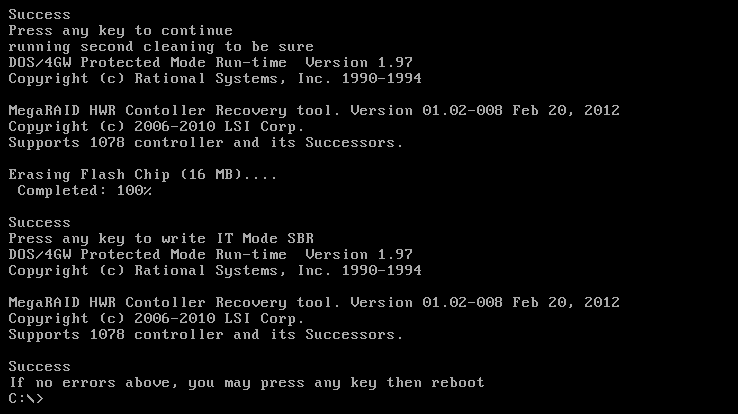
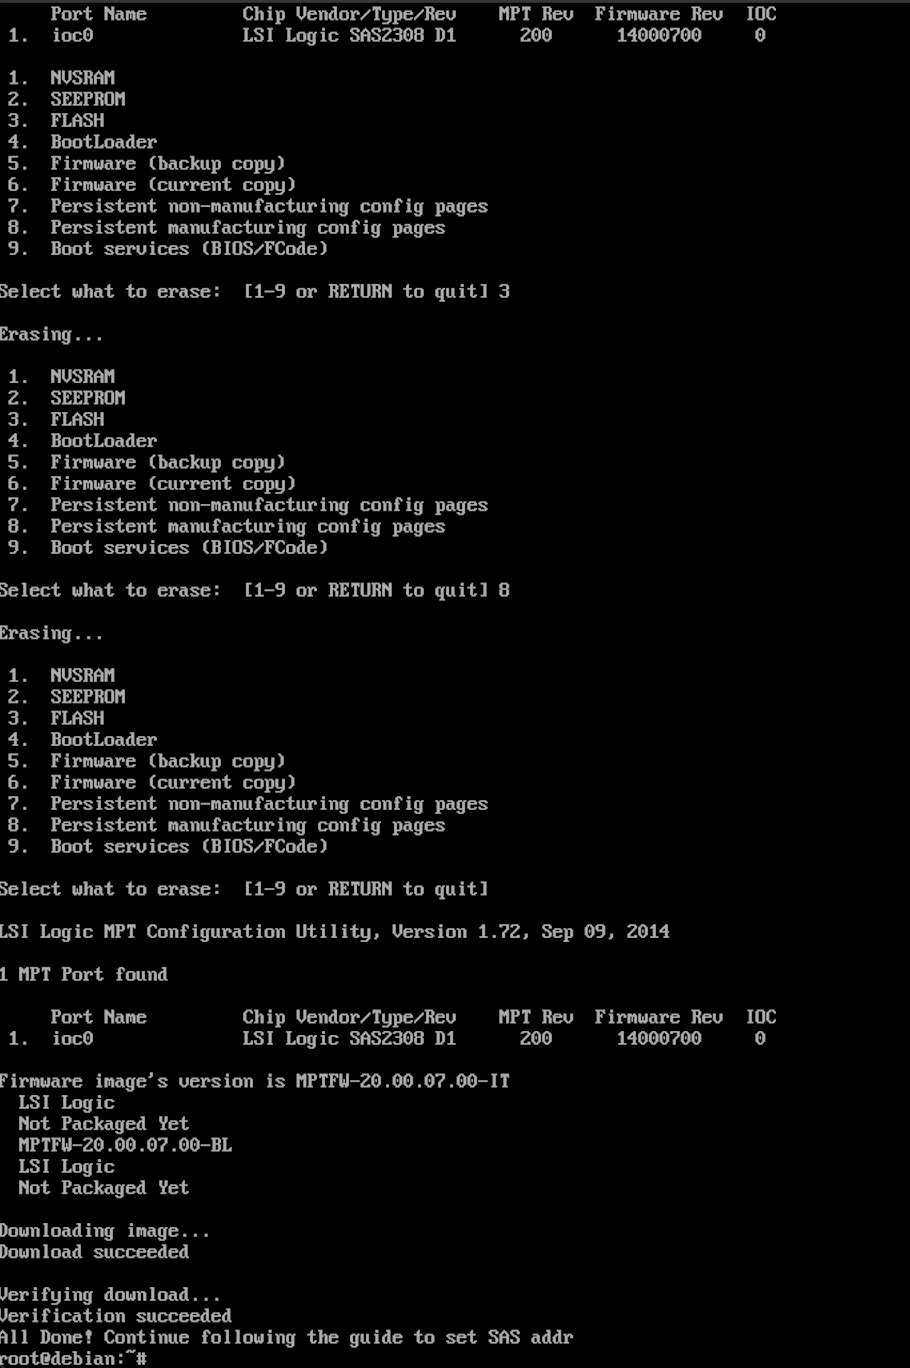
These are the screen shots of the process after booting into the FreeDOS image.
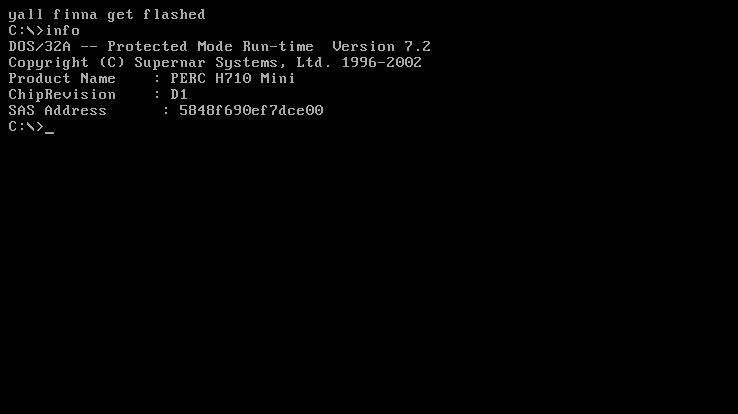
You must save the SAS address you get from the info above.
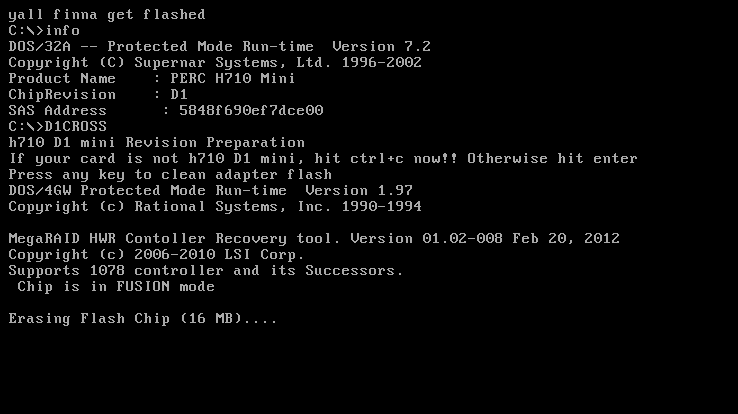
Follow the directions and make sure you select the correct instructions for your exact card.
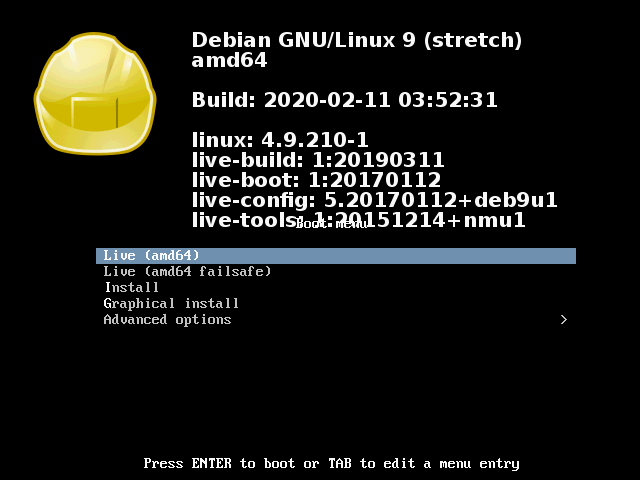
At this point you want to boot into the Debian ISO, not back into FreeDOS.
During the reboot process, I changed the Virtual Media in the virtual console.
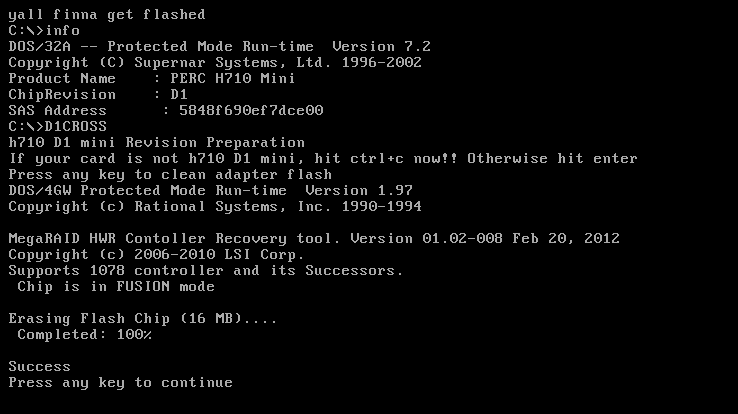
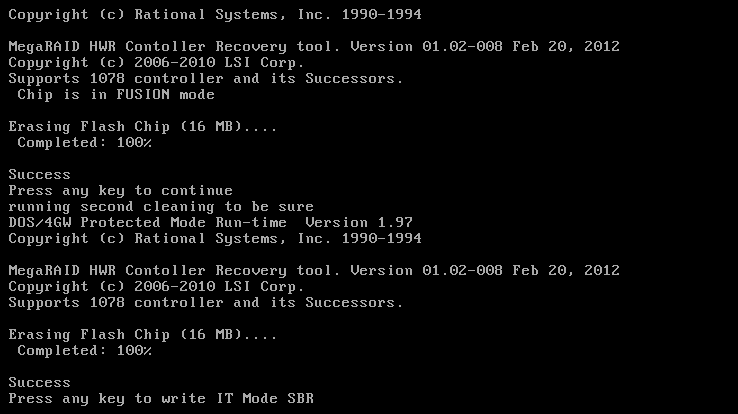
Flashing IT Firmware
The instructions recommend removing the battery from the PERC card. I admit. I did not, but I should have. So you should. Don’t be like me. I will remove the battery when I install the PCI hot-swab bays.

The instructions say you should be able to ssh into the Debian session. While I could find the IP address via ipinfo, ssh attempts always failed with too many authentication errors. I did everything through the virtual console.
WARNING: do not use the command you see in the screen shot below. USE THE command particular to your card as found in the instructions. If you fail to do that, you will brick your card.
WARNING: do not use the command you see in the screen shot above. USE THE command particular to your card as found in the instructions. If you fail to do that, you will brick your card.
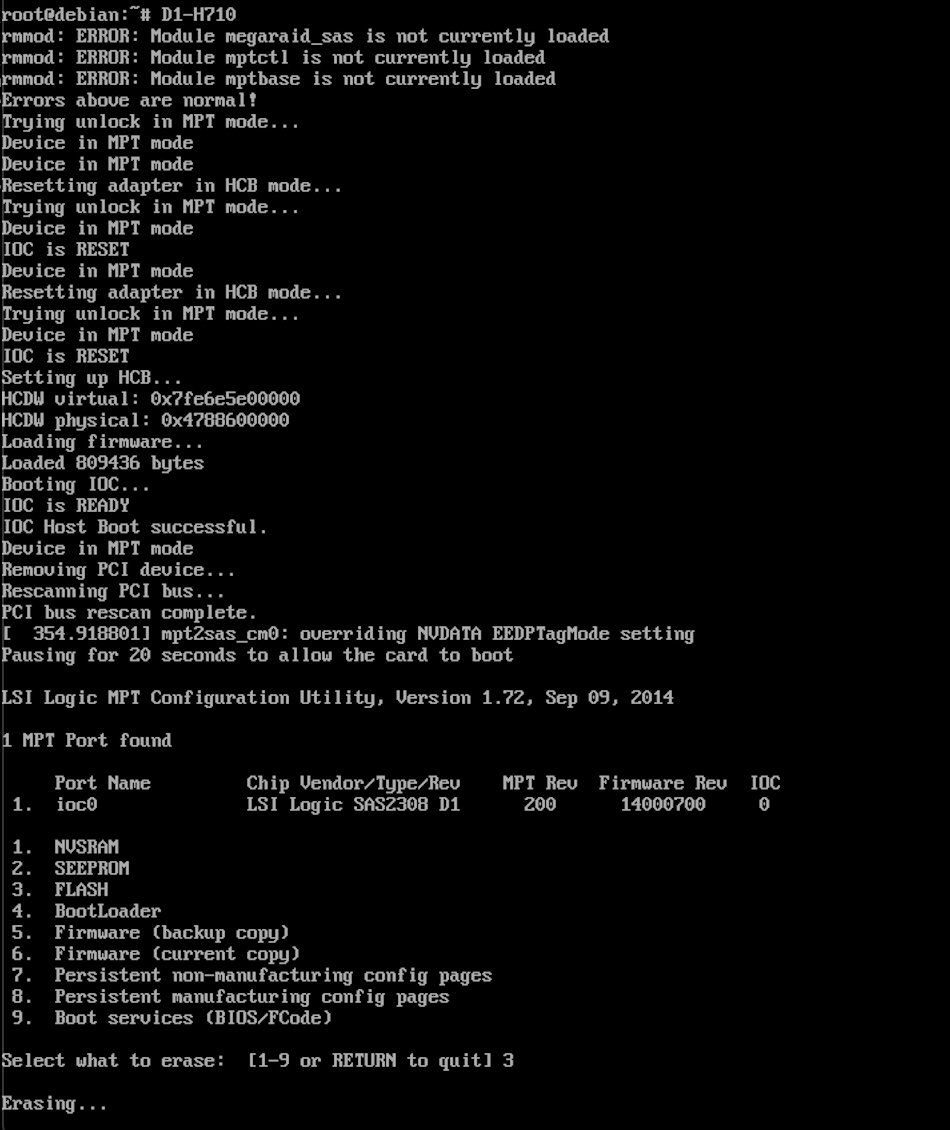
Set the SAS address
After rebooting back into Debian, you set the SAS address.
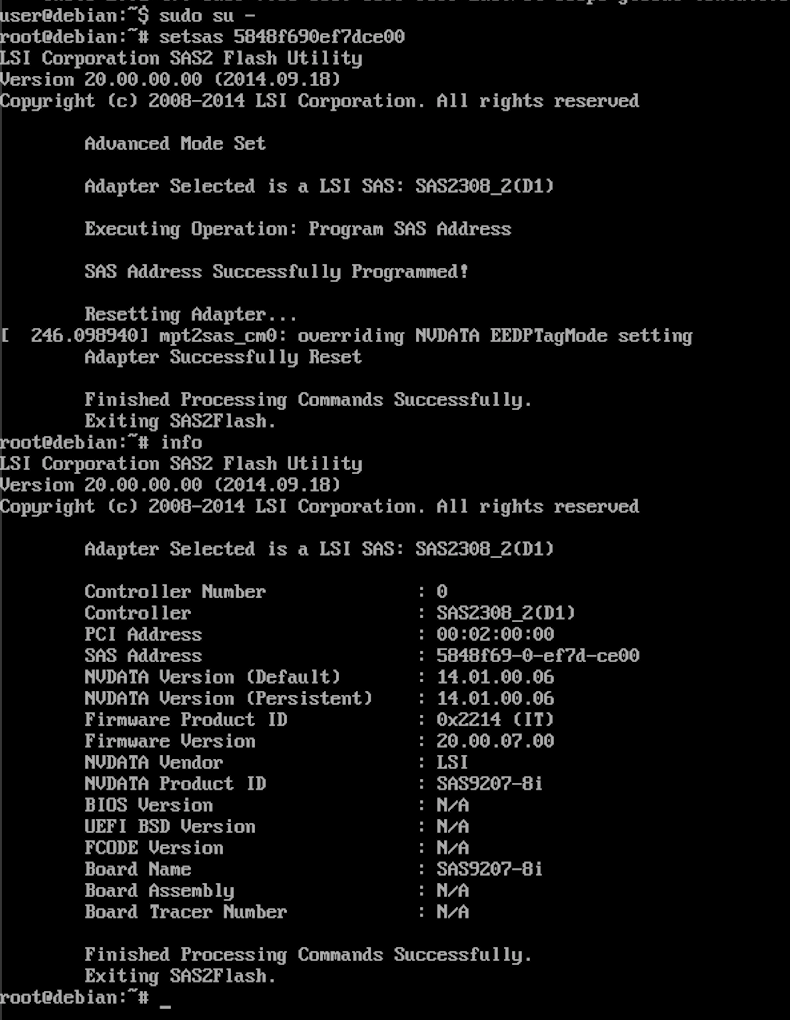
Notice the IT mode. You want want. We all want that. ZFS wants that.
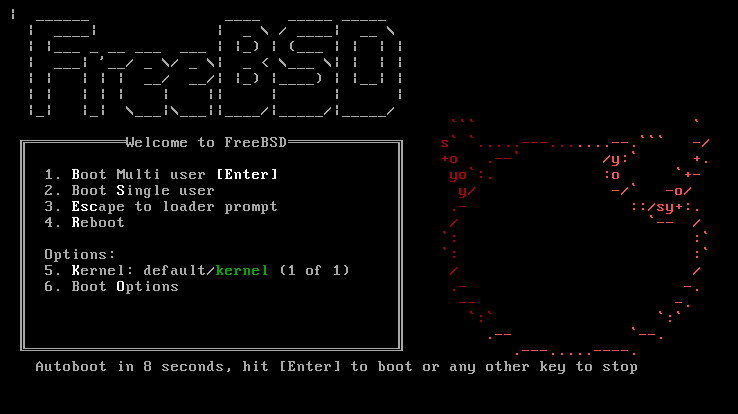
Trying this in FreeBSD
Next, I booted from a USB thumb drive with FreeBSD 12.1 installed.
The following is the output of dmesg:
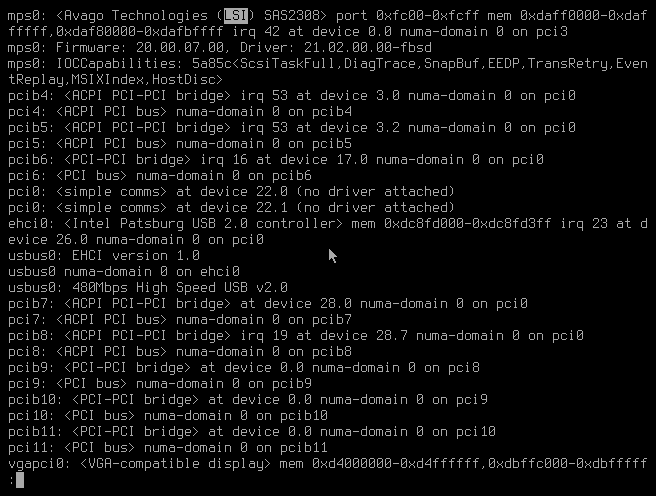
Now, I showed the output of mpsutil show all:
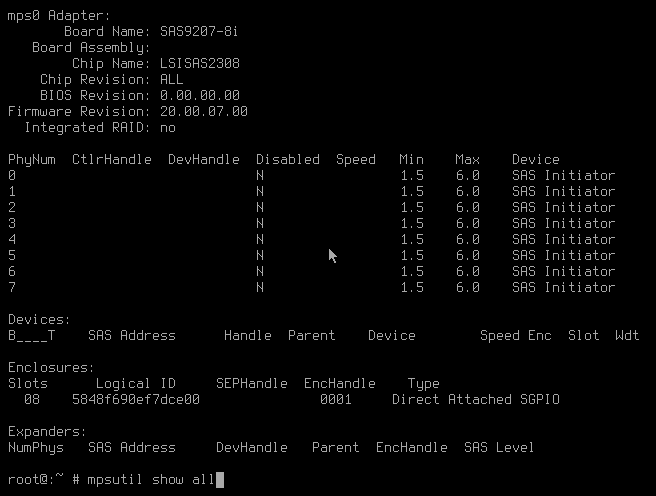
Notice the Integrated RAID? It is no.
This is good. This is the goal. We are done.
NOTE: I did not the optional Optional: Boot Images section of the documentation, but I later went back and that that. I think it’s better to do that now with all the tools to hand instead of later when you need it and have to hunt everything down again.
At the time I wrote this, I had not yet connected any drives to this HBA. I’m waiting on drive cages.
Thank you for coming to my TED talk.


Thank you for this write up. I was able to follow it and now I have an R620 with an H710 mini in IT mode. The only problem is that BIOS does not see the drives, so I am unable to boot from anything I install on them. Recommendations?
I don’t know, sorry. I suggest asking in the Serve The Home Forums
Please paste the link to your question here. Others will want to know what you discover there.
I am glad you got it into IT mode. Well done.