A recent goal is to increase the available storage space in my main development server in the basement. To that end, two recent posts:
The SATADOM devices I purchased are meant to be plugged directly into the M/B of the server. This approach will free up two PCIe slots which were hosting 2x 2.5″ SSDs in a hot-swap adaptor (the post mentions a Dell R720; I also installed those S25SLOTR adaptors into a Dell R730). I know I’m giving up the hot-swap feature for those devices. That’s something I am willing to lose.
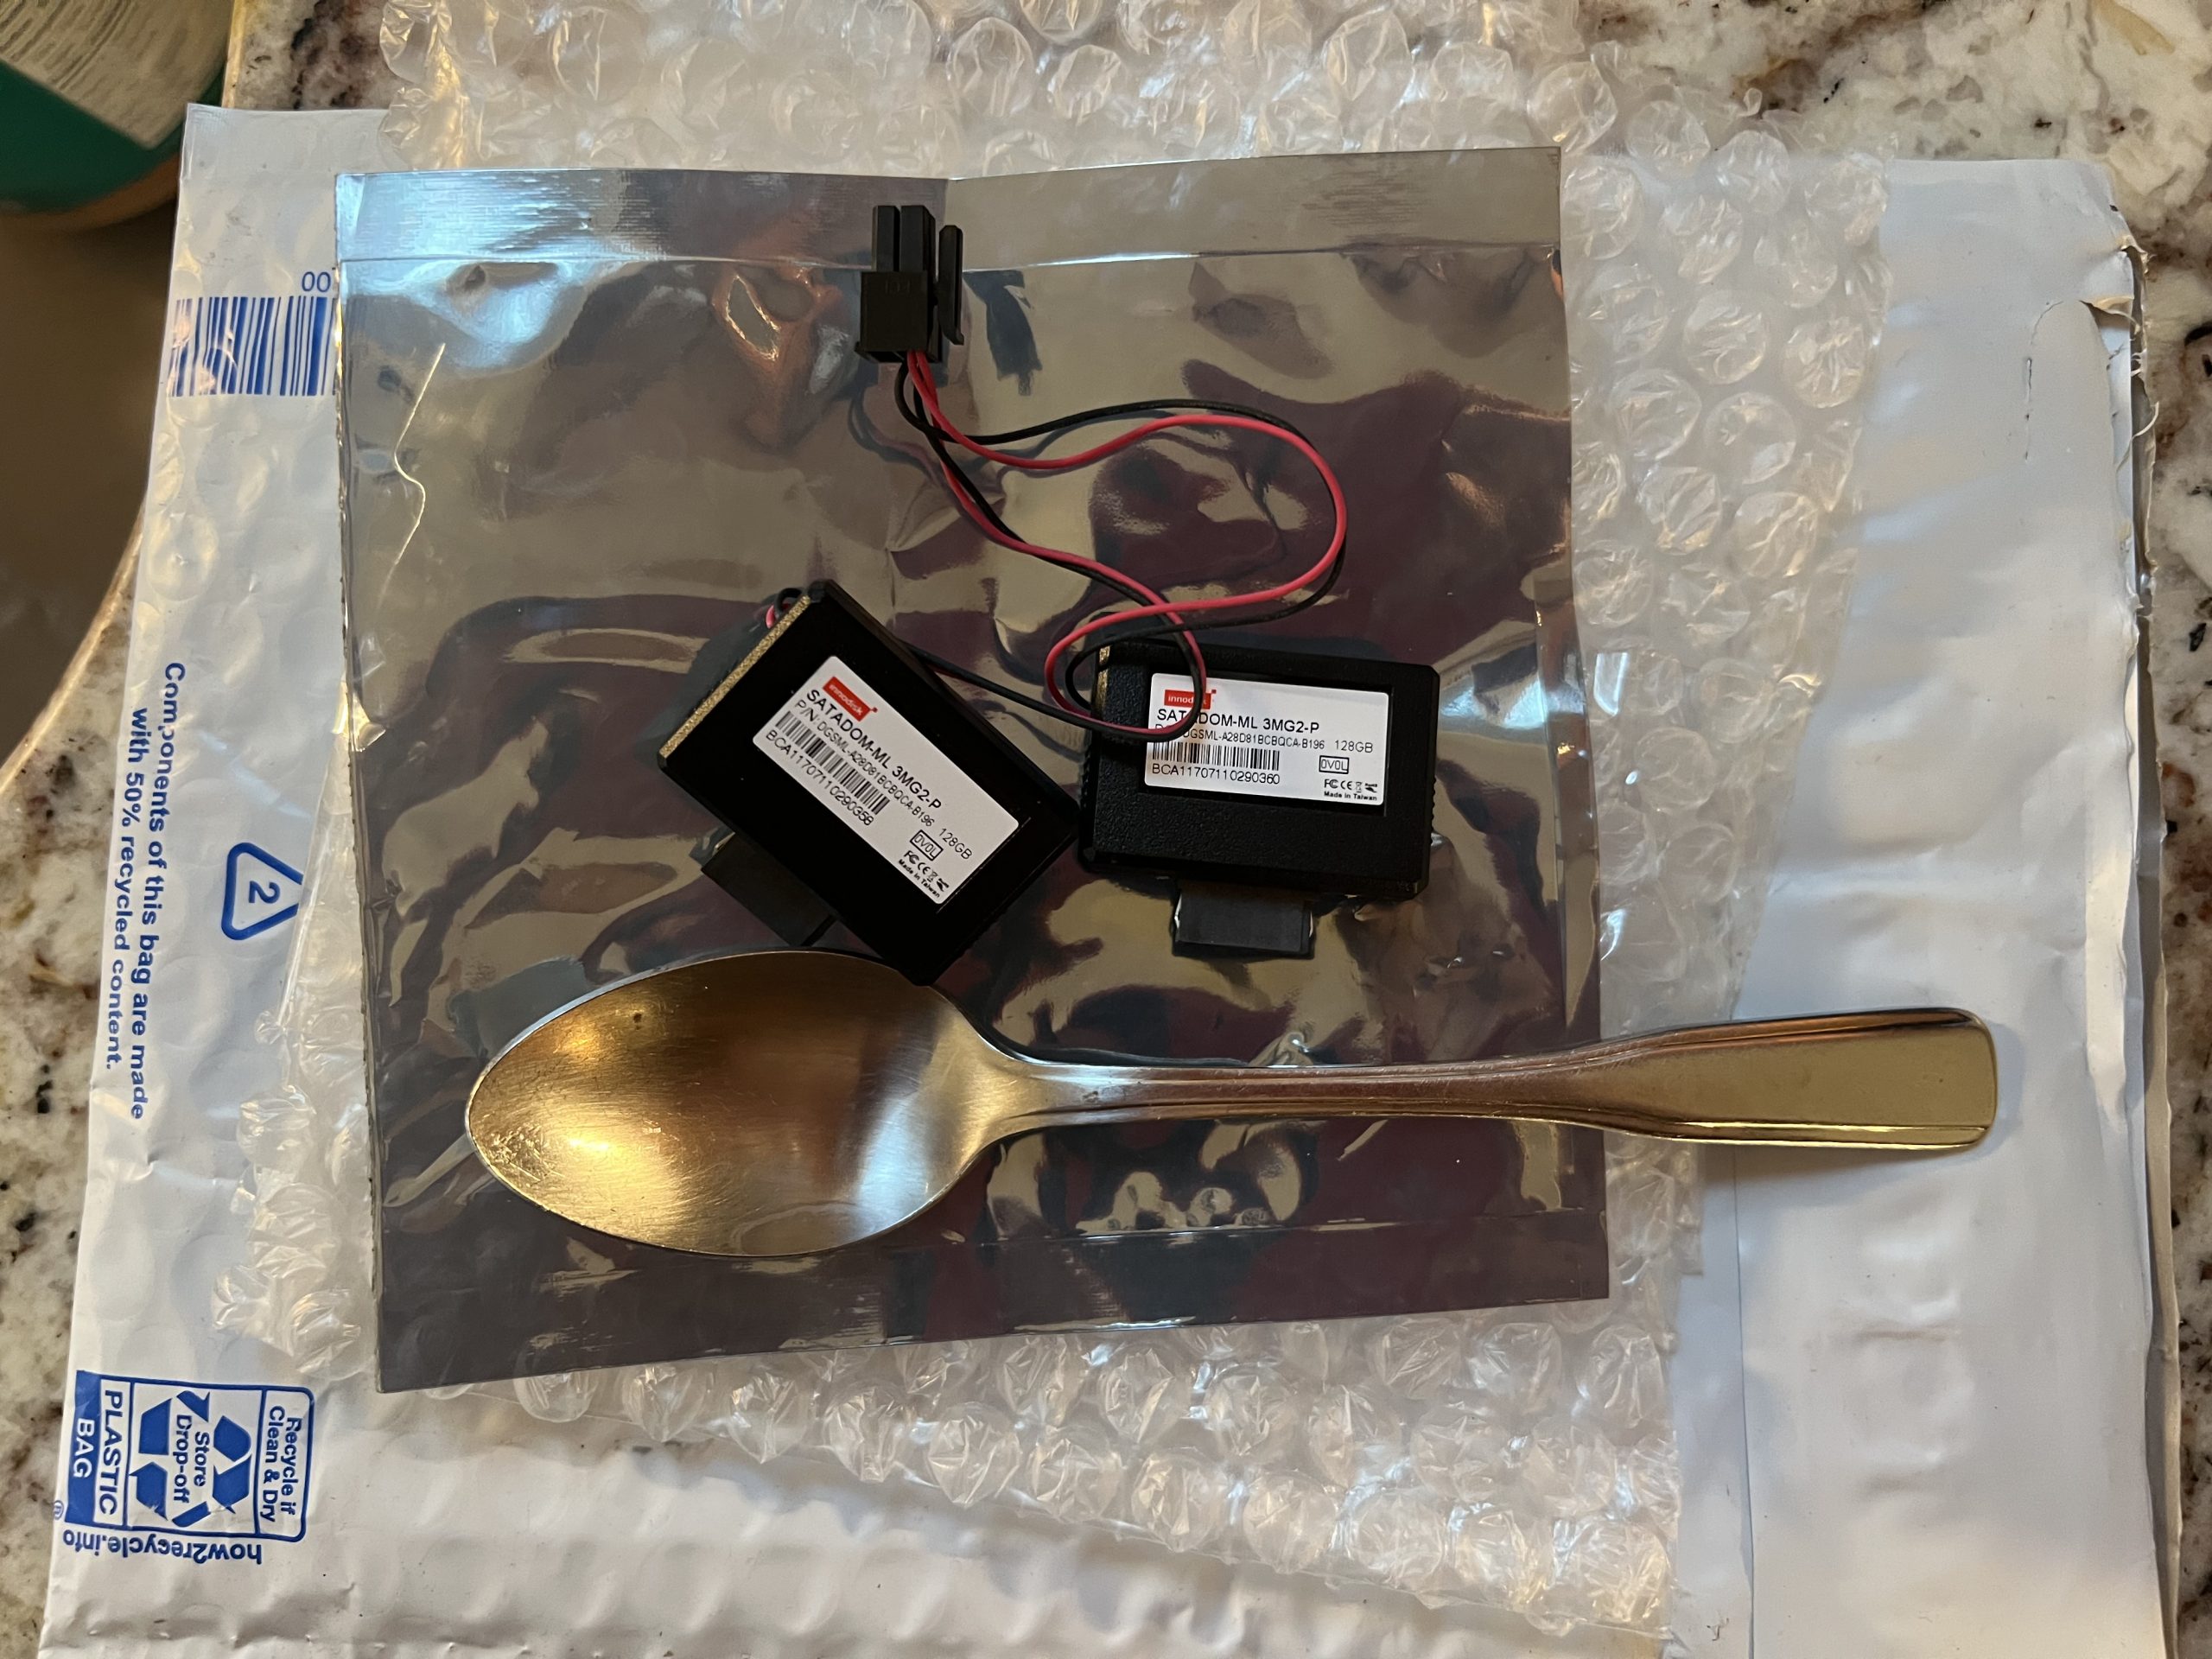
Over the past weekend, I installed a pair of “Innodisk Satadom-ML 3MG-P DGSML-A28D67SCAQC-B196 128GB” devices.
Installation
It was a sudden realization that I could test the SATADOM in an unused host. This is r730-04.
I was looking forward to the delivery all last week. I was supposed to arrive on Friday. It didn’t. It arrived Saturday. This is a photo of the devices from that day. They were smaller than I expected.
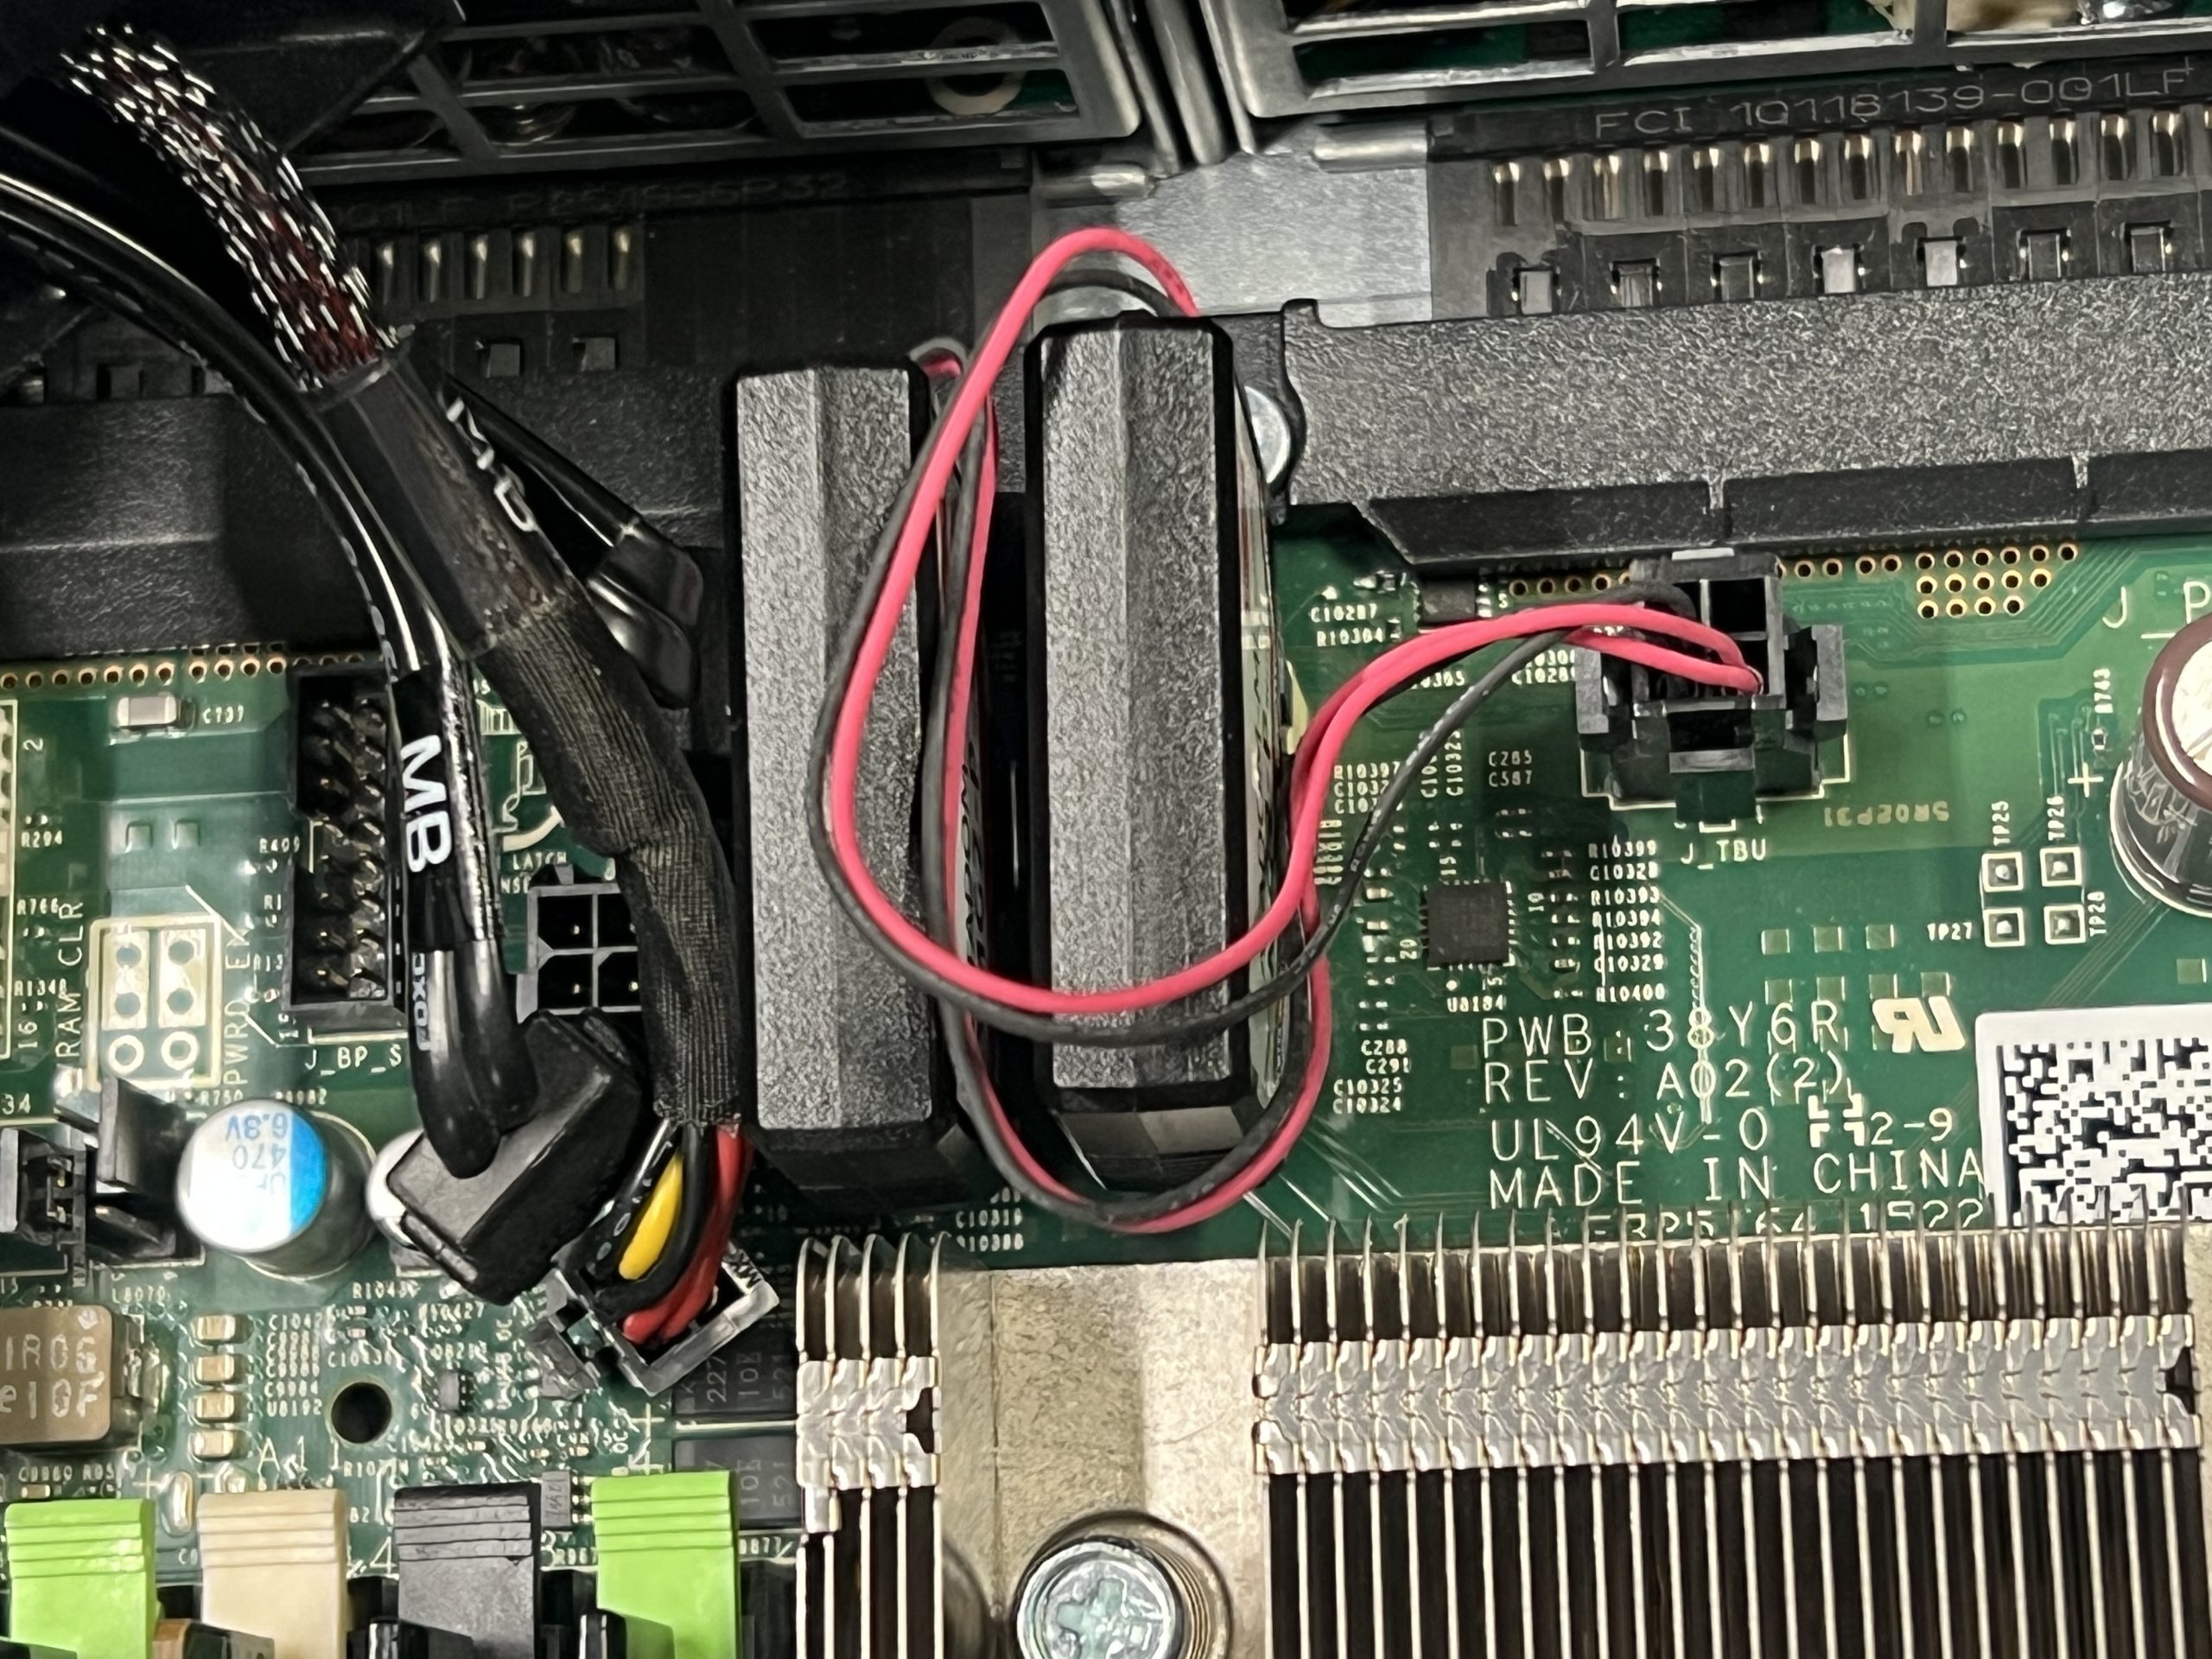
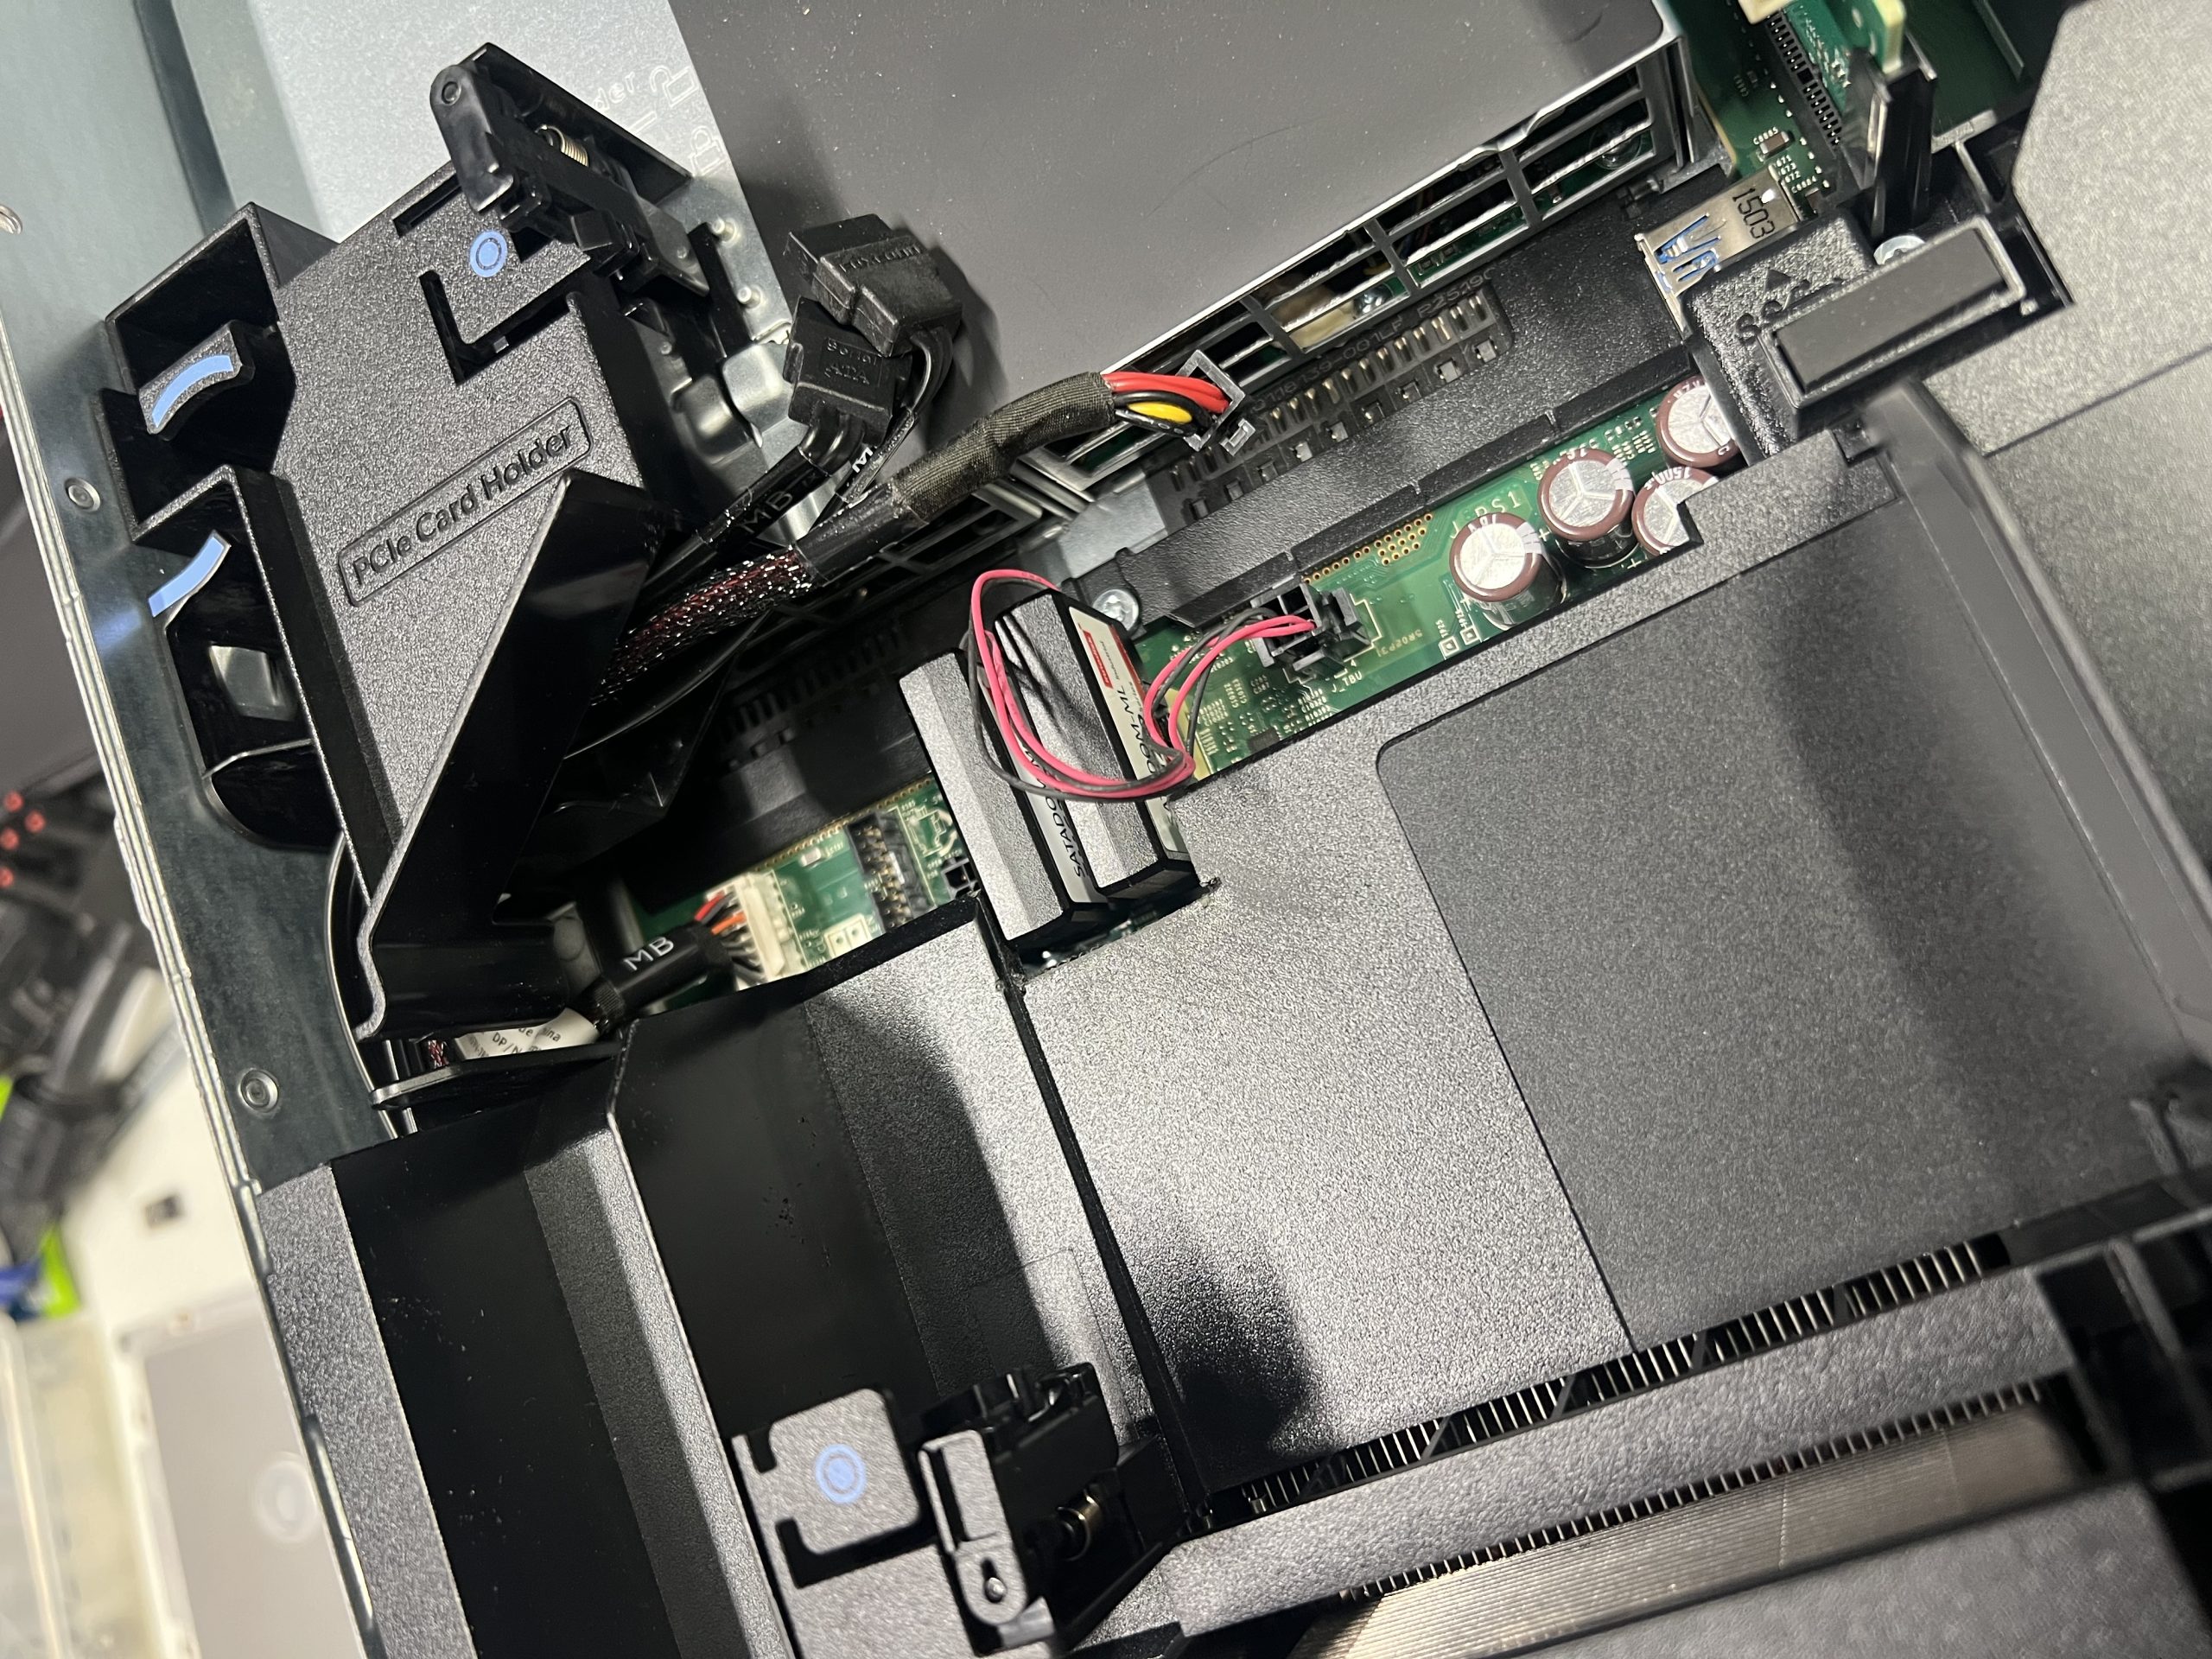
In this photo, the devices are installed. I had to disconnect an embedded 1TB SSD and the CDROM. Those are the power and data cables you see at the top of the photo.
When I replaced the fan cowl, it would not sit cleanly. It was too high on the left side. I grabbed my Dewalt oscillating tool and did some cutting. Then it sat cleanly.
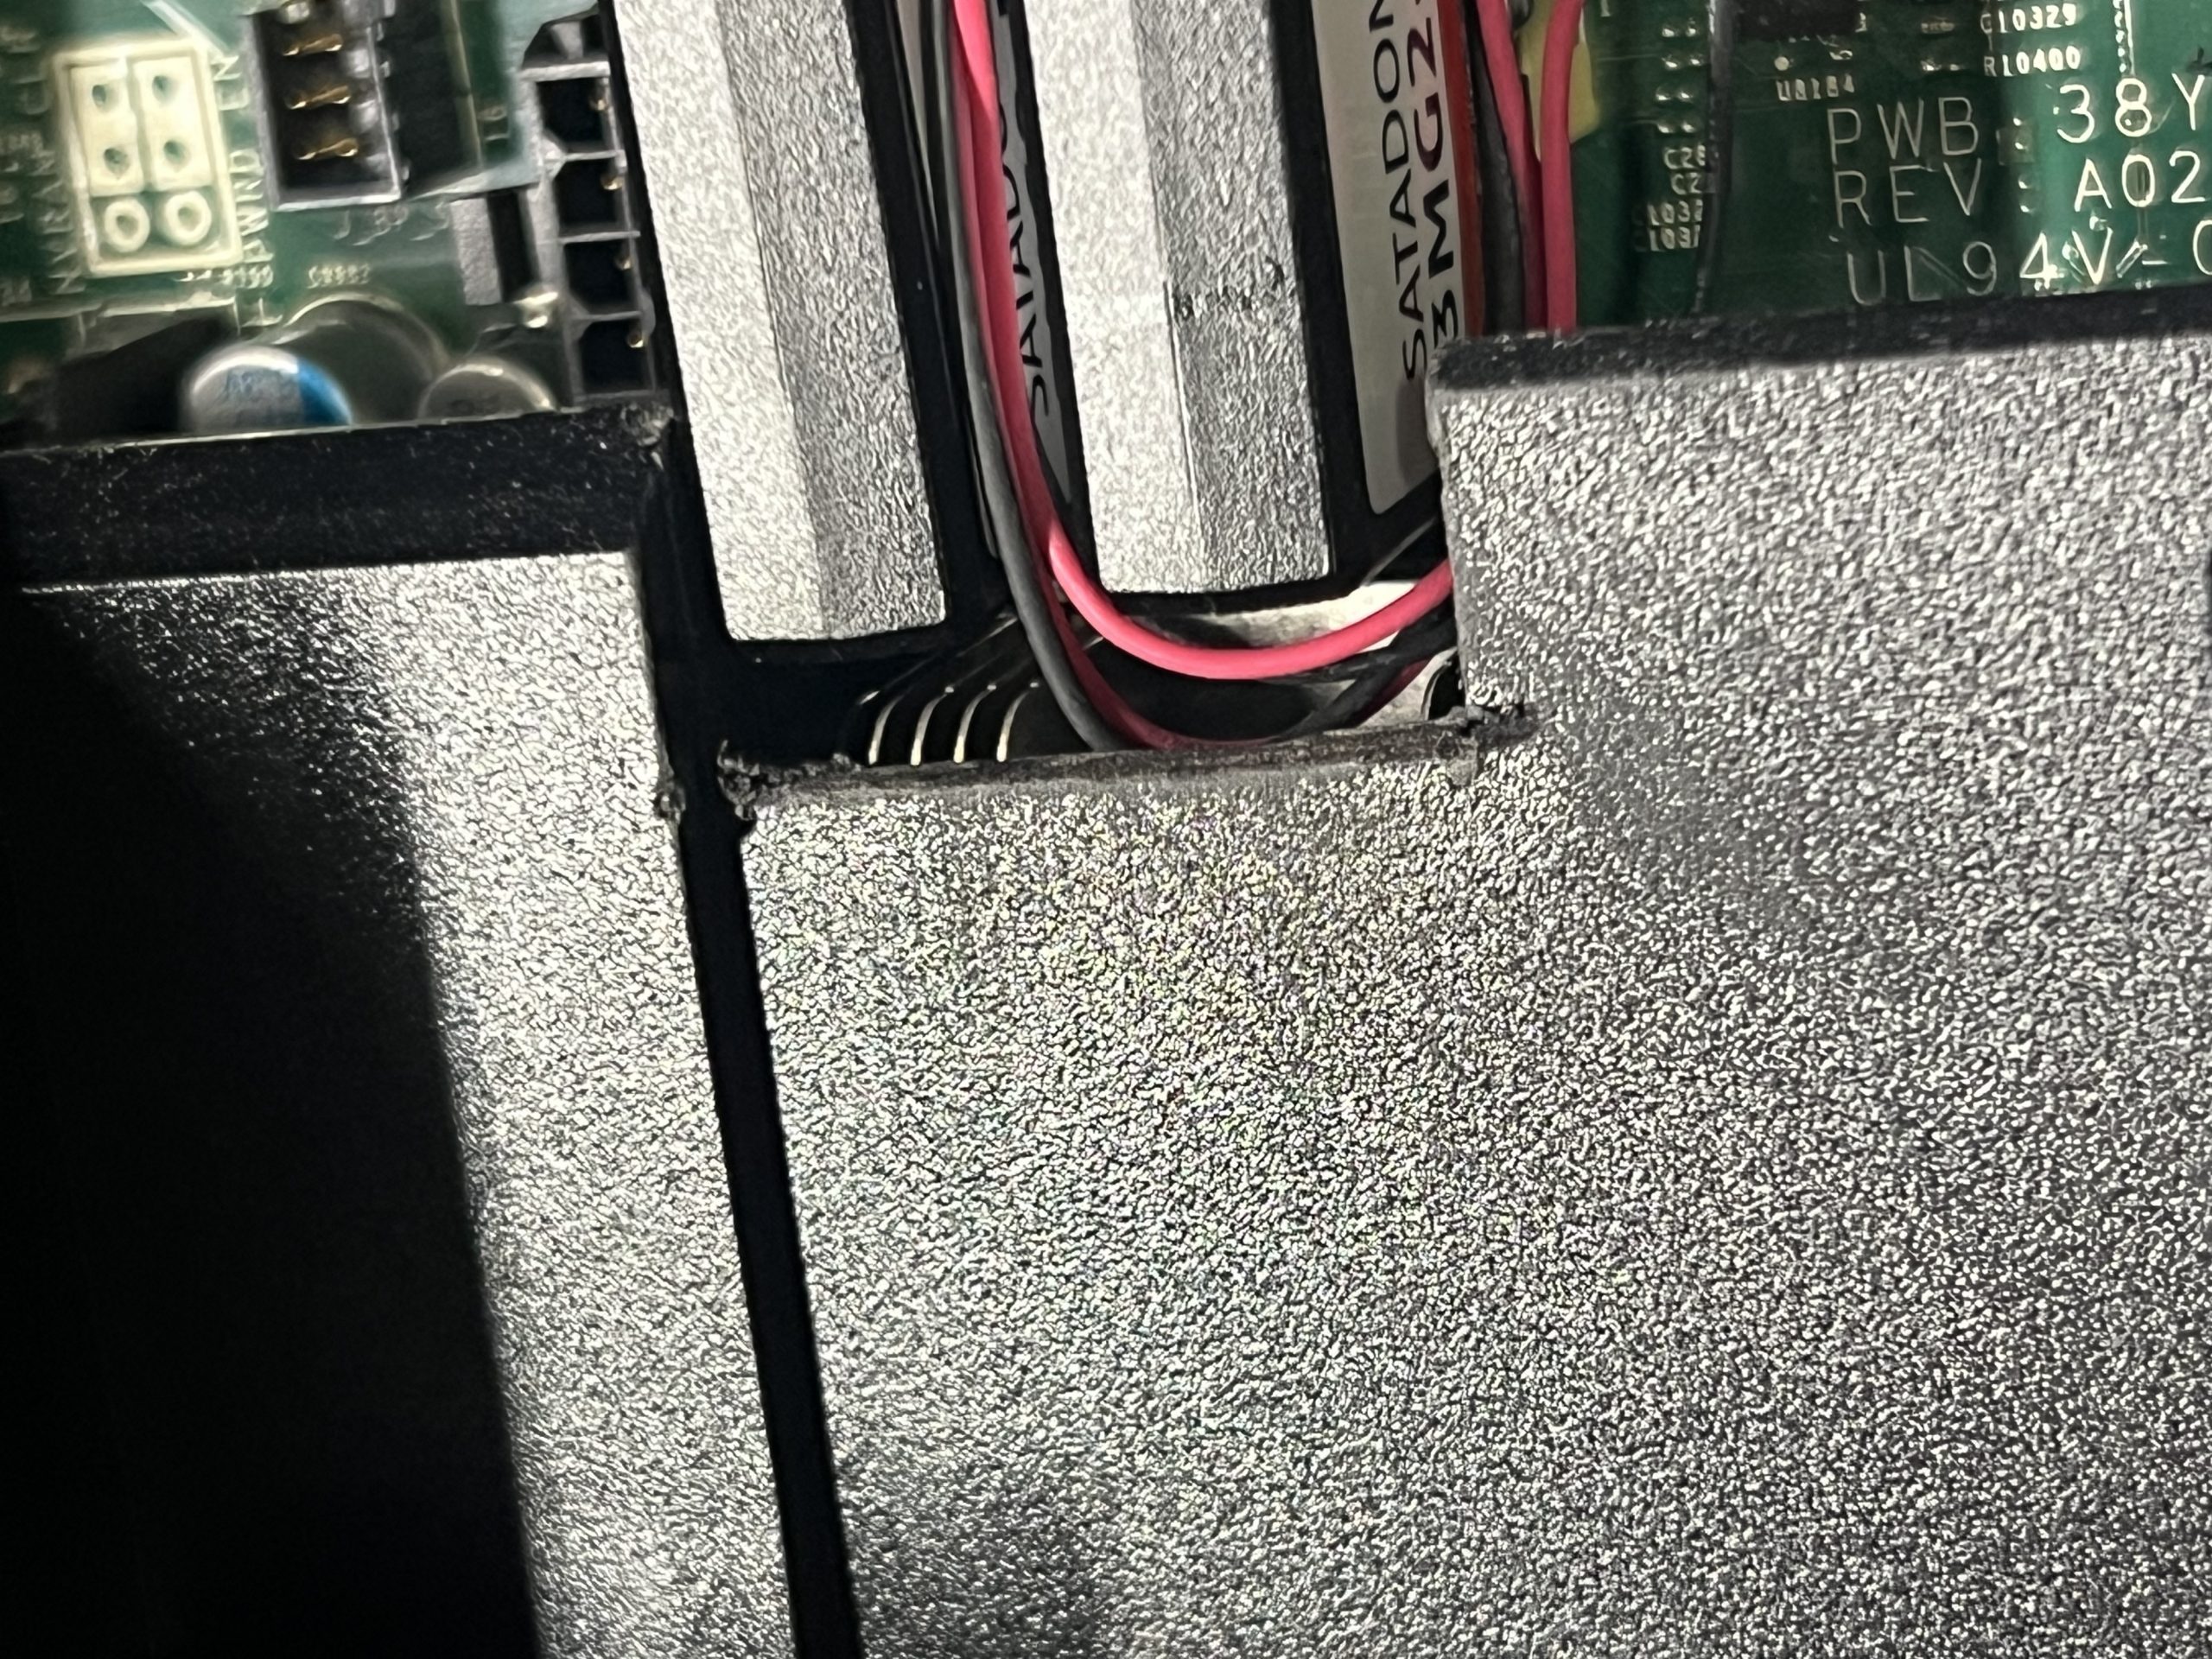
I decided to adjust the power cables away from the heatsink. I didn’t expect them to melt, but it’s better practice, in my head, to keep that stuff away.
Installing FreeBSD
The install was very straight forward. It was my first time configuring a UEFI boot. This screen shot shows the selection of the thumb drive.
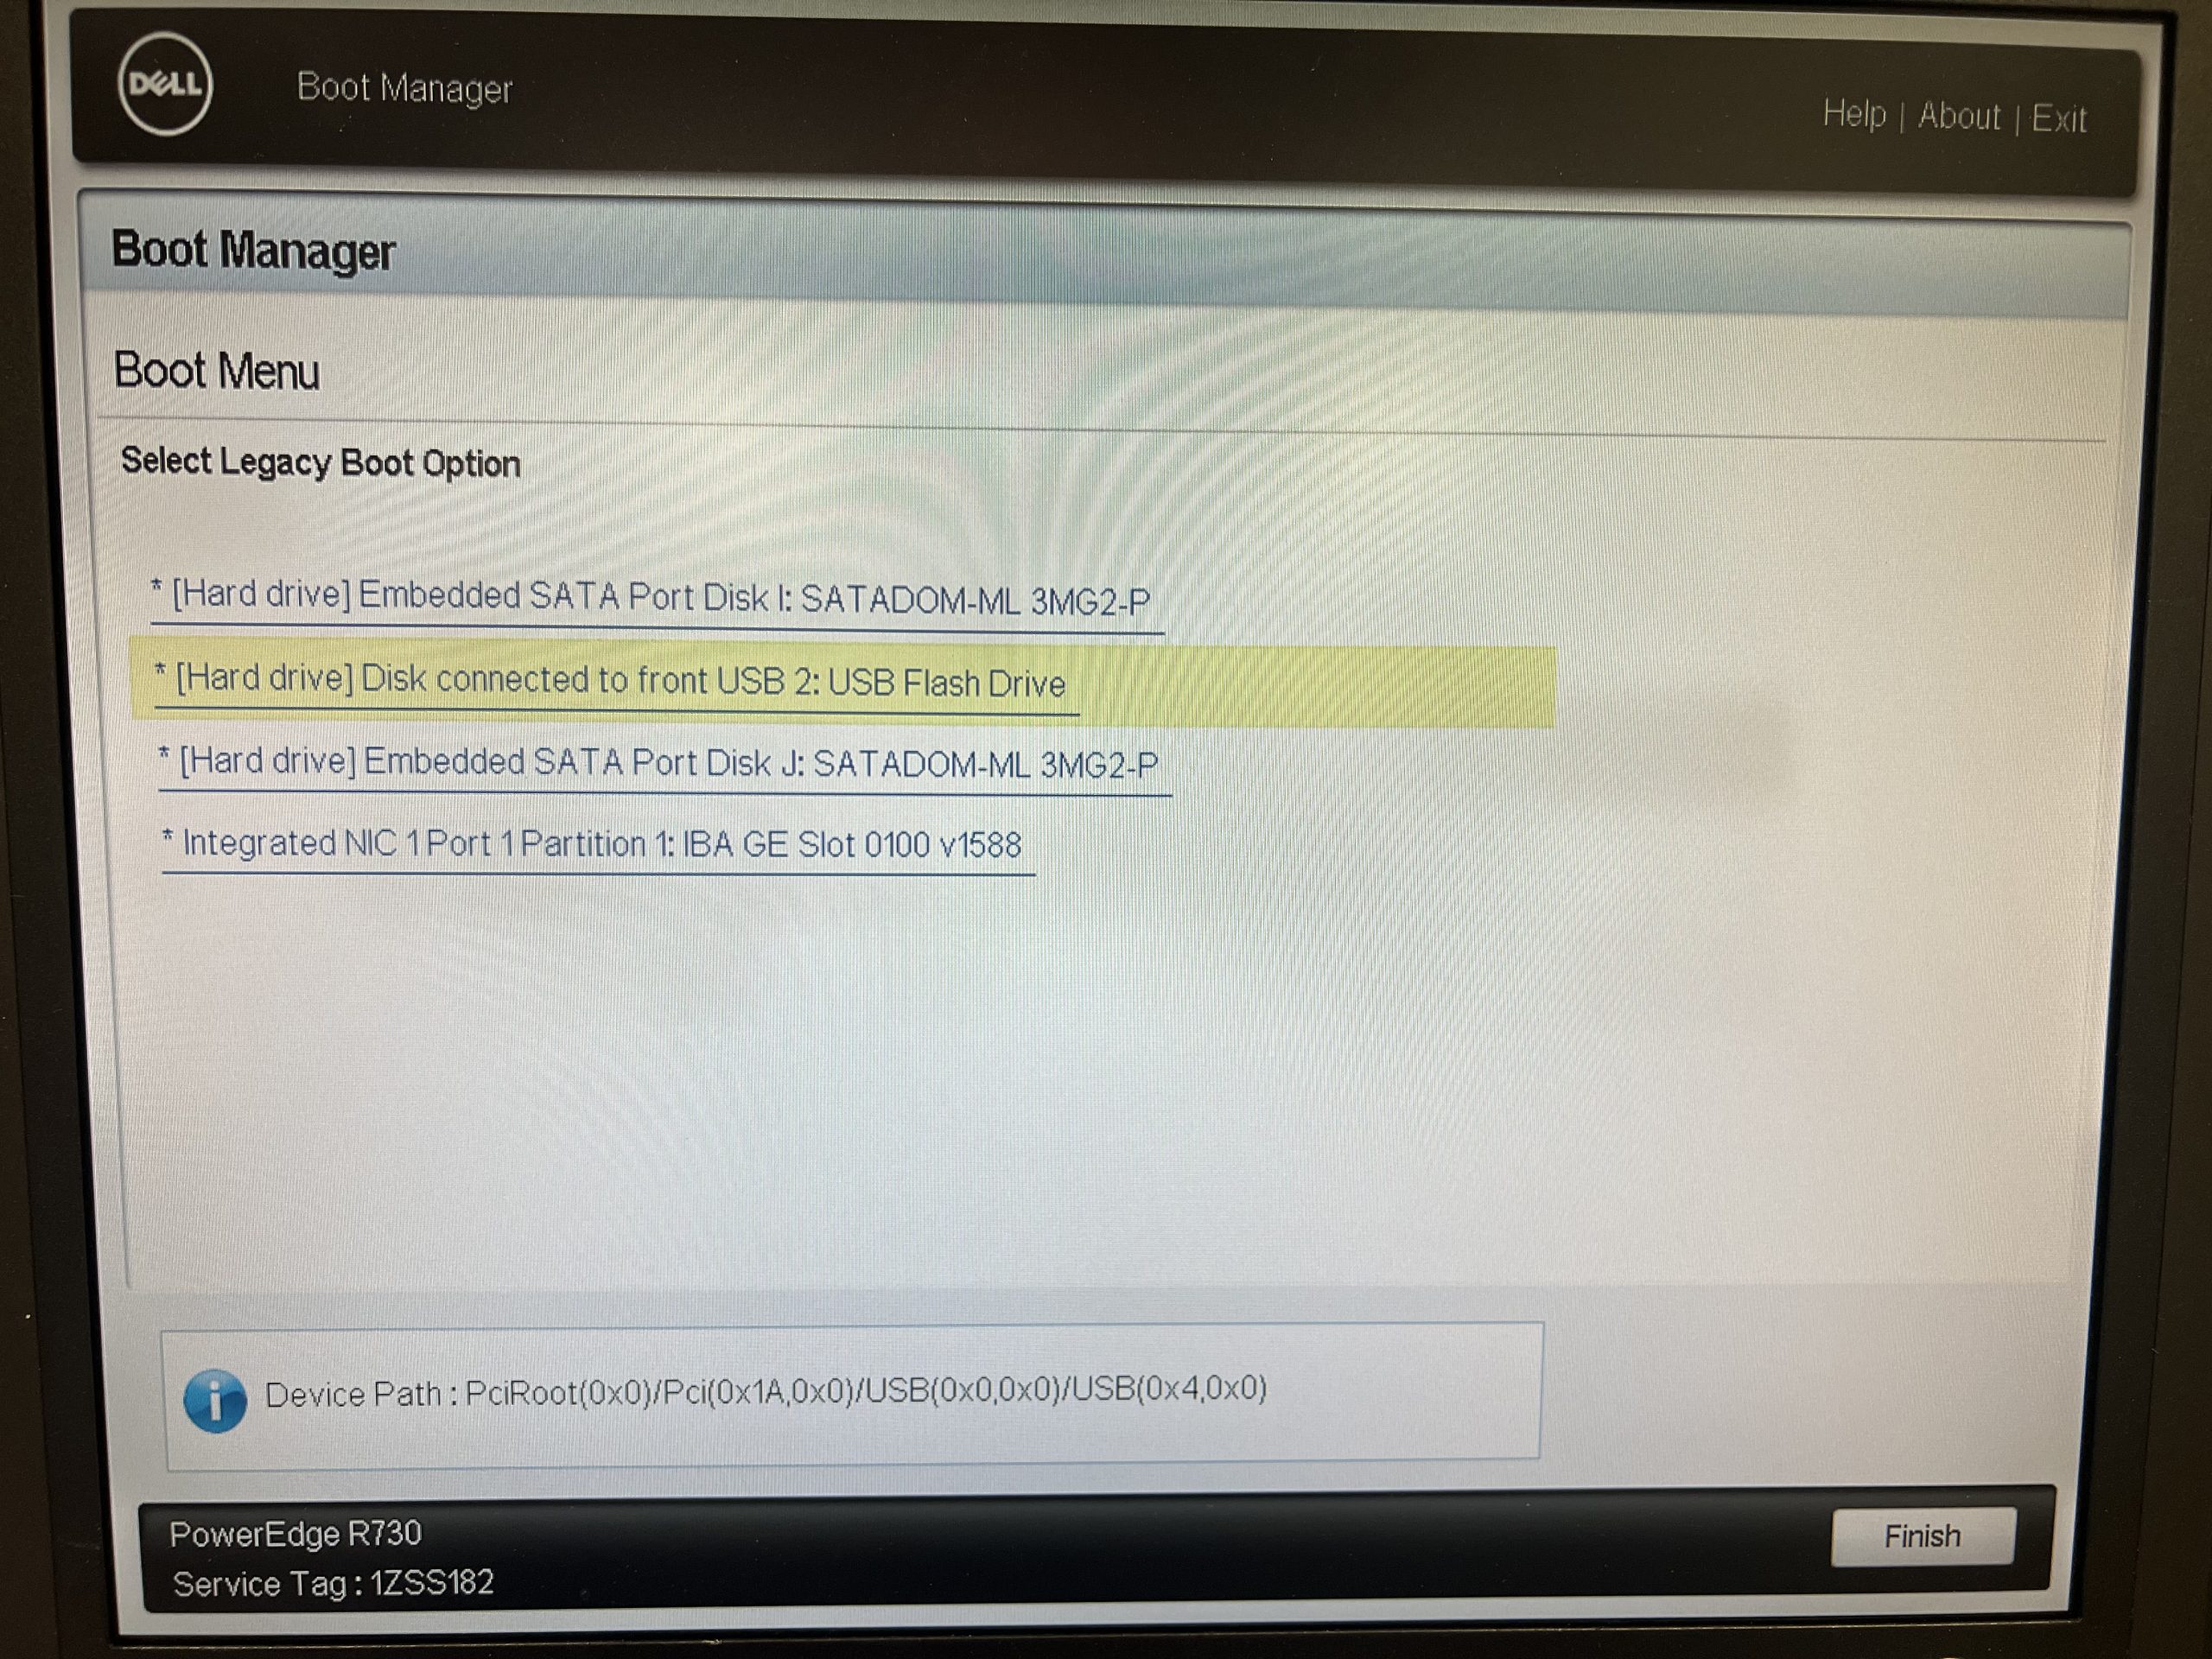
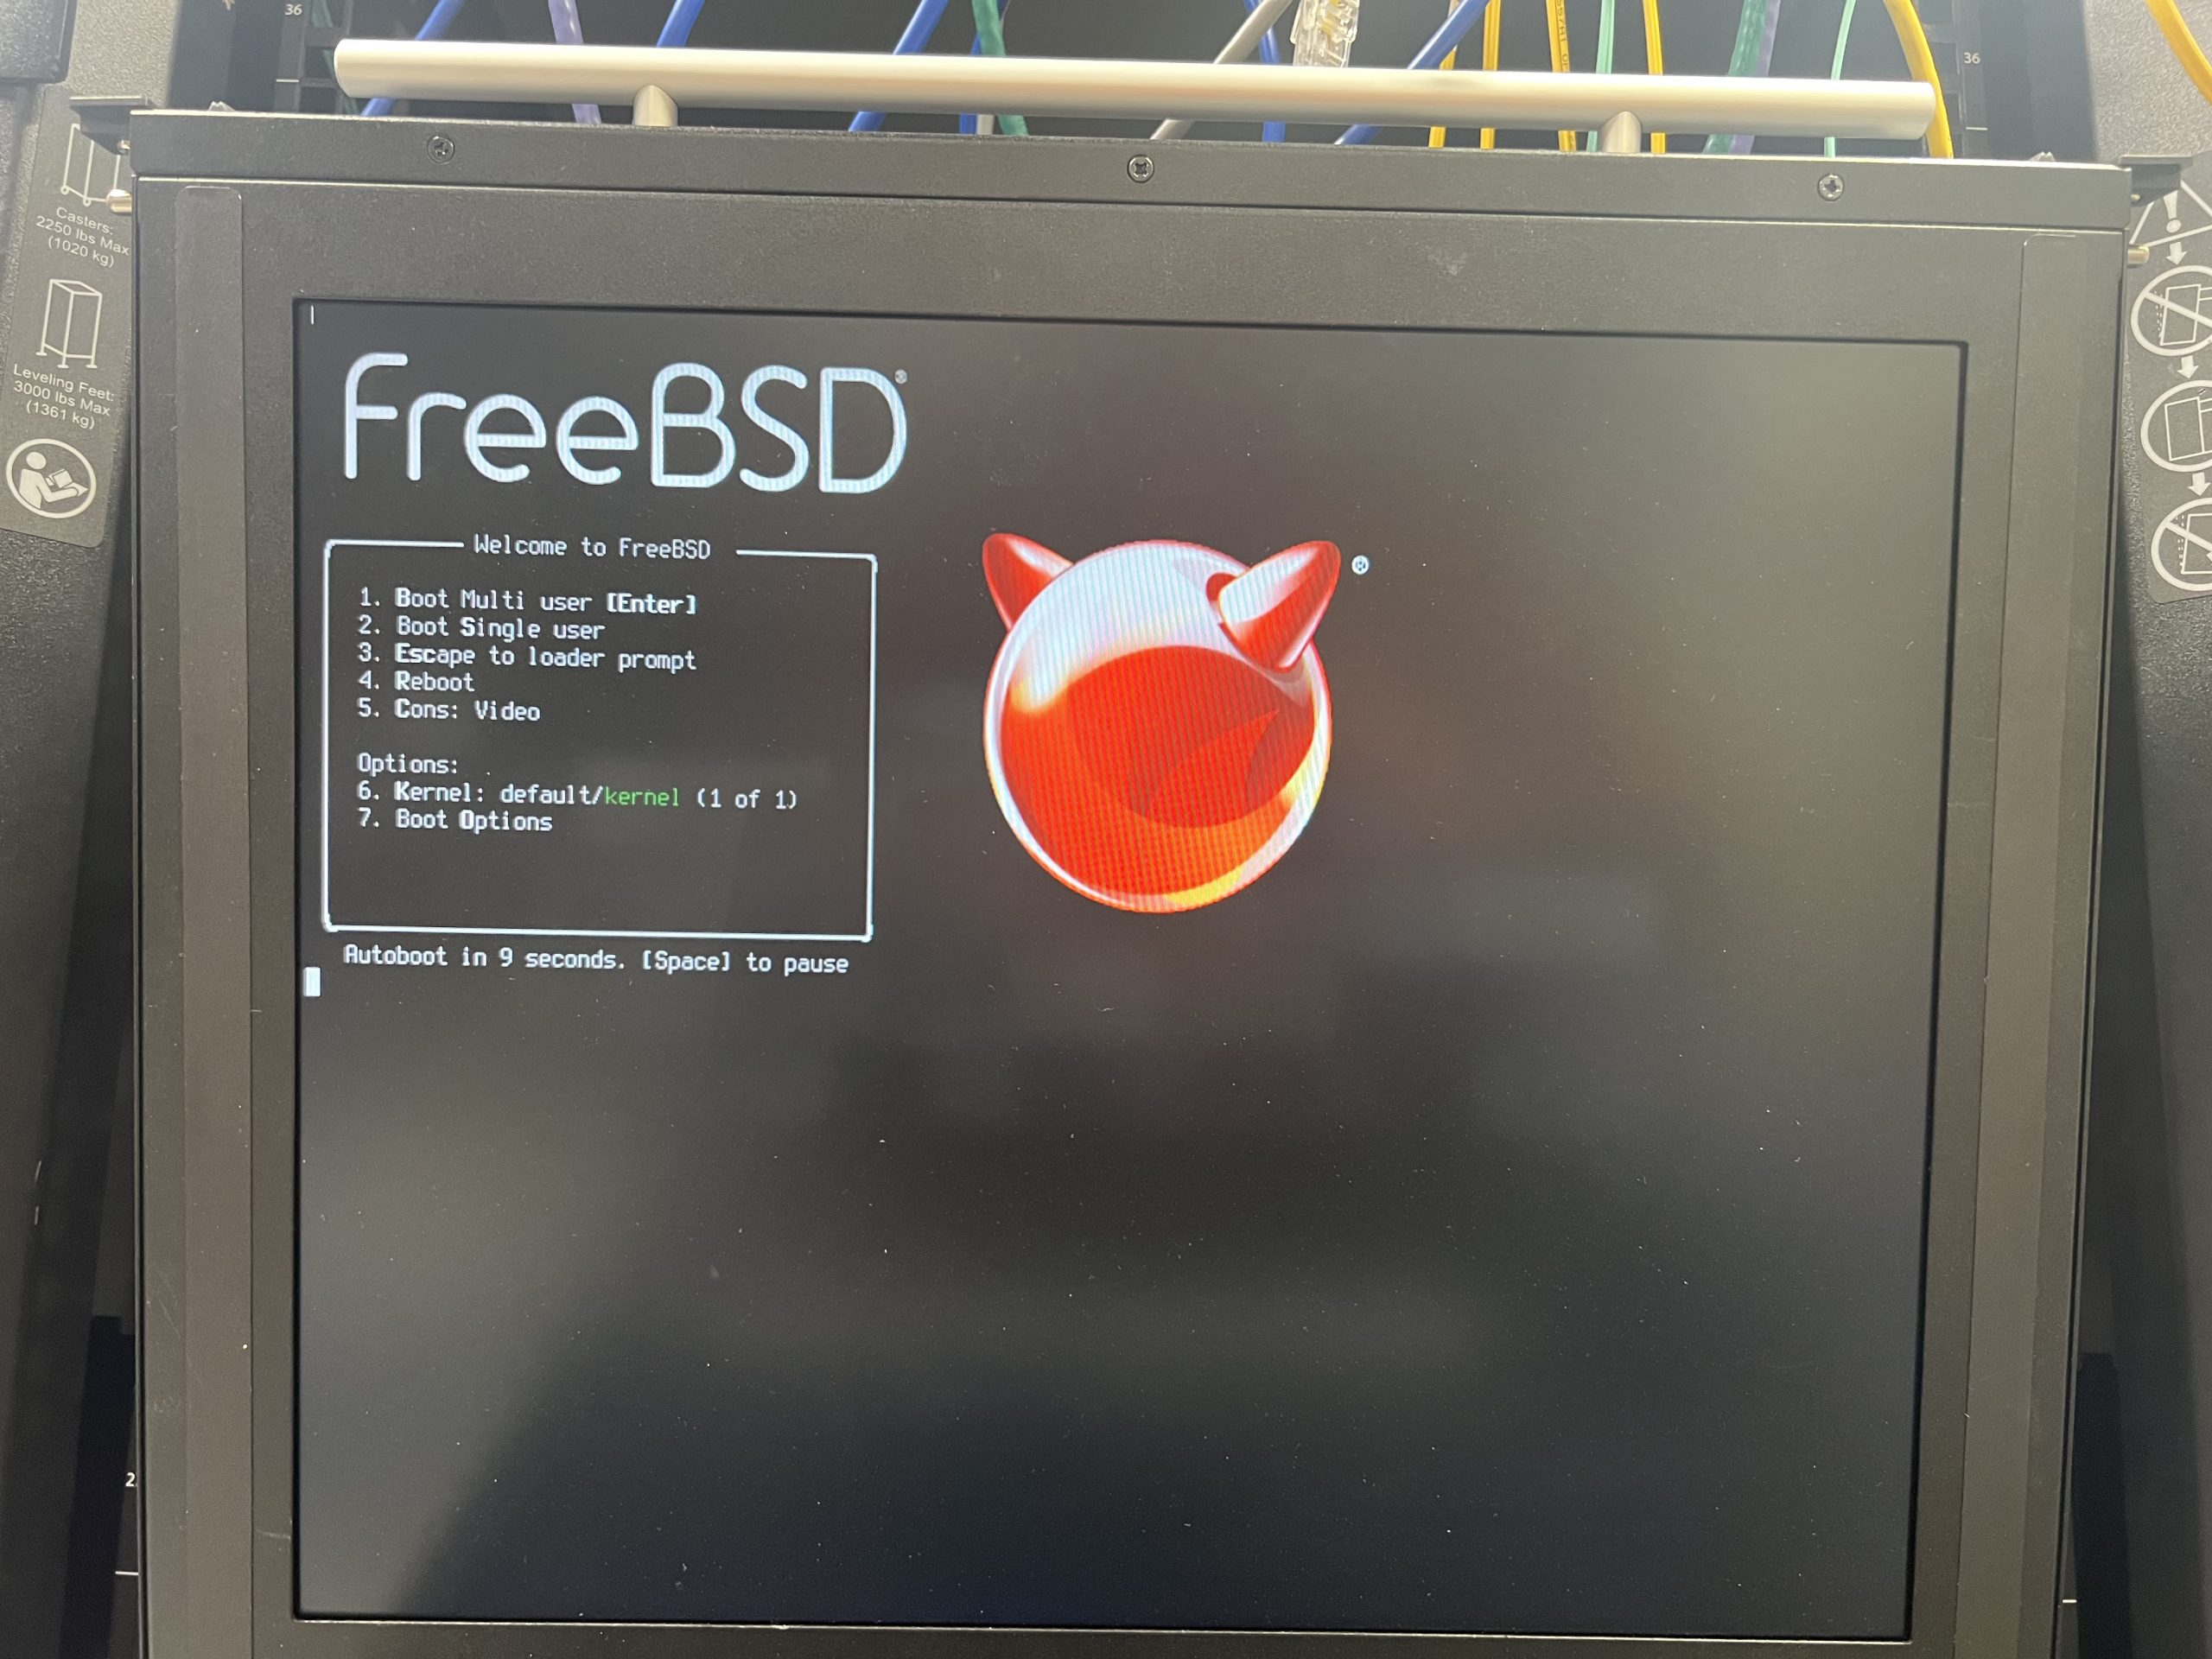
I’m showing the thumb drive splash screen so you can contrast it with the UEFI boot screen.

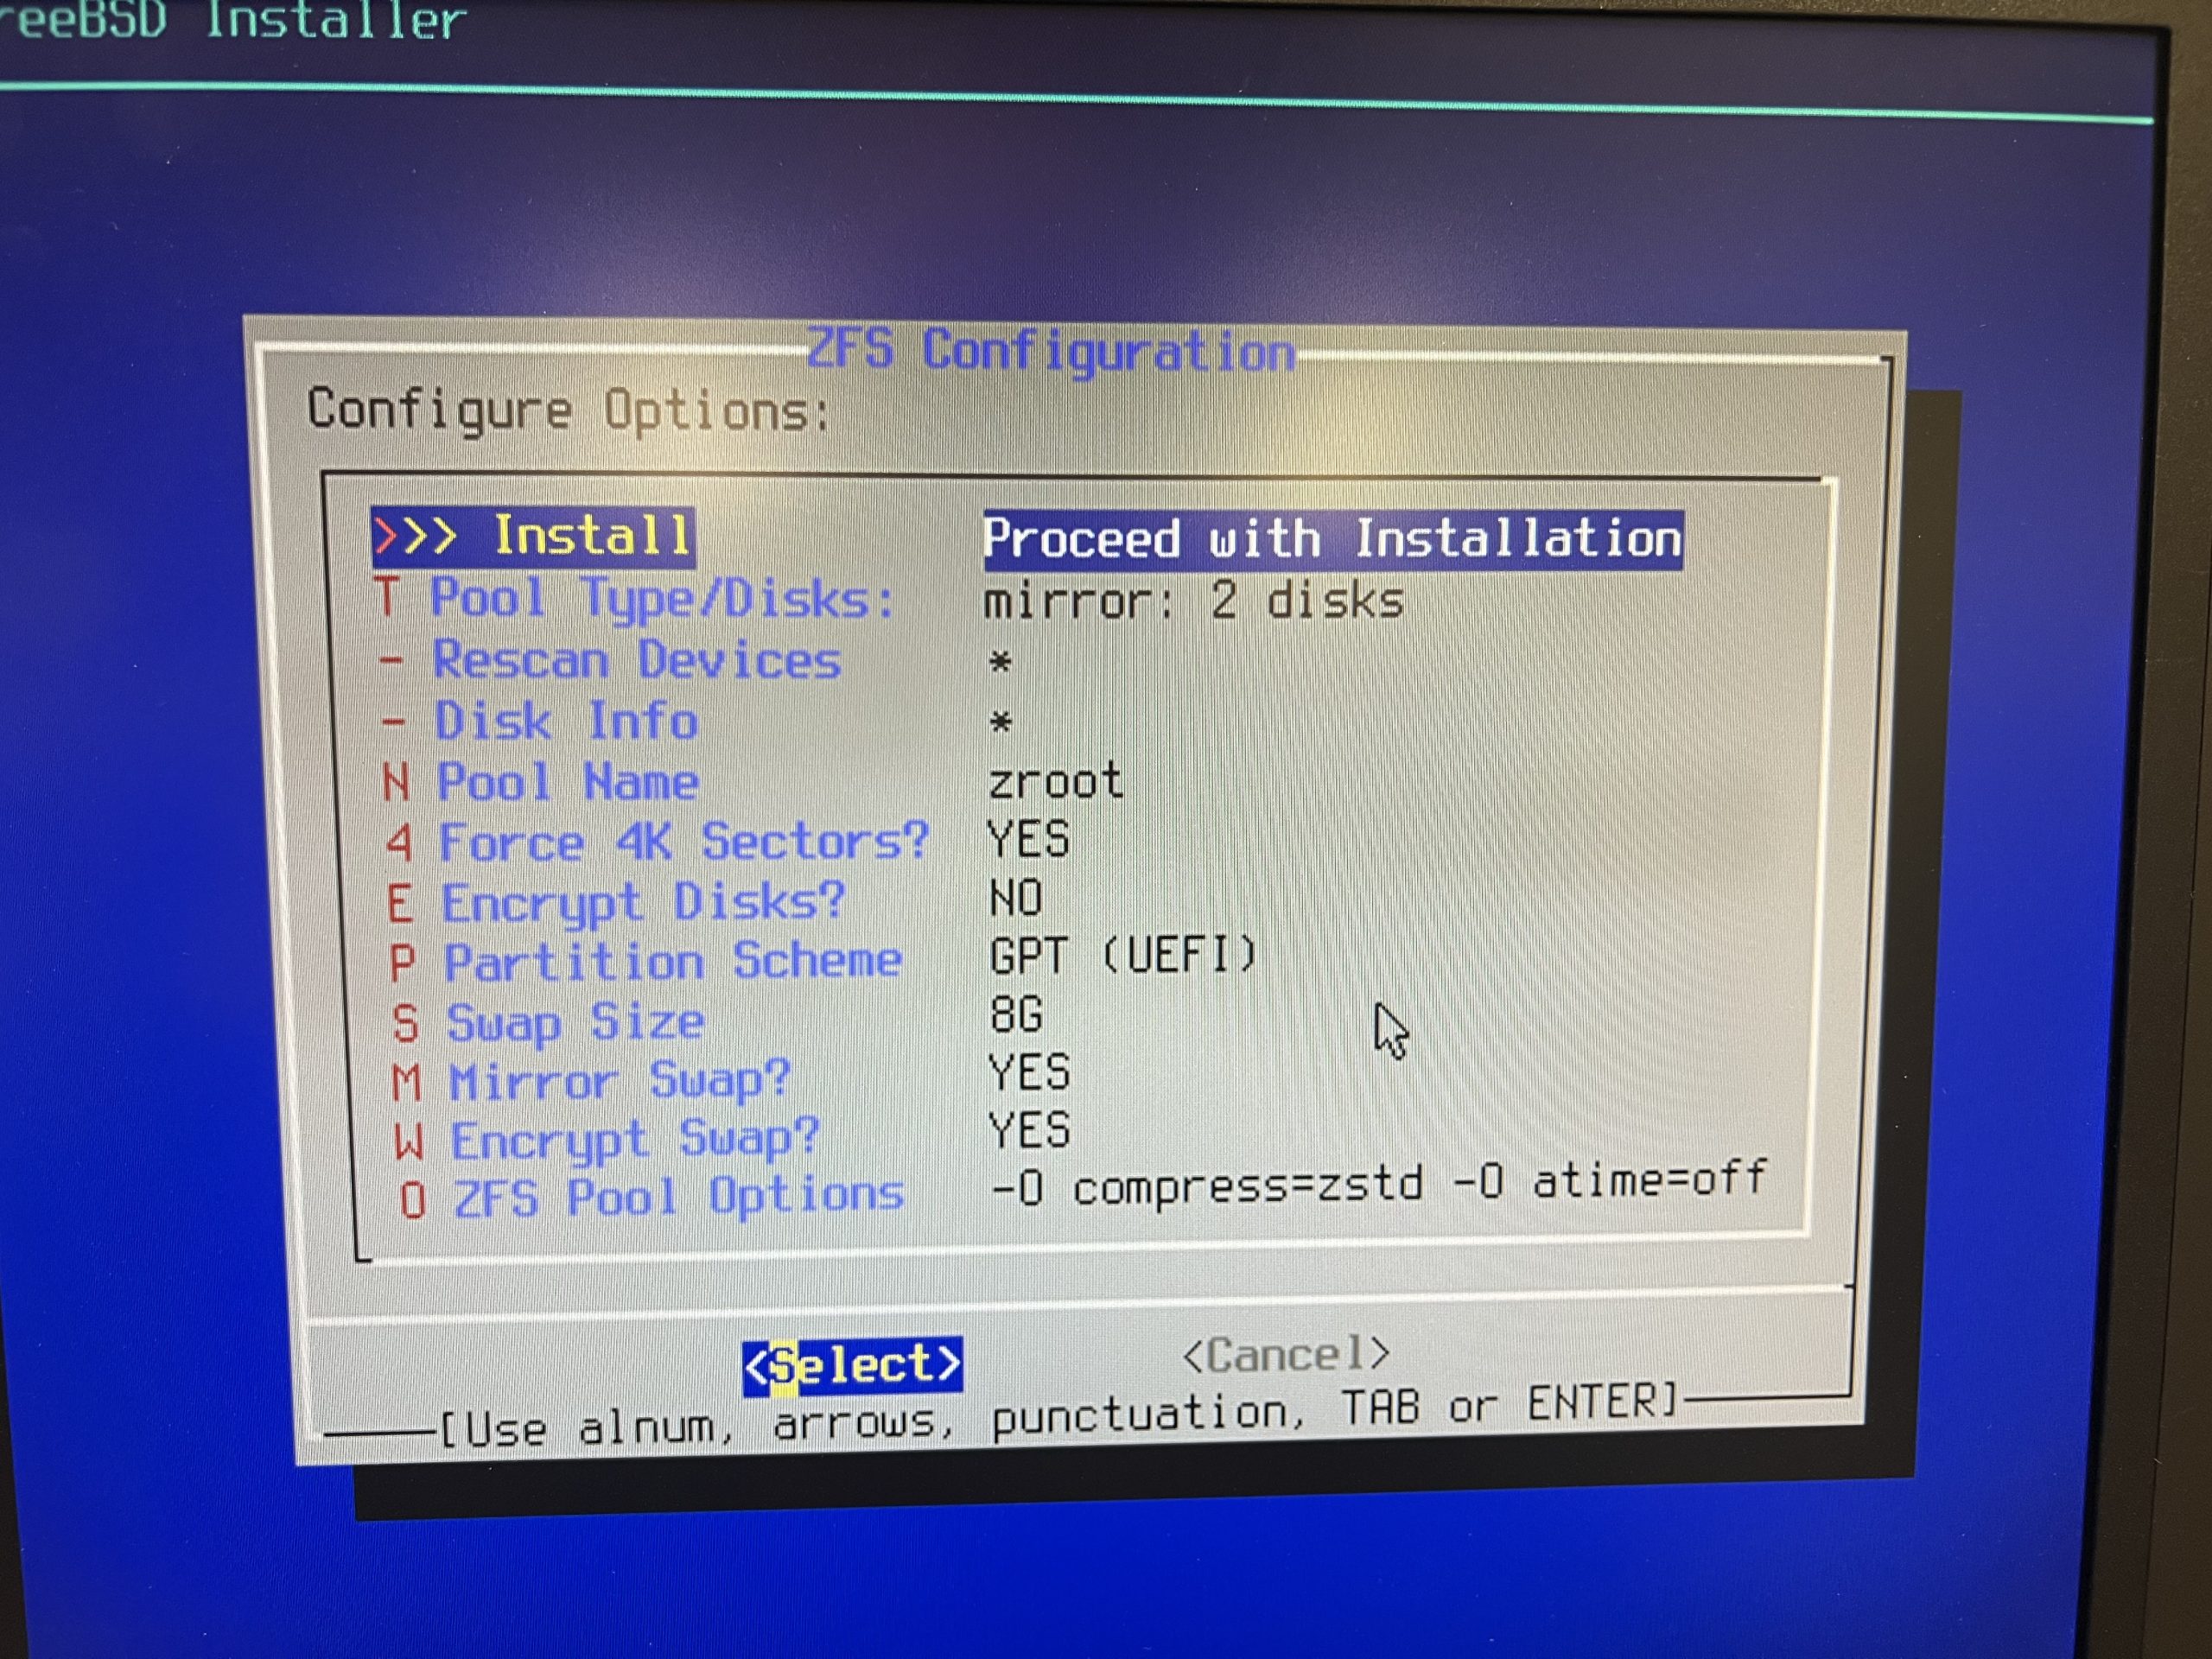
These are the options I selected. Of note:
- mirror
- UEFI
- 8G swap
- mirror swap
- encrypt swap
- zstd compression
Not shown here, I modified the system configuration settings to boot UEFI, as opposed to BIOS. I also selected the boot device to be the SATADOM. I wonder what happens if it’s that SATADOM which dies first? I also disabled PXE boot for the NIC – it was a huge time sink.
UEFI boot
Here we have the higher resolution splash screen graphics that accompany the UEFI boot. Although the character-based splash screen of the BIOS boot is traditional, the UEFI one is more impressive.
What’s next
Now that I have proven I can boot from these devices, I will do a proof-of-concept for moving from a 450GB zpool to a 128GB zpool. zpool replace is often used when moving to larger devices to expand storage. However, that command does not allow you to use smaller devices. Instead, I will be using zpool add and zpool remove.
https://infosec.exchange/@ronnie_bonkers@mastodon.social/114630326075128702 was my source for this plan.
My plan:
- Use zpool replace to migrate the existing zpool on r730-04 from the SATADOMs to a pair of larger SSDs.
- Use the link above to move zoot from this new-larger-zroot back into the SATADOMs
- As I go, document it in a new blog post
- fame, fortune, profit
Hopefully, by the end of the week, we’ll know.


